by Joanne James25. March 2023 09:00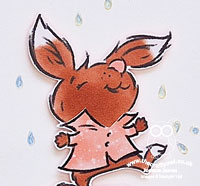
Today I'm sharing a super quick and easy clean and simple card for the current theme over at AAA Cards:

Make a card inspired by a movie, song or book - how fun! Here's my CAS card:
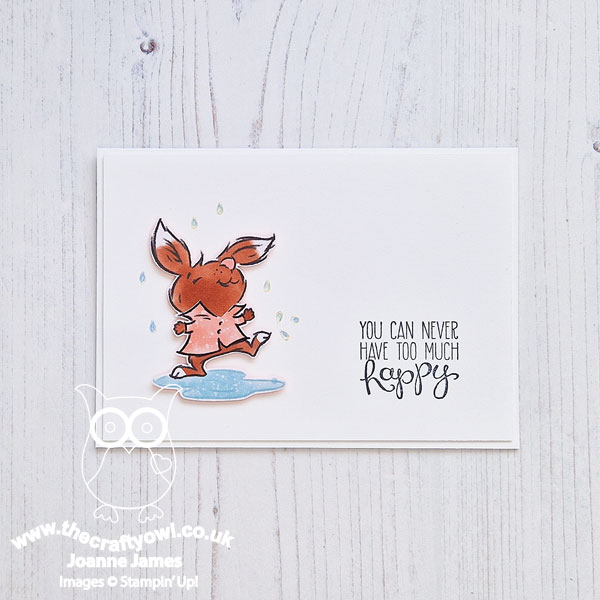
Here's the low-down on today's card:
Ever since I saw the cute animals splashing in the puddles on the Rain or Shine designer series paper, I thought this sweet little rabbit looked like it was dancing and ...singing in the rain! I know Gene Kelly has an umbrella when he sings the title song to this iconic movie, but the fox with the umbrella on this paper doesn't look anywhere near as cheery as the sweet bunny, so I snipped a bunny and his puddle from the designer paper, then added some raindrops around him with my Balmy Blue watercolour pencil and accented these with some (retired) clear epoxy raindrops over the top. Cute, right?!
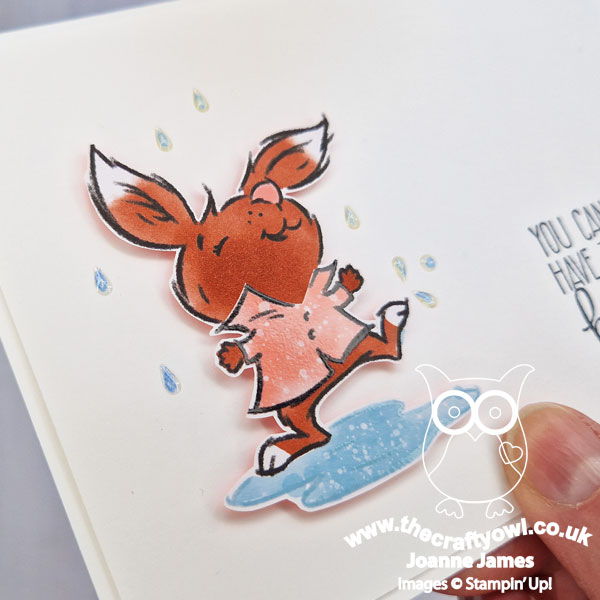
I don't have the co-ordinating stamp set from the Rain or Shine Suite Collection, so I used a sentiment from the (retired) set 'Yippee Skippee' that I thought matched the rabbit's demeanour. And that's all there is to it!
Here is the visual summary of the key products used on today's project for you to pin for easy reference:
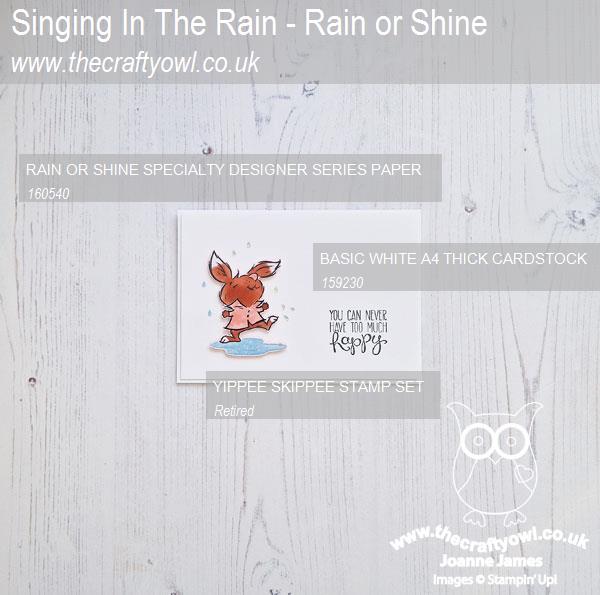
You can see all of my 'How To' summaries on my 'How To - Tips and Techniques' Pinterest board in case you've missed any.
Enjoy your day. Mine will be spent at the hockey pitch as I'm covering all games today. If you like today's card do pop back tomorrow to see a more involved card using more of the Rain Or Shine papers for my Paper Players team card. Until then, happy stampin'!
Stampin' Up! Supplies Used:
by Joanne James7. January 2015 10:21Good morning everyone! Today I have my card for this week's challenge over at Create with Connie and Mary which uses a fun colour combo:
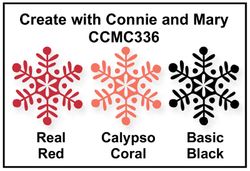
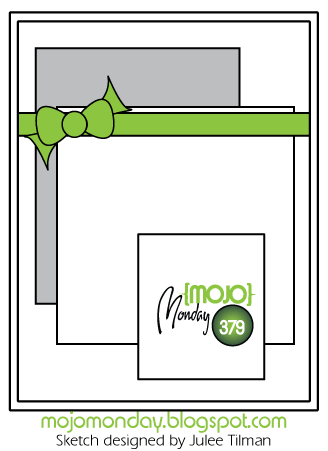
I was immediately drawn to the new 'Stacked with Love' DSP stack for my card, as the challenge colours are three of those that feature in the pack. As I was musing how to tie the colours in with the black elements and what stamps I should use, I saw this week's sketch over at Mojo Monday and knew immediately what direction I was going to go in. Here is my card:
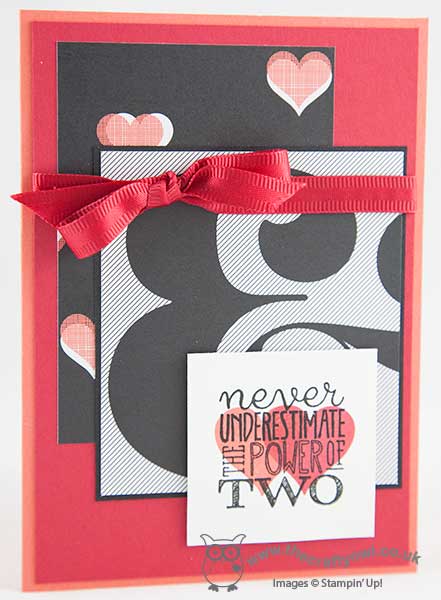
I am always a little wary of mixing DSPs on a card; I am a secret hoarder of DSP yet tend to use it quite sparingly on cards and must confess that I wasn't sure that I was ever going to use the big ampersand piece of DSP on a card, yet the minute I saw this sketch I knew it would be perfect to tie the other DSP to my sentiment. I stamped the sentiment from the 'Yippee Skippee' stamp set in Versamark and heat embossed it in black so that it has a nice shine, (although it is difficult to see that from the photograph), having first stamped two hearts in the challenge colours, one overlaid on top of the other. The heart is from the Perfect Pennants set; today's card is a great example of how you can find sentiments and images in 'generic' sets that will enable you to make a themed card such as this one for an anniversary or Valentine's Day, without needing a theme-specific stamp set. I finished my card with some of the now retired satin ribbon from the seasonal catalogue as I liked the shine, but some 1/4" red cotton ribbon would work just as well.
That's my card for today; I'm off to stamp some more samples using my lovely Sale-A-Bration goodies ready for an informal Open House gathering that I'm hosting for my customers on Friday. If you love in or around Northampton and would like to attend, please get in touch for more details.
Back tomorrow with another project; until then, happy stampin'!
Stampin' Up! Supplies Used:
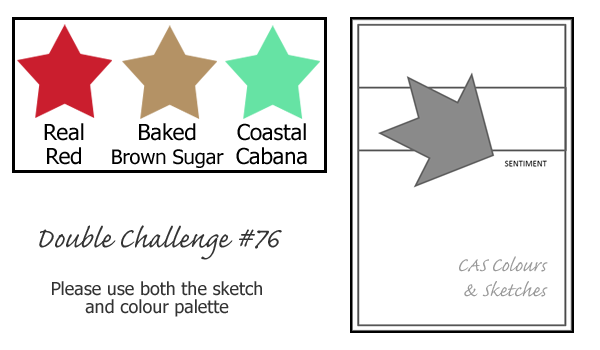
by Joanne James4. June 2014 10:13Well Sunday's summer sunshine was definitely short-lived; the grey of yesterday has turned into steady and continuous pouring rain so far this morning - yuk! Still, today's card for the CAS Colours and Sketches Challenge will cheer you up I hope; this week it is a double challenge to use both the sketch and colour palette:
Firstly, a quick thank you to the ladies over at CAS for choosing me as one of their winners last week (you can see my winning card here). Someone I asked me recently how I get on with my challenge entries, as I don't often post the outcome here. I sometimes post a win on my Facebook page but the one place I try and keep track of all my wins is my Pinterest board here - so if you're ever interested to see my growing badge collection, pop on over and take a look.
Anyway, onto today's card! I used a piece of paper from the Fresh Prints DSP stack as the inspiration for today's card - these stacks are great and I'm so pleased that there are going to be some new ones appearing in the forthcoming new annual catalogue. Here is my card:
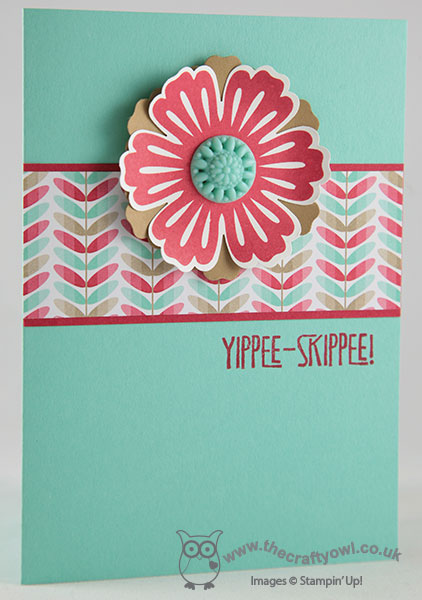
I love this Orla Kiely-inspired pattern - it always reminds me of flower stems, so it seemed appropriate to use a statement flower as my focal point in place of the arrow on the sketch and what better than that old favourite, Mixed Bunch (staying for next year's catalogue - hurrah!) I used Coastal Cabana for my card base and layered my DSP strip on a mat of Real Red cardstock. I then stamped my flower in Real Red ink on Whisper White, punched it out with the co-ordinating Blossom punch (got to love a matching punch!) and backed this with another flower punched from Baked Brown Sugar cardstock, which I offset slightly so that you could see it through the gaps of the petals of the top flower. I finished my flower with an in-colour Boutique Details in Coastal Cabana; it's not often I dip into my pot of these, but it provided the perfect finish to my bold flower here. Lastly, I added my 'Yippee Skippee!' sentiment from the stamp set of the same name in red to the card base.
A clean and simple card that could be used for lots of occasions and brings the challenge colours together nicely. I am also going to link my card up with the challenge over at 'Less is More' this week where the challenge is to use two different stamp sets; pretty good, considering there are only two actual stamped images on the whole card!
Back tomorrow with another card; until then, happy stampin'!
Stampin' Up! Supplies Used:
by Joanne James24. May 2014 15:26I seem to be using a lot of my favourite brights this week and today I wanted to share a card that I made using the Colour Q challenge colours this week, one of my favourite colour palettes:
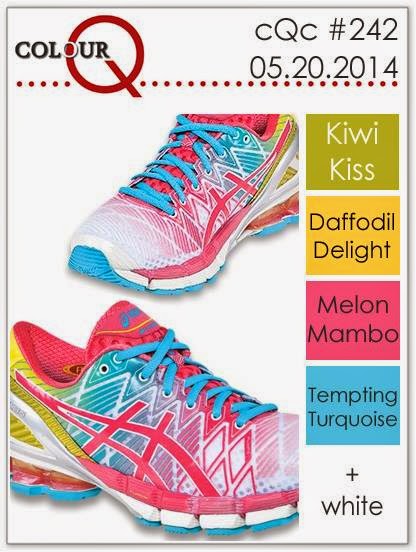
Aren't those trainers so cool?! You wouldn't get lost in the crowd wearing those, for sure! I took the inspiration for my card from their bold, vibrant pattern and this is what I came up with:
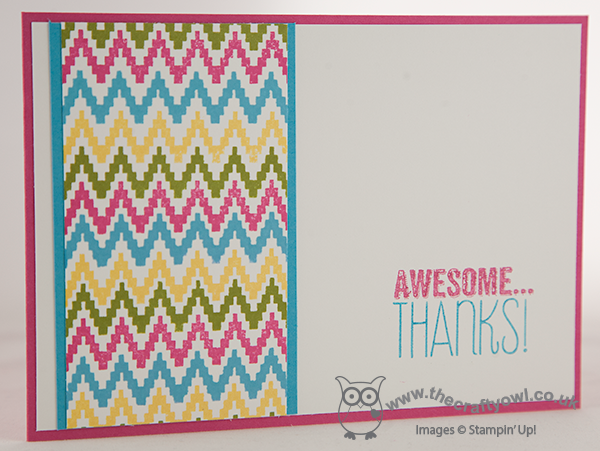
I decided to use one of the wave patterns from the Eye Catching Ikat photopolymer set to create a repeat pattern in the challenge colours (I subsitituted Kiwi Kiss with Old Olive as I don't have the former colour in my collection). I went with quite a simple layered layout, because I wanted the stamped pattern to be the focal point. I still can't quite believe just how easy the photopolymer stamps are to align without the need for a stamp-a-ma-jig - this pattern really didn't take long at all to create, so much so that I made two cards in record time, I just couldn't stop stamping! I mounted my patterned layer onto a strip of Tempting Turquoise. I inked my sentiment using my Brights Stampin' Write Markers, picking up the blue and the Melon Mambo of my card base to tie in with the overall design.
Don't forget, if you would like to own the Eye Catching Ikat stamp set, it is available free with a £60 order until the end of May, so you still have a week to get your order placed. Today is a busy day for me - trampolining parties to attend (Rebecca, not me!!) and a swimming gala this evening. Hope you are all enjoying your weekends. I'll be back tomorrow with another card; until then, happy stampin'!
Stampin' Up! Supplies Used:
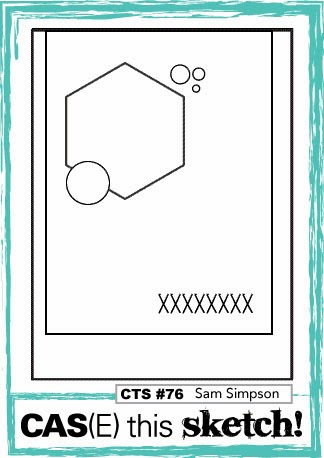
by Joanne James22. May 2014 15:30I had a hugely productive creative day yesterday (I love days like that!) and decided to have another go at a card with the sketch layout from CAS(E) This Sketch (although I'm too late to link up to this challenge with this sketch). I am linking up with Addicted to CAS though as I have another 'over the edge' birdie and today's card features the zingy colour palette over at Color Throwdown:

So using the color throwdown photo for inspiration, I decided to create a 'new home' card. There is only one set is the annual catalogue that features a new home welcome - the hostess set 'Sweetly Framed' - so I decided to create something using some punch art with an idea that I've had swimming around in my head for a while. Here's my card:
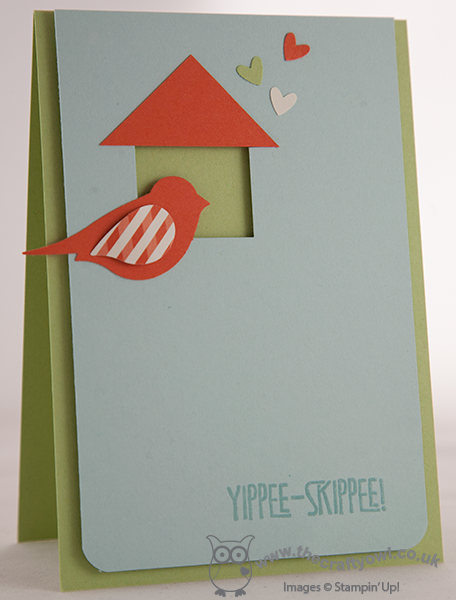
I used Pear Pizzazz for my base, and popped my Soft Sky panel up on dimensionals and created a little bird house by punching a 1" square out and topping with a Tangerine Tango triangle cut from half a square for the roof. I punched a Tangerine Tango bird using the bird punch and highlighted the bird's wing by using a scrap of Retro Fresh DSP, adhering with rolled glue dots to give some height. I added some punched co-ordinating coloured hearts punched with my owl punch. Lastly, what to use as a sentiment? I eventually decided on 'Yippee-Skippee!' from the stamp set of the same name, stamped in Versamark and heat embossed in clear powder - not quite 'Welcome to your new home', but it's exactly how I felt when I bought a new house, both times, so it seemed more than appropriate! Another very clean and simple card, created with just a few punches and a sentiment.
Back tomorrow with another project; until then, happy stampin'!
Stampin' Up! Supplies Used:
by Joanne James25. February 2014 10:11Today I have something special to share with you! As my regular readers know, I live in a house of Lego! Well, not literally, but Lego is a big part of our family life - we have a massive brick collection and I have a 6 year old whose ambition it is to be a master builder someday. Either that, or a brain surgeon so that he can earn enough money to fund his ever-expanding Lego collection! Last week was half-term here which neatly coincided with the release of the first ever Lego Movie - a set built entirely from Lego that tells the story of the 'ordinary' builder Emmet who is mistaken for the chosen Master Builder and whose destiny is to prevent the world of Lego being glued together by the evil Mr Business. Of course the first of our half-term excursions was to the cinema to watch the new movie and Ben at least was not disappointed - he sat 'glued' to the screen throughout.
I decided to create another Lego punch art card to celebrate the release of the new movie and add to my collection (you can see some of my previous Lego punch art here). Here is my card:
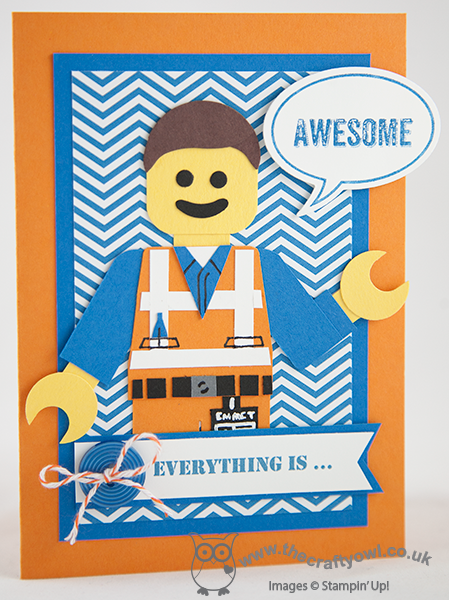
Whilst Emmet is possibly the most ordinary of the characters, my card had to incorporate him as he is central to the movie. I used this week's layout over at The Paper Craft Crew PCCCS081 for my card and split Emmet's catchphrase in the movie, 'Eveything is awesome' across both the banner and the word bubble. I printed the 'Everything is' on my computer and matched up the colour to print it in Pacific Point, then stamped the 'awesome' by partially inking one of the stamps in the 'Yippee Skippee' stamp set. I used lots of different punches to create my minifigure and drew on some of the detail by hand with either my Stampin' Write black marker or my white gel pen and used a piece of pacific Point Brights DSP to add colour to the background without overwhelming the focal point.
I love creating this kind of card, although they really do take an age to make - a real labour of love. It was all worthwhile though when Ben took one look at the finished card and declared it "Awesome!" and promptly burst into Emmet's 'Everything is Awesome!' song from the movie.
Back tomorrow with something a little more traditional; until then, happy stampin'!
Stampin' Up! Supplies Used:
by Joanne James2. February 2014 20:33Good evening lovely blog readers! A super weekend has been had by all in the James household: lots of swimming and crafting in preparation for this week's classes featuring the lovely Sale-A-Bration goodies. Today's card is one I made earlier in the week using the sketch challenge at Pals Paper Arts this week - here's the sketch:
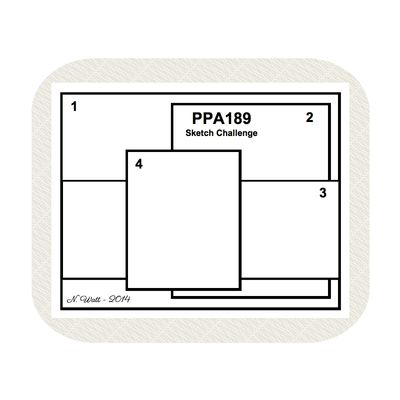
Whilst I followed the layout of the sketch, I changed out blocks 2 and 4 for heart shapes which I cut with my hearts Framelits - take a look at my card and you'll see what I mean:
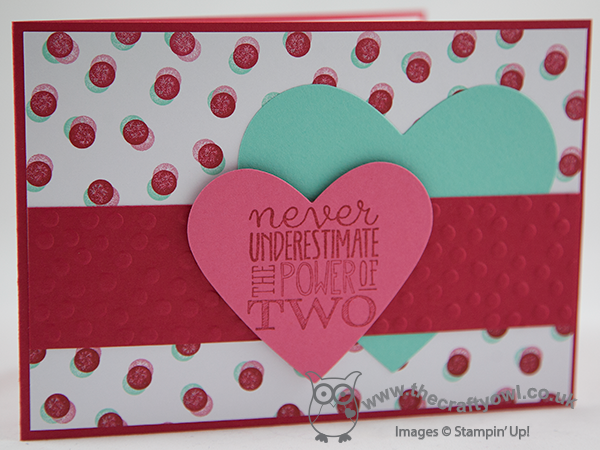
I kept my card quite simple and took my colour inspiration from the sheet of paper I used from the new Fresh Prints DSP stack in the Spring-Summer seasonal catalogue. This is a lovely paper stack which predominantly features Real Red, Whisper White, Coastal Cabana and Crumb Cake, but there are a few patterns that include pink too, such as the one I've used here. The sentiment is from the 'Yippee-Skippee!' stamp set and could have several uses: I've used it in the context of a loved one for a Valentine's/anniversary card, but I think it would be great on a baby card to welcome the arrival of twins too. I can also see me using it on a scrapbook page featuring my Junior James' - they are a formidable pair when they get together! Lastly, I embossed the central panel with the SAB decorative dots folder to echo the pattern of the background paper.
I hope you like today's card - if the above sketch layout appeals to you, do pop over to the Pals Paper Arts blog to see what the design team did with the sketch. I have the first of this week's classes tomorrow, but do pop back here for another project - all being well I might even have another video edited for you!
Until then, happy stamping!
Stampin' Up! Supplies Used:
b9241dec-2a1a-4934-b00d-4fcb976d7ef2|0|.0|96d5b379-7e1d-4dac-a6ba-1e50db561b04
Tags: Big Shot, Decorative Dots Textured Impressions Embossing Folder, Hearts Framelits, Fresh Prints DSP Stack, Shop online, Stampin' Up, Stamp-a-ma-jig, Stampin' Up Card, Stampin' Up Card ideas, Stampin' Up Supplies, Yippee Skippee
Cards | Sale-a-bration | Stamping
by Joanne James19. November 2013 20:29Evening blog readers! I had to do some Christmas shopping today, but managed to squeeze in a quick hour of crafting - still so much to do before I'm ready for my very first Stampin' Up! European Convention in Manchester in 2 days time! I'm very excited (can you tell?!) and am looking forward to spending some quality crafting and partying time with Barbara and Samantha, the two of my team that are accompanying me.
More news of that later in the week, but today I have another video tutorial of you to show you how to make a very simple envelope card using your Envelope Punch Board:
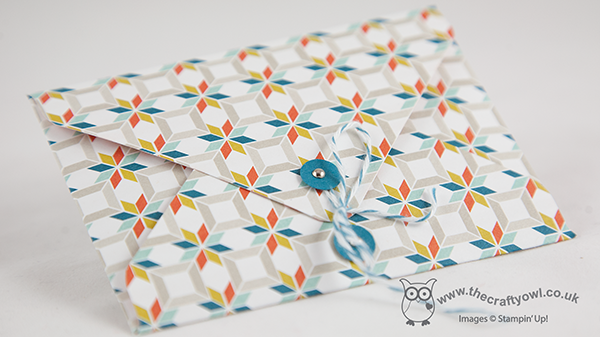
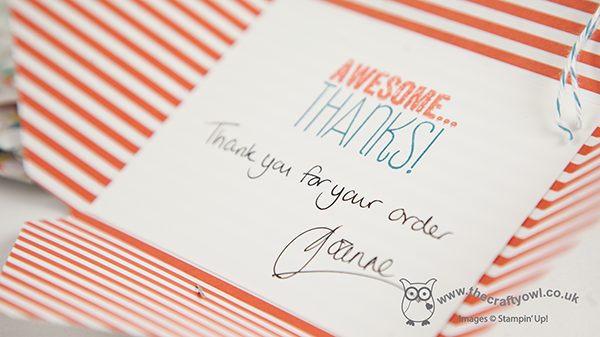
I made a whole bunch of these as thank you cards to pop in with my most recent batch of customer orders; lots of my customers have already bought envelope punch boards, so I'm keen to show them lots of simple and straightforward ways that they can use it for things as well as straightforward envelopes.
Here's a picture of the cards I made, both open and closed:
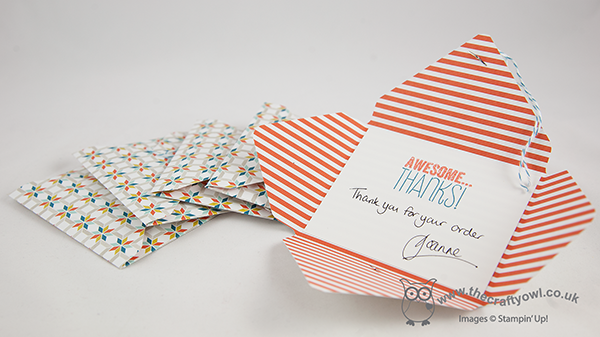
And here's the link to my YouTube channel to watch the video tutorial if you would like to make your own:
I used Sycamore Street designer series paper for my cards, which is a retired paper but one that is still available currently on the clearance rack for only £3.59 - pop over to my online store by clicking on the image below if you would like to snap some up at this bargain price before its all gone!
Back tomorrow with another project; until then, happy stampin'!
Stampin' Up! Supplies Used:
68c6ca51-0c62-42b2-a300-2bef0b326bf0|1|5.0|96d5b379-7e1d-4dac-a6ba-1e50db561b04
Tags: Envelope Punch Board, Yippee Skippee, Paper Piercing, Sycamore Street, Itty Bitty Punches, Shop online, Stampin' Up, Stampin' Up Card, Stampin' Up Card ideas, Stampin' Up Supplies, video tutorial
Cards | Envelope Punch Board | Stamping | Video Tutorials