The middle of the week has arrived - and a short week at that! Today I have a card to share with you for this week's challenge over at TGIF Challenge that also uses the sketch layout at Fab Friday:


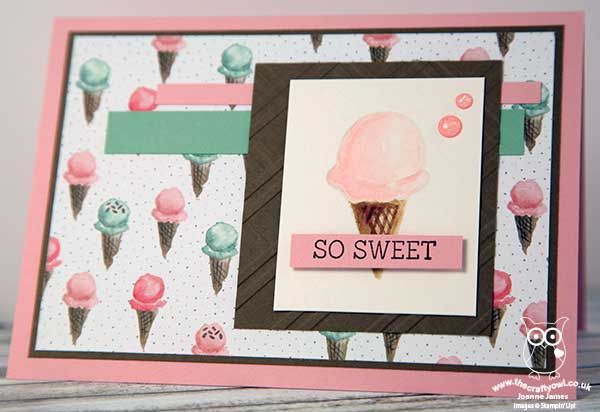
I got such lovely comments on my card for last week's TGIF Challenge, that when I saw the badge for this week I just knew it was the perfect opportunity to get out the ice cream patterned paper in the Birthday Blossoms DSP and play along. Here is my card:

My card is a mix of mouth-watering ice-cream in pastel colours, with a little texture and another go at no-line watercolouring. Today's highlights include:
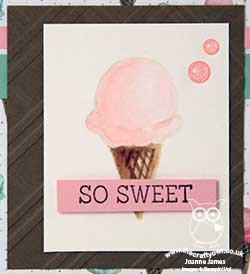
A sweet treat stamp and paper combination - The Birthday Bouquet Designer Series Paper has some gorgeous florals, but also includes a number of great alternative patterns that are perfect for a sweet celebration. I love these soft, watercoloured ice creams and decided to stamp one using the ice-cream stamp in the 'Honeycomb Happiness' Sale-A-Bration stamp set onto watercolour paper and coloured it using inks and my aquapainter to mirror those on the paper. I needed a small sentiment that wouldn't overwhelm my cone, so I trimmed the top part away for a better fit.
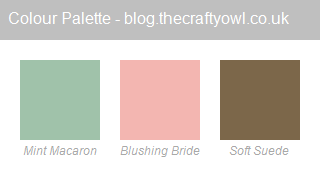
A colour combination that's good enough to eat - I love the combination of pale pink and pale green, with the warm brown of soft suede - the ice-creams combine these colours perfectly and the pink and brown make the perfect base for my card. Here's this colour combination if you would like to save it to use on your projects:

Waffle-y Versatile Stylish Stripes - I used the pastels for the horizontal stripes on my card and decided to use Soft Suede to mat my watercoloured image. I don't often use texture and embossing on my cards but decided to create a little more interest with a textured layer that emulated the cone of my ice cream. The Tiny Triangles or Zig Zag Textured Embossing Folders would have been good choices, but since I don't own either of those I embossed my cardstock twice with my trusty Stylish Stripes Textured Impressions Embossing Folder, embossing once then rotating my cardstock through 90 degrees and embossing again to give a criss-cross look. It works for me!
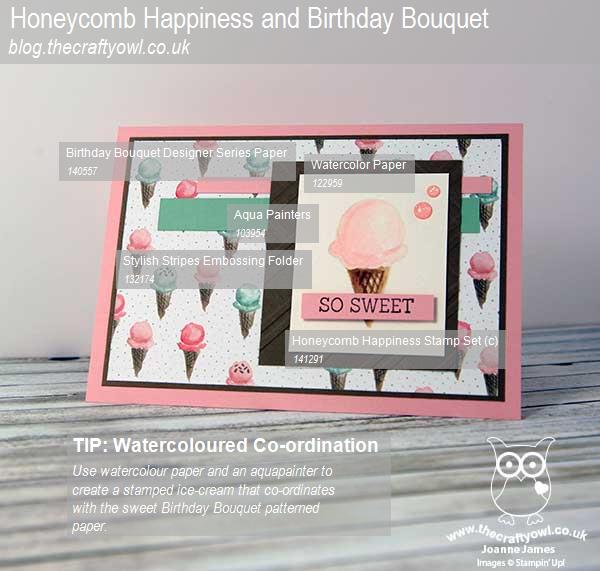
Here is today's visual summary of the key products used for you to save for easy reference:

I hope you like today's card. As I mentioned yesterday, today is the first day of the school holidays and when I returned from my drop-in Coffee and Card session at Bell of Northampton this morning (I'll be back to share the card we made today later in the week), Rebecca decided that having played outside all morning, she wanted to do something creative this afternoon. So what do you do when two of your greatest passions in life are Lego and craft? Well, you use your Lego Mindstorms to build a robot that you can programme to decorate your Easter eggs! We made a short video to show the results and I thought I'd share here as I thought the results were rather impressive:
Who said school holidays were boring? Not when you're 10 years old and a member of the James family, for sure!
Back tomorrow with this week's card for the new challenge over at Create With Connie and Mary; until then, happy stampin'!
Stampin' Up! Supplies Used: