
I've had a busy couple of days with some of my team at Stampin' Up!'s Onstage event in Birmingham to celebrate the launch of the upcoming Spring Summer catalogue. More about that in my later post though as for now it's Sunday and time for this week's new challenge over at The Paper Players! It's the turn of the queen of diecuts, the lovely Laurie, to host this week and she has an unusual colour challenge for you to work with:
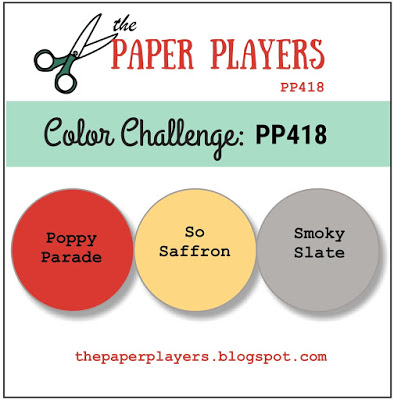
When I first saw this colour combination I almost ran a mile and it did have me stumped initially, although a sudden flash of inspiration led to me not only creating with but loving this trio that I used to create another Christmas card to share with you this week - take a look:
Here's the low-down on today's card:
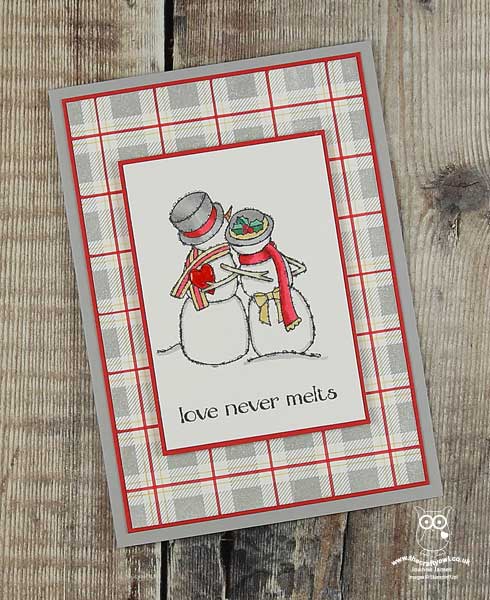
Love Never Melts - What could be sweeter than this pair of snowmen, all wrapped up in their winter woollies and hats? I coloured their accessories using a combination of my Stampin' Write markers and Stampin' Blends and added a Smoky Slate outline to the snowy areas for a touch of extra definition. I'm hoping Laurie will forgive me the liberty of adding a touch of green to my holly leaves, but I'm afraid it just had to be done! The sentiments in this stamp set are so sweet - the one on today's card is perfect to send festives wishes to your bestie and continues onto the inside of the card:

Another Custom Plaid - When considering what paper to pair with my snowmen, I drew a blank. Instead, I decided to create another custom plaid design using my Buffalo Check stamp set in Smoky Slate and using the thick and thin ends of my Stampin' Write markers in Poppy Parade and So Saffron respectively to customise my pattern. I love the Buffalo Check stamp on its own, yet love how you can create such fun and unique patterns with this stamp. What colour combinations and patterns would you try?
Subtle Sparkle and Shine - Although difficult to see on my photos, all of the snowy areas on my image are brushed with clear Wink of Stella and the red heart the snowmen are holding has been painted using a fine tipped glue pen to give a wonderful glossy shine when dry. The shimmer and gloss are subtle, but they are there and add so much to this clean and simple card.
Here is the visual summary of the key products used on today's project for you to pin for easy reference:
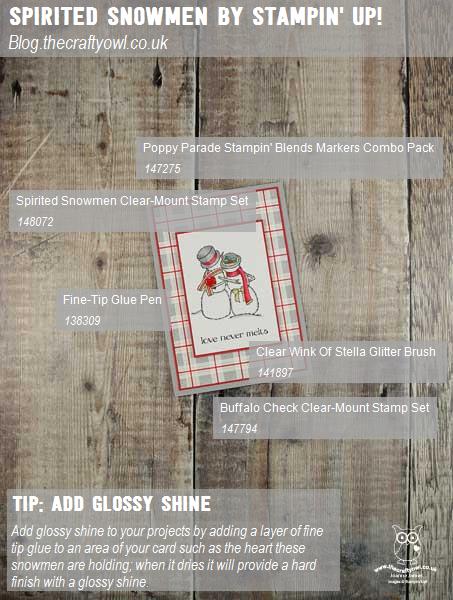
You can see all of my Product and 'How To' summaries on my 'How To - Tips and Techniques' Pinterest board in case you've missed any.
Before you reach for your ink and papers, check out what our amazing team has created to inspire you this week:
The Paper Players Design Team
Here's a quick recap of our challenge rules:
1. Create a new paper project
2. Upload your creation to your blog with a link back to us and provide a direct link to the post featuring your challenge submission.
3. Please link your card to no more than four challenges, TOTAL.
4. Have FUN!
I can't wait to see what you create with this week's colours and look forward to visiting your blogs this week! Enjoy the rest of your weekend as it will be over all too quickly. I'll be back tomorrow with another project; until then, happy stampin'!
Stampin' Up! Supplies Used: