Today it's Sunday and time for this week's new challenge over at The Paper Players! It's the turn of the fabulous LeAnne to host this week and she has a fun clean-and-simple challenge for you to work with:


Fabulous felines - what a fun challenge this week! I used the sketch over at Fusion (come back tomorrow if you'd like to see a card that uses the Fusion photo inspiration too) to make a clean and simple birthday card - take a look:
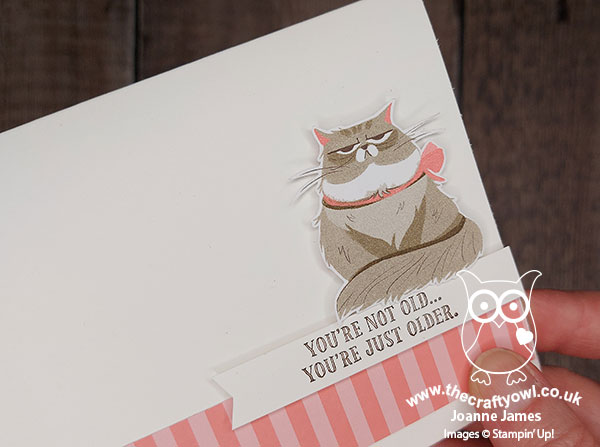
Here's the low-down on today's card:
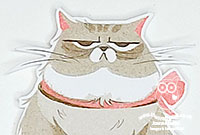
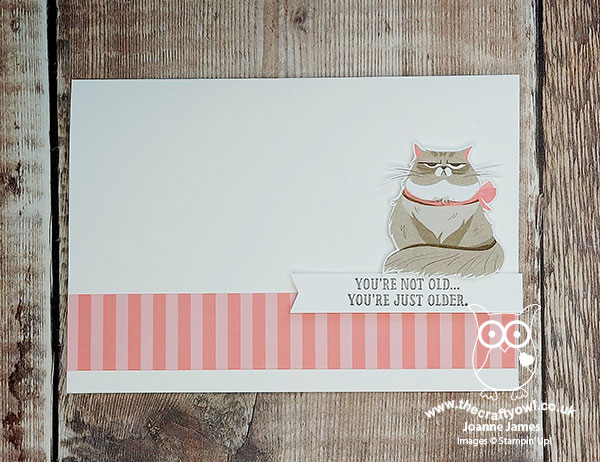
Today's card is super simple! I've been wanting to make a card using this cat that features on the Playful Pets designer series paper for ages - I just love her quirky expression! - and our challenge this week was the perfect opportunity. I cut a strip of (retired) Brights DSP in a two-tone stripe that picks up the pink of the cat's neck bow, and a suitably tongue-in-cheek sentiment from Itty-Bitty Birthdays that seemed to reflect just what my fussy-cut kitty was thinking, and placed the various pieces onto my card. A quick check to our clean and simple guidelines:
- minimal layers
- little/no embellishments
- lots of clean white space (no pattern)
Done!
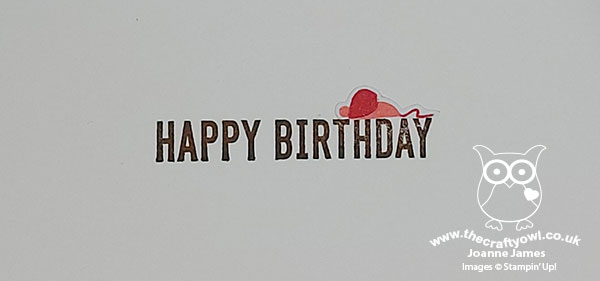
I finished my sentiment on the inside of my card and added a mouse that I fussy cut from my DSP sheet too:
Since this is a birthday card, I'll be linking up over at The Spot today too where they have a birthday theme.
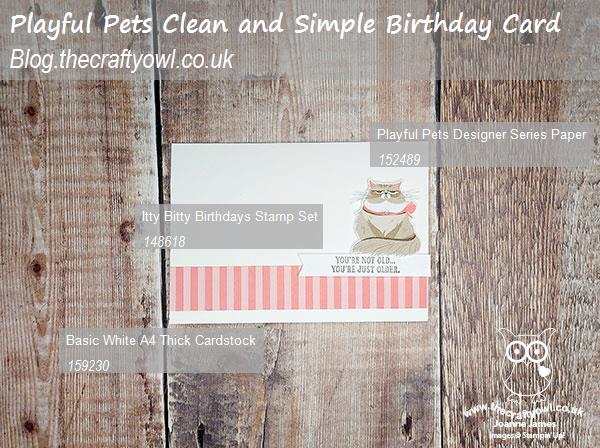
Here is the visual summary of the key products used on today's project for you to pin for easy reference:
You can see all of my Product and 'How To' summaries on my 'How To - Tips and Techniques' Pinterest board in case you've missed any.
Before you reach for your ink and papers, check out what our amazing team has created to inspire you this week:
The Paper Players Design Team
Here's a quick recap of our challenge rules:
1. Create a new paper project
2. Upload your creation to your blog with a link back to us and provide a direct link to the post featuring your challenge submission.
3. Please link your card to no more than four challenges, TOTAL.
4. Have FUN!
You can see all of my 'How To' summaries on my 'How To - Tips and Techniques' Pinterest board in case you've missed any.
Enjoy your day; I'll be back tomorrow with another project. Until then, happy stampin'!
Stampin' Up! Supplies Used:
to follow