Today I'm sharing my design team card for our new challenge over at As you See It where it's time for a bold colour challenge:
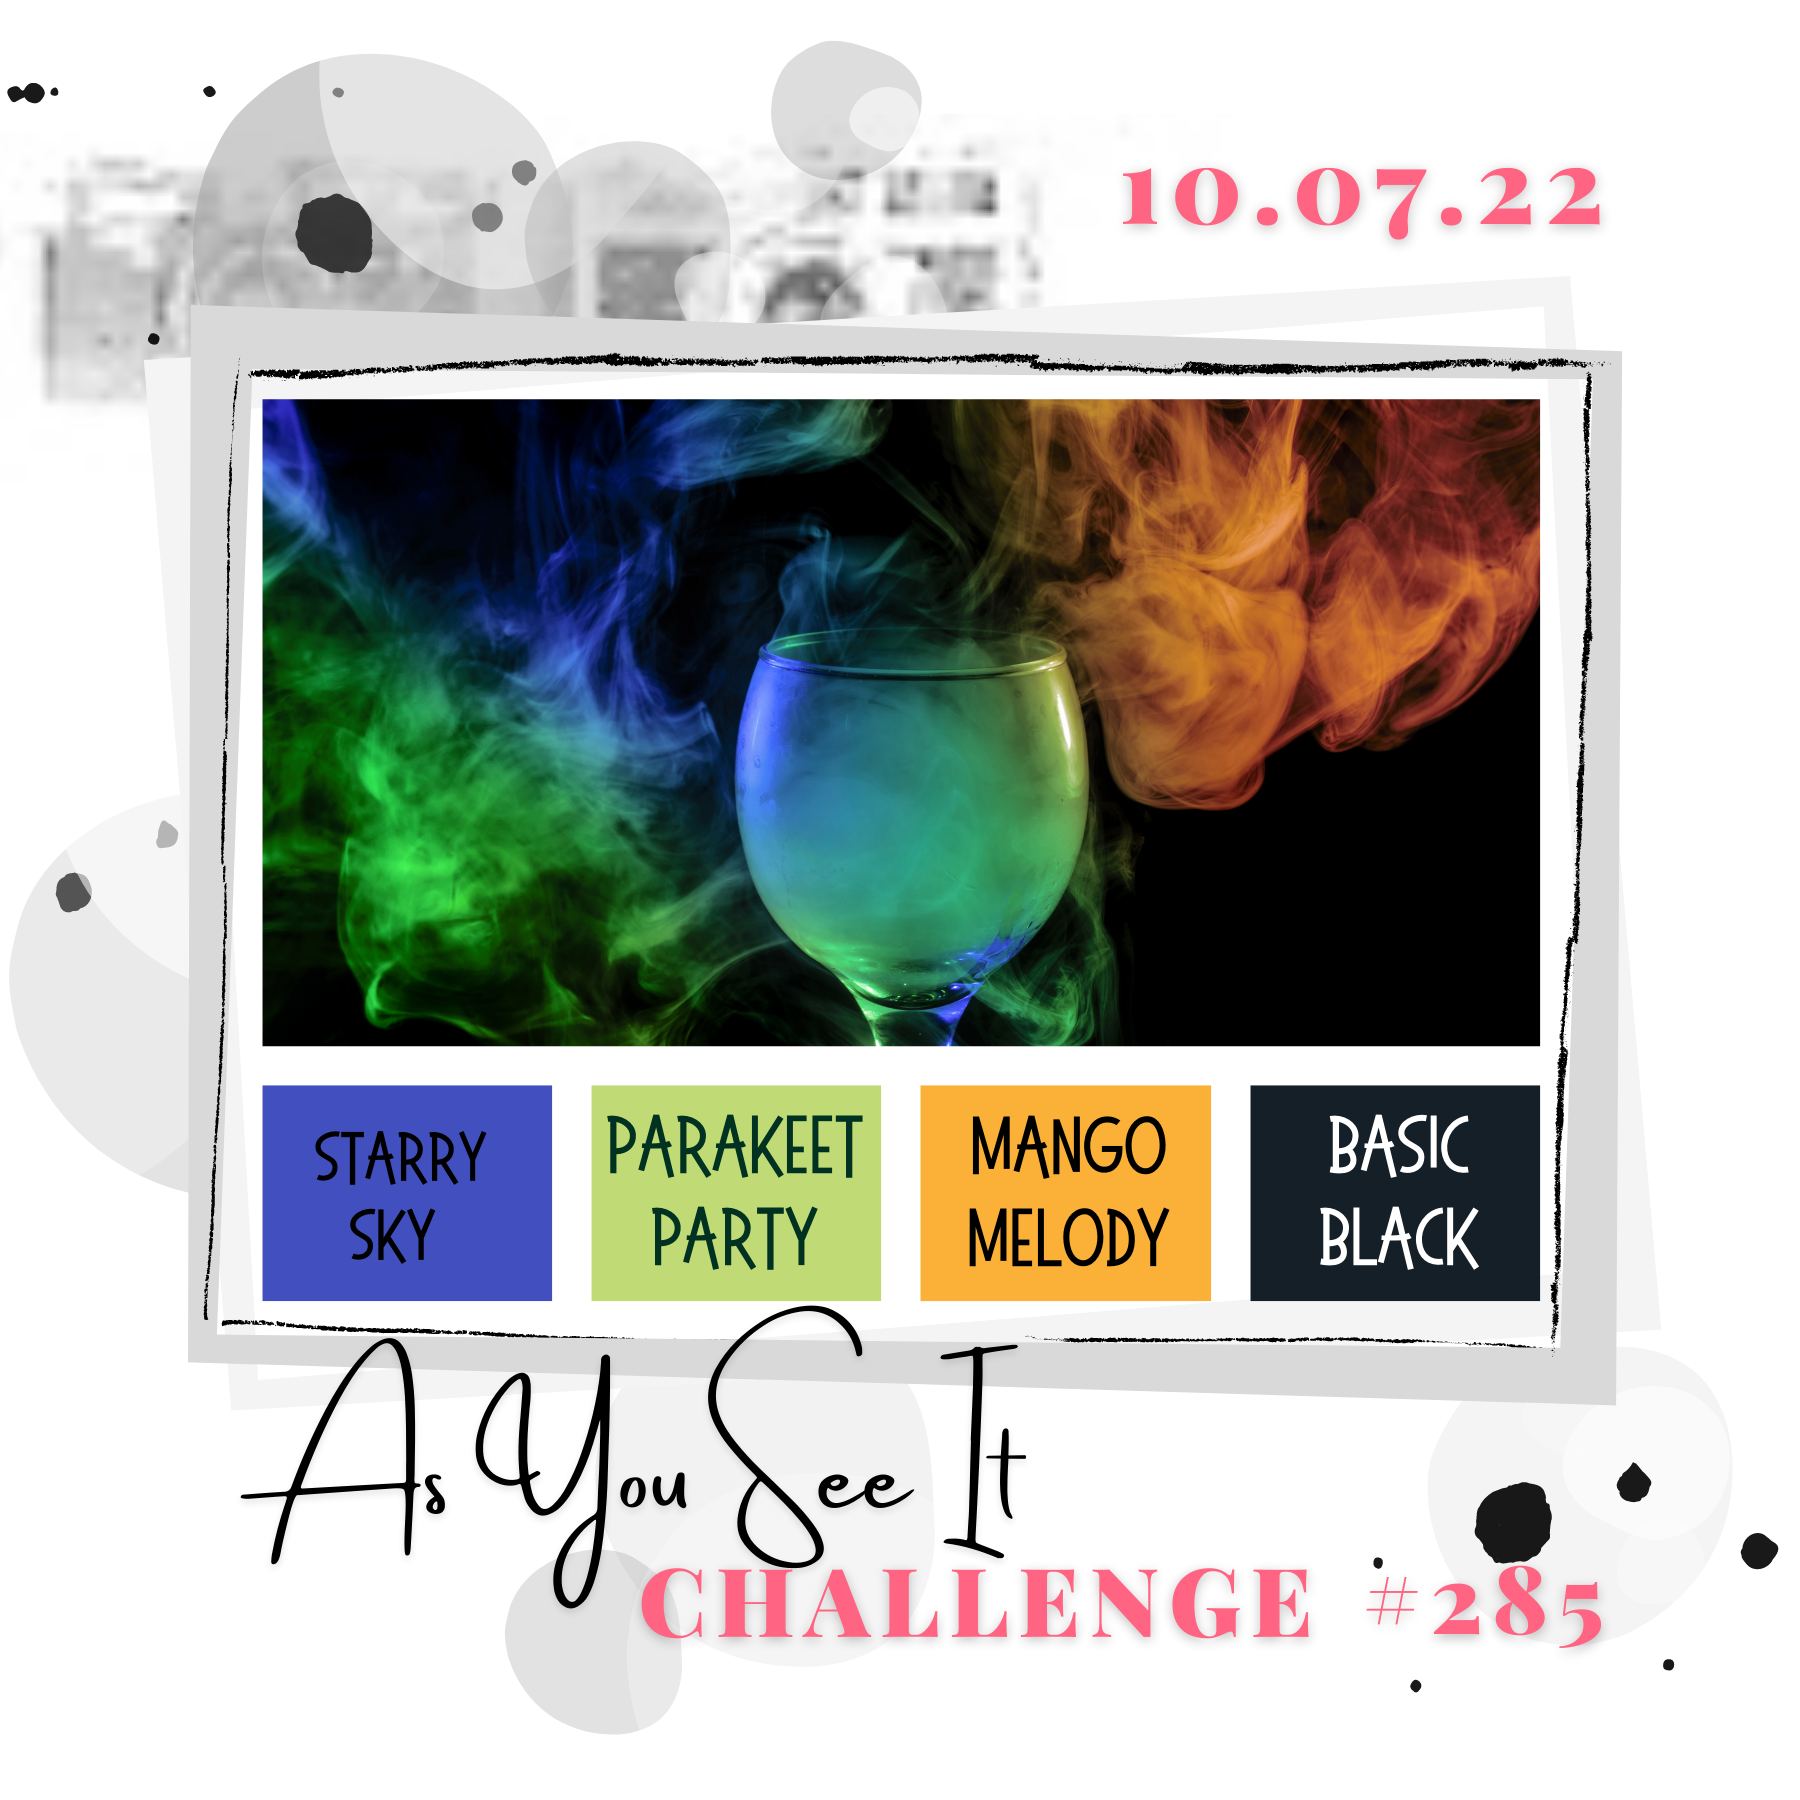
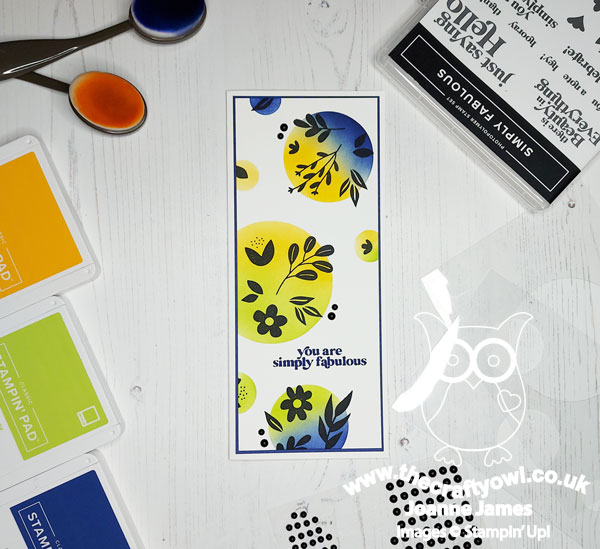
I love this week's colour palette, although the bold colours did mean I had to get my thinking cap on. I decided they would be perfect for me to try out an idea I've had buzzing around for a while - take a look:
Here's the low-down on today's card:
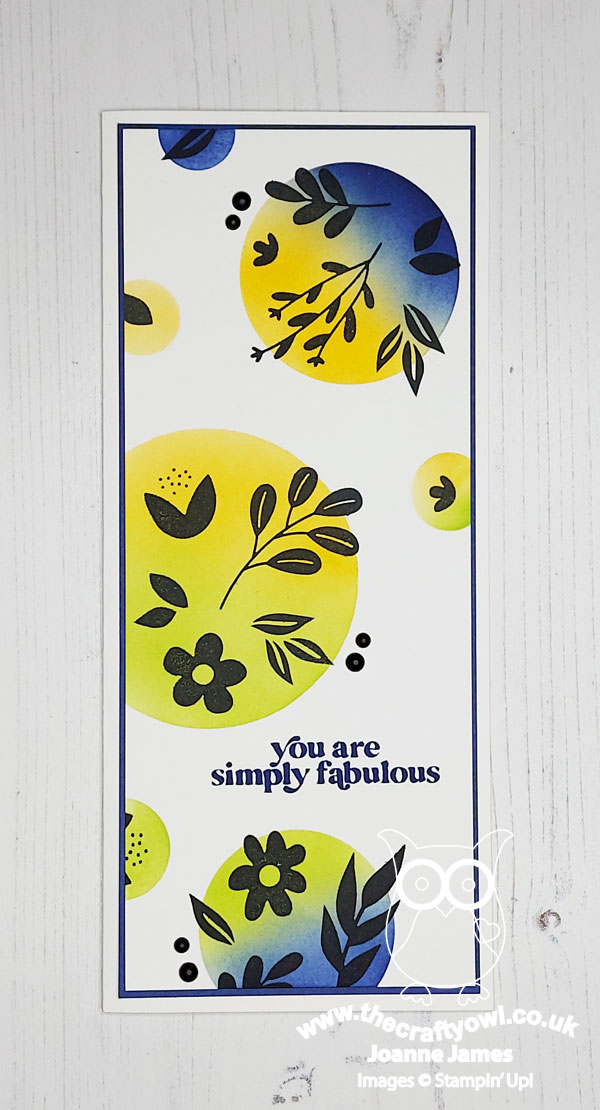
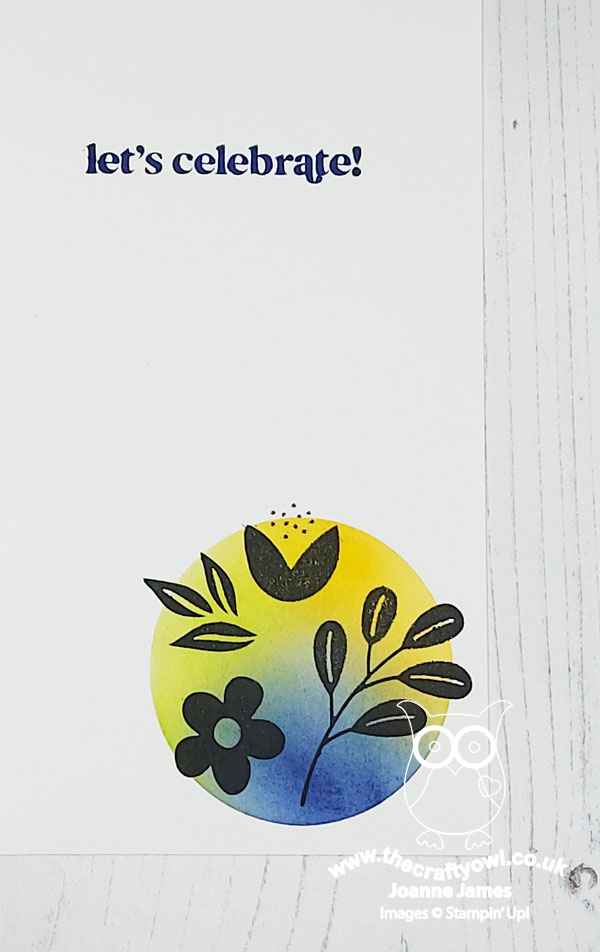
Simply Fabulous - I've made no secret of how much I love the 'Simply fabulous' stamp set - to me, it is just that! So versatile, with great sentiments and fonts and bold floral images, if you do a search you'll find lots of examples of where I've used it on other cards. Instead of stamping in colour, I wanted to see what it would look like stamped in black onto a coloured base. The images are small and easy to combine and the subtle leaf detail on some of the images mean this works really well. I used my Stamparatus to stamp clusters of images at a time, reinking to make sure I had a nice solid black image. I also added a little additional detail on the inside:
DIY Stencils - I decided that I would use some circle shapes to highlight my clusters of silhouetted images and use a combination of blended colours in each one. I made my own set of circle stencils, using some window sheet and my Layering Circles Dies, so carefully positioned them where I wanted my images, starting with the large ones and adding a few smaller ones around the edge to fill in the gaps. I used my blending brushes to add a combination of two colours to each circle. I love using stencils and don't have many in my collection, but I'm always looking at ways in which I can use my dies to create custom stencils - do you do this too? My stencilling here is simple but I think quite effective; I'm linking up with the challenge over at Inkspirational where they are asking us to use stencils this week - do check out the DT and gallery cards, there are some great examples of the way stencils can be used on your projects.
Finishing Touches - To finish my card, I added a few matte black dots to the outer borders of the larger circles as an accent:
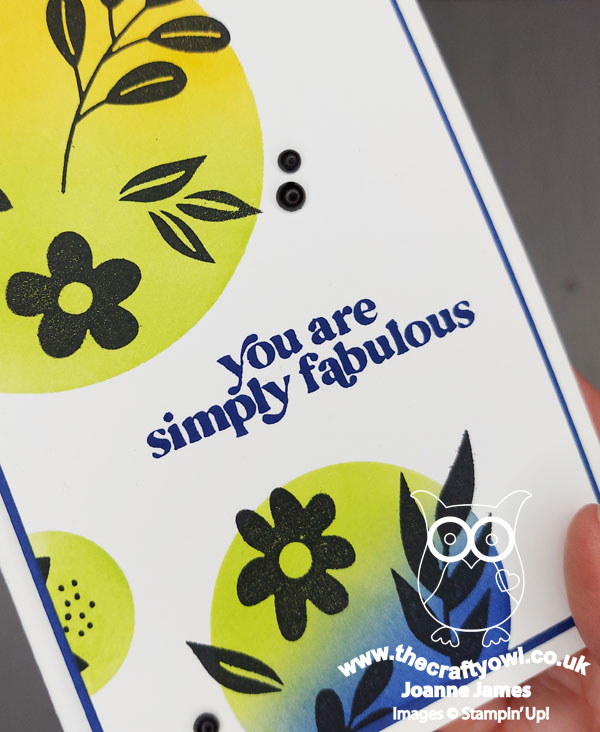
I really love this card and am glad I used a slimline design too as it meant I got more circles onto my card front. If I could change one thing, I think I would stamp my sentiment in black rather than Starry Sky; I wanted to tie it in to the mat layer, but I think black would have given a crisper finish. I'll save that for my next one!
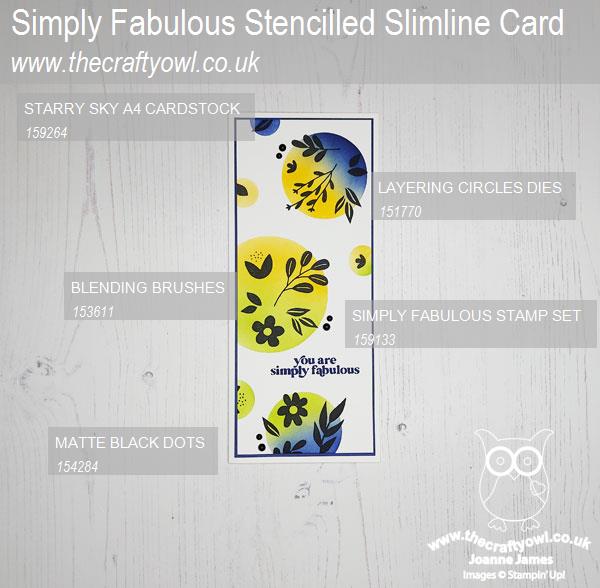
Here is the visual summary of the key products used on today's project for you to pin for easy reference:
You can see all of my 'How To' summaries on my 'How To - Tips and Techniques' Pinterest board in case you've missed any.
Here's a summary of our challenge rules:
- Create any card, scrapbooking page, 3D project or packaging project that fits the challenge.
- Please include the challenge graphic and link back to the challenge in your blog post. Turn off word verification so we can leave you lots of lovely comments. Make sure you link the post not the whole blog to the Linky. Use #AYSIXXX when uploading to a public gallery.
- If you’re unsure about ‘the rules’, check the details under the Challenge Guidelines tab on the As You See It Challenge homepage.
- In a colour challenge, black or other neutral can be used in outlines and sentiments but no other colours should be included. Stampin’ Up colours are used for reference but colours that are a close match are welcome.
We look forward to seeing your creations in the AYSI gallery.
Enjoy your day. Mine will be filled with laundry and housework and maybe a little crafting! I am on late pickup this evening, as one of the James Juniors has a social evening and quiz night at school, which after this morning's rush hour I am particularly thankful for: a beer tanker had overturned and completely blocked the dual carriageway that is only minutes into our journey, necessitating a massive diversion and delay - not what you need when you have a 60 mile round trip to embark on at 7.15am! Still, everyone got to school on time and I'm thankful we weren't involved in the incident itself, so all good. I'll be back tomorrow with another project. Until then, happy stampin'!
Stampin' Up! Supplies Used: