Today I have my card for the new challenge over at Festive Friday Card Making and Paper Crafting Challenge.
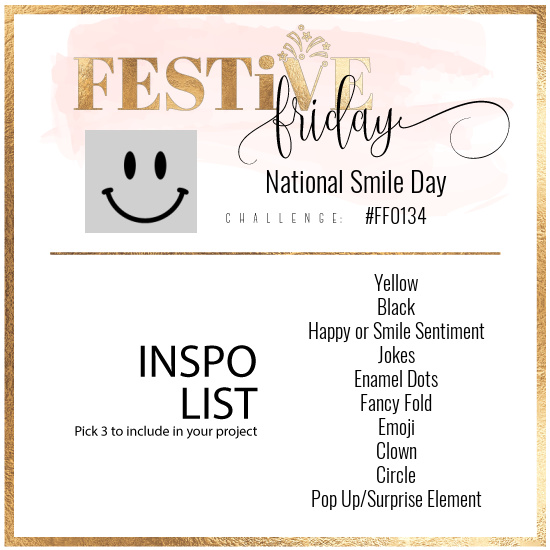

The challenge that we are celebrating this week is 'National Smile Day' which is on 31st May. Remember the fun thing is that at Festive Friday you do not need to actually celebrate the occasion; your goal is to simply use three or more items from the inspiration list on your project. This week I used yellow, joke and pop-up/surprise element and this is what I came up with:
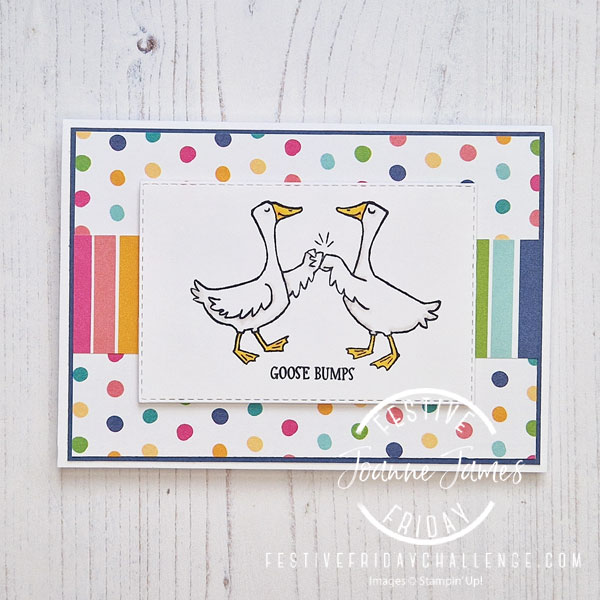
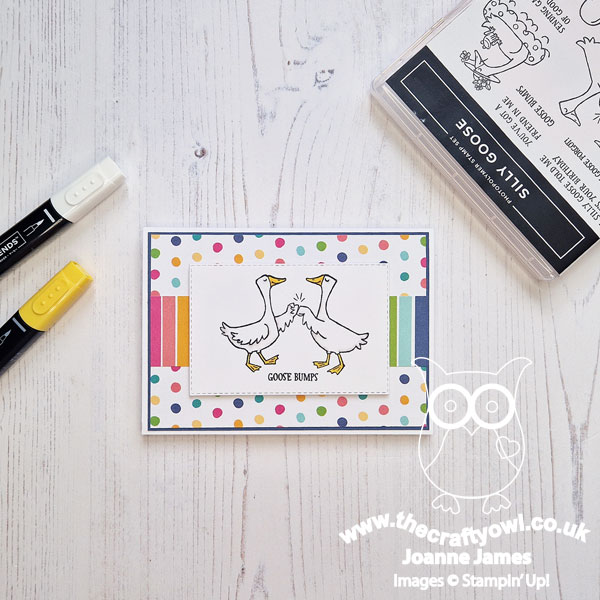
Here's the low-down on today's card:
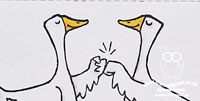
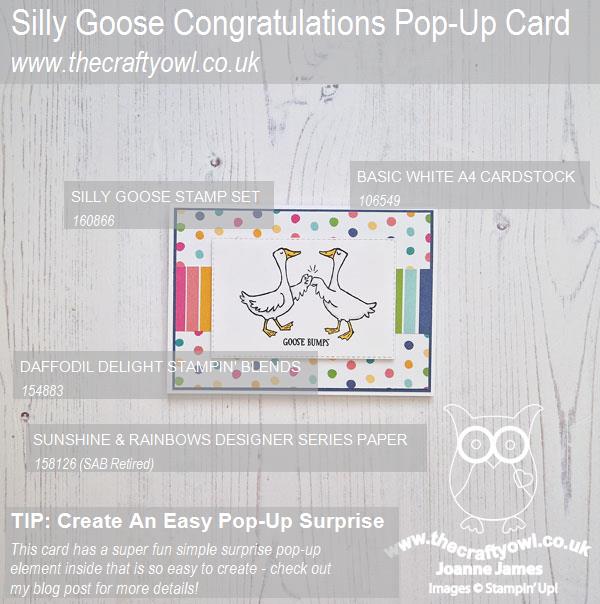
Silly Goose - With two children taking major exams this year, there will (hopefully!) be the need for lots of congratulations cards, so I thought I'd use today's challenge to get started! This stamp from the 'Silly Goose' stamp set, with its punny joke 'goosebumps' play-on-words, is perfect for the youngest of the James Juniors, who is a master of the fist-bump and will definitely appreciate the sentiment! I went for a simple stamped image, backed with some retired Sunshine & Rainbows spots and stripes designer paper to add a subtle pop of colour (which also enables me to play along with the team over at Color Dare for their rainbow challenge):

Easiest Ever Pop-Up Surprise - I decided I would create a fun little pop-up surprise inside my card, featuring the banner-carrying duck that is another of the stamps in the 'Silly Goose' set:
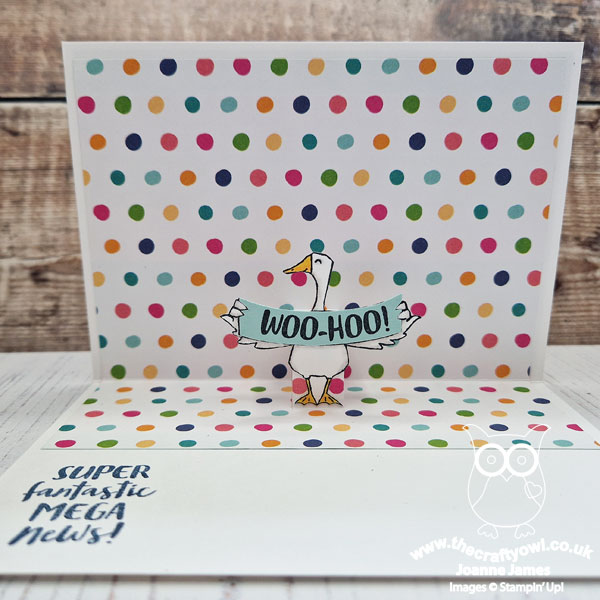
This style of pop-up is so easy to make: I just found the centre of my card fold, then cut two lines measuring 4cm long either side of the mid-point, 1.5cm apart. This section then folds the opposite way to the card fold and your image, in this case the stamped, fussy cut goose, can be attached to the lower portion so he stands up when the card is opened.
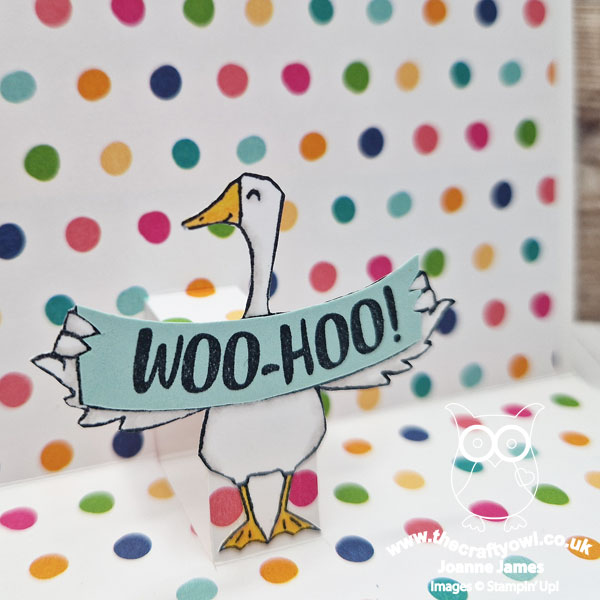
Customise Your Sentiment - The eagle-eyed amongst you will notice that the message on the original stamped image is 'thanks' but mine says 'woo hoo', which was more appropriate for a congratulations card. I simply masked out the original words before stamping the image on Pool Party cardstock, then stamped in my alternative greeting from the 'Charming Sentiments' set and fussy cut the banner before attaching to another image stamped on white cardstock. You can see it more closely below:
This card is so fun - and so easy to make too! I'm sure there are lots of other stamped images you could use in this way - feel free to share your ideas in the comments section below.
Here is the visual summary of the key products used on today's project for you to pin for easy reference:
You can see all of my 'How To' summaries on my 'How To - Tips and Techniques' Pinterest board in case you've missed any.
How does our board inspire you? I can’t wait to see what YOU create! For more inspiration, be sure to visit the rest of the Festive Friday Card Making and Paper Crafting Challenge Design team:
I have a busy day planned but the most significant aspect has to be that it is the last day of school for the oldest of the James Juniors - it is officially the end of an era! Where did that time go?! Enjoy your day and I'll be back tomorrow with another project. Until then, happy stampin'!
Stampin' Up! Supplies Used: