by Joanne James28. January 2016 08:05
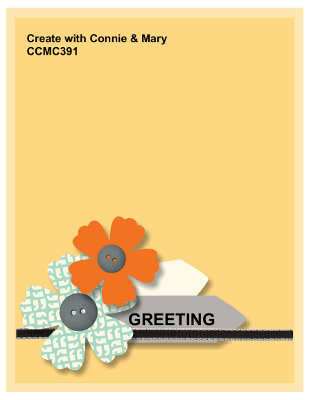
Today it's time for a new challenge over at Create With Connie and Mary and this week we have a great sketch for you:

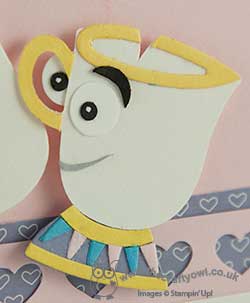
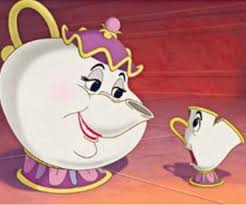
Now as my regular readers know I love a good sketch but it wasn't actually the sketch that inspired my card today; I was working on a couple of projects at the same time and had my Cups and Kettle Framelits Dies still out on my desk from my Paper Players card (if you missed it you can see that card here) and the minute I set eyes on that little cup (or it might even be a milk jug, I'm not sure) I just knew it would be perfect to make Chip, the little cup from Disney's movie 'The Beauty and The Beast' - you know the little guy I mean?
 (Copyright Disney)
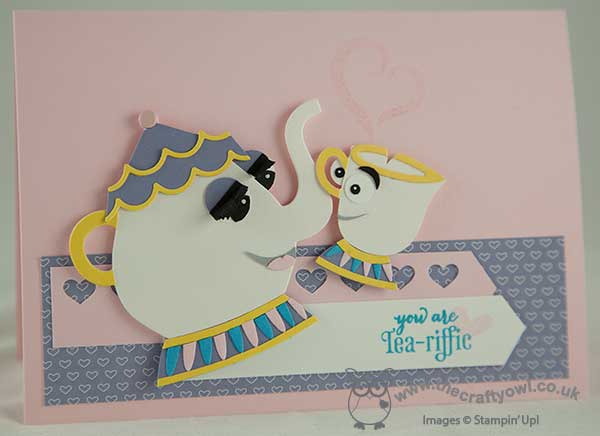
Paired with a customised teapot for Mrs Potts, Chip's Mum, this sketch gave me the perfect layout to showcase my fun characters - here's my finished card:

Now I know I'm biased since I made the card, but aren't that pair just the cutest?! So how did I make them? Here are the key component parts you need:
- Basic teapot and cup cut from Shimmery White cardstock (I reversed my cup for the above card as I wanted the characters to be looking at each other)
- Cupbase and teapot base made from the base of the other cup framelit cut from Wisteria Wonder
- Cut an extra teapot and cup in Daffodil Delight and trim off the handles and some strips to edge the bases
- Cut three of the looped framelit pieces, one each in Daffodil Delight, Tempting Turquoise and Pink Pirouette. Detach and use one whole yellow loop to line the cup. Snip the blue and pink ones in half across the middle and glue them in alternating colours to the Wisteria Wonder base.
- Cut a teapot lid out of Wisteria Wonder and add a Pink Pirouette candy dot to the lid top.
- Cut two pieces of the wave shapes, one each from Daffodil Delight and Wisteria Wonder. Paper-piece them together and adhere to the teapot edge to create the frill.
- Punch some eyes using the circle from the owl builder punch, adding eyelids and eye lashes to Mrs Potts and cut the eyebrows and mouths freehand with paper snips.
- Lastly, don't forget to snip to add Chip's chip!
I stamped a faint heart on the background, added a strip of 'Have a Cuppa' designer series paper and a heart boarder, along with my sentiment, to complete my card. Punch art-type cards like this are sometimes time-consuming to create, but so worth it I think for a special card!
Do visit the other Design Team members to see how they interpreted this week's sketch; there's lots of inspiration over on their blogs too!
Enjoy your day and I'll be back tomorrow with another project; until then, happy stampin'!
Stampin' Up! Supplies Used:
8b1f0c40-a6e1-4d83-9018-34fcfc859af2|1|4.0|96d5b379-7e1d-4dac-a6ba-1e50db561b04
Tags: Create With Connie And Mary, Stampin' Up, Stampin' Up Card, Stampin' Up Card ideas, Stampin' Up Supplies, Punch Art, Cups and Kettle Framelits Dies, A Nice Cuppa, Have A Cuppa, Hearts Border Punch, Owl Punch
Cards | Punch Art | Shop Online | Stamping