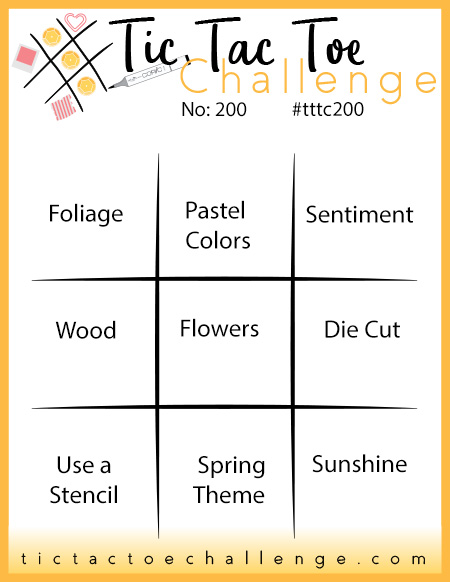
It's Thursday and time for a new challenge over at TicTacToe! It's the turn of Team X to host this week and the lovely Vicky is our featured designer this week. This is the fun board that we are playing along with for our 200th (yes, 200th!) challenge:

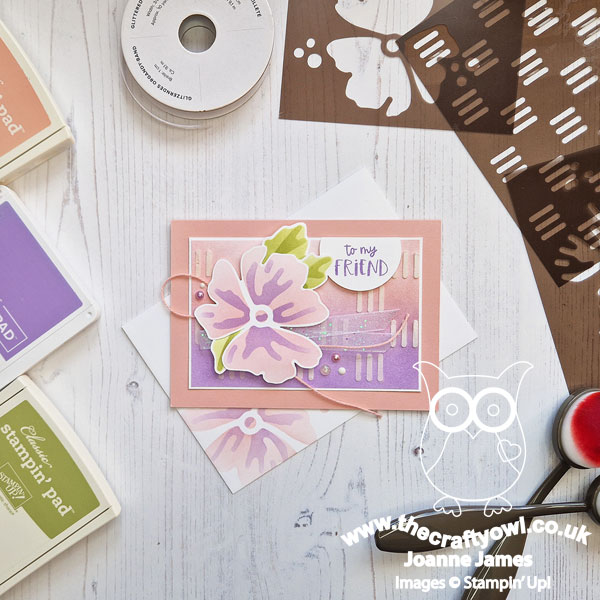
I went on the diagonal from bottom left to top right with stencil, flower, sentiment and took the opportunity to have another play with my Loveliest Layers Decorative Masks, this time using both the flower and background stencil and a little fussy cutting - take a look:
Here's the low-down on today's card:
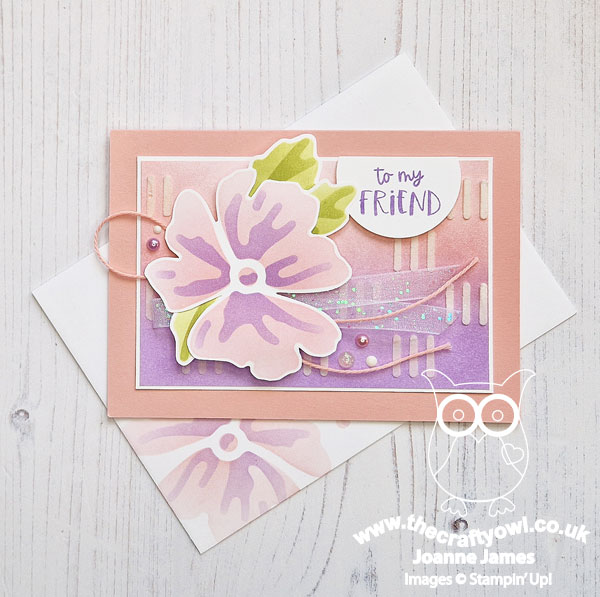
Double Decorative Masks - I wanted to play along with this month's challenge over at The Flower Challenge where they are using floral diecuts or stencils, so stencilled a flower and leaves using the floral stencil, but instead of stencilling directly onto my card base as I have previously, I fussy cut it and set it to one side whilst I created a background using the other stencil in the set. I created an ombre background using the same shade of pink and purple that I used for my flower using my blending brushes, then used my background stencil to apply shimmery white embossing paste over the top. This adds both a touch of sparkle and some textural interest; be sure to clean your stencil quickly though once you've used is with paste, to avoid it drying onto it and proving difficult to remove. You can see the detail of both stencils more clearly below:
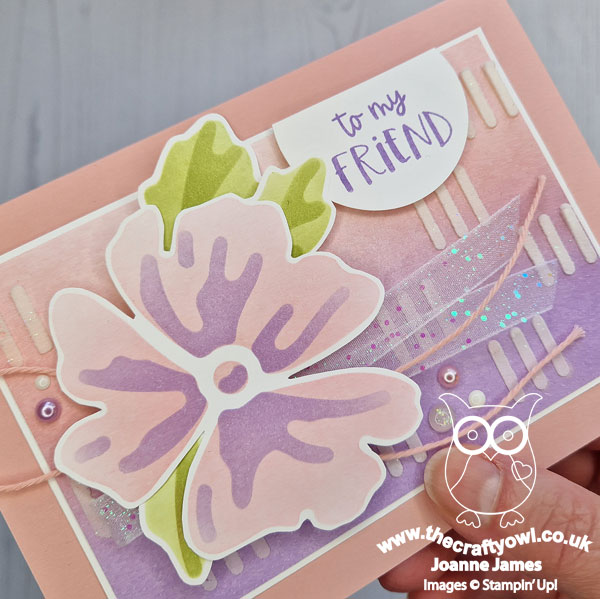
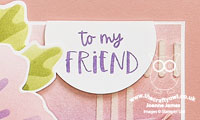
Best Family Ever - The sentiment on my card comes from a stamp set called 'Best Family Ever' - so useful for customisable greetings and great value too. I stamped it in Highland Heather onto a white circle punched with my 1 3/4" circle punch.
Online Exclusives - Before you wonder where the word 'retired' was in front of the reference above to my 1 3/4" circle punch, fear not - it's not there because circle punches are back! Well a 1 3/4" and a 2" version at least, as part of the Online Exclusives range that launched at the start of the month. As you would expect, these items can be found under the 'Online Exclusives' section of my online store - they can be ordered online directly or by placing your order with me, but the important thing to note is that just like our range of craft and card kits, they will not appear in any catalogue publications. Purchase your circle punch and see the rest of the current Online Exclusives range in my online store here.
I finished my card with some sparkly ribbon, twine and a collection of pearls, gems and enamel dots to compliment my colour scheme.
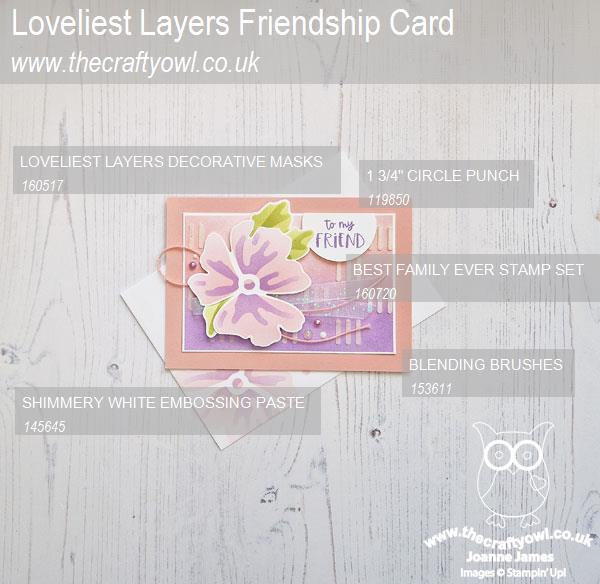
Here is the visual summary of the key products used on today's project for you to pin for easy reference:
You can see all of my Product and 'How To' summaries on my 'How To - Tips and Techniques' Pinterest board in case you've missed any.
A tictactoe board offers so many creative possibilities - how does this week's board inspire you? Why not have a go? We would love to see you in the gallery and who knows - you might be selected for Designer's Choice and be eligible to be a guest designer on a future challenge.
Enjoy your day; my day has been a busy one, but since I have a Parents' School Exchange Meeting at school this evening, I am being rewarded with dinner out with the youngest of the James Juniors in order that we can fit everything in - what a treat! I'll be back tomorrow with another project. Until then, happy stampin'!
Stampin' Up! Supplies Used: