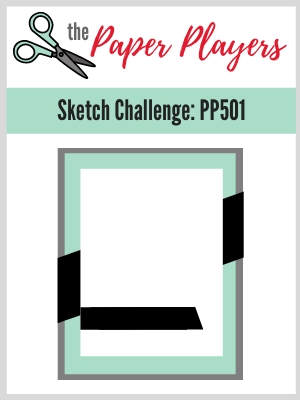
Today it's Sunday and time for this week's new challenge over at The Paper Players! It's the turn of the wonderful Anne Marie to host and this week it's my favourite, a sketch challenge:
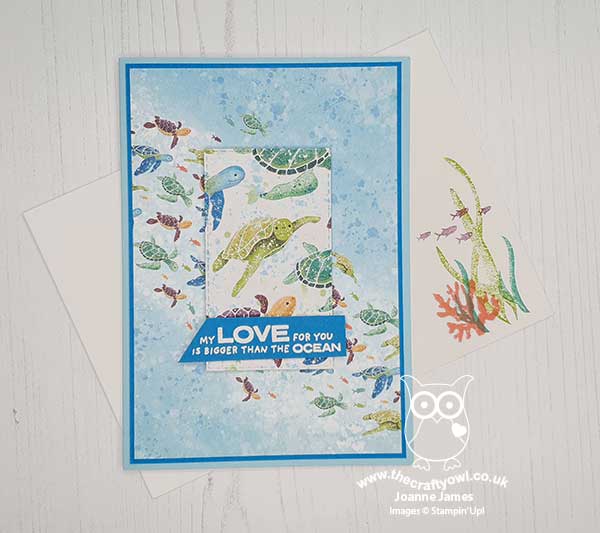
I deliberated over this week's sketch then decided to go with an idea that I had been mulling over - take a look at my finished card:
Here's the low-down on today's card:
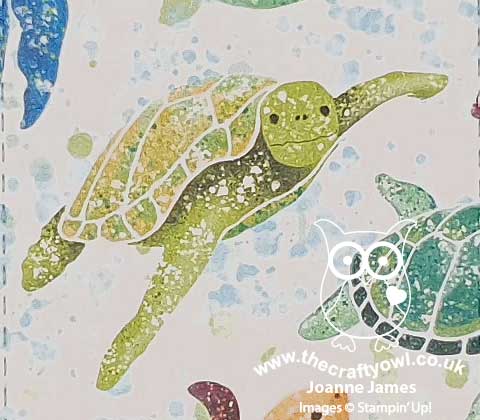
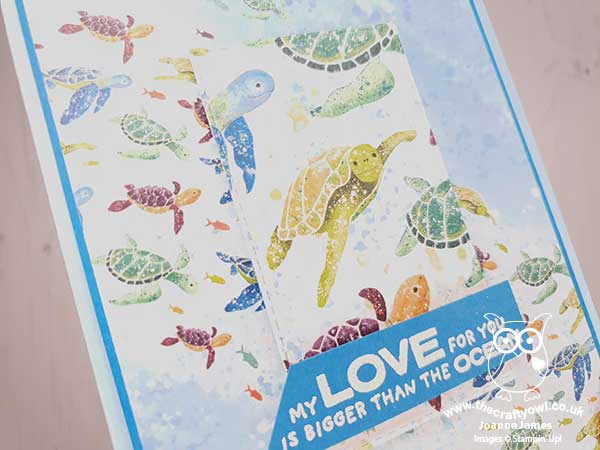
Whale of A Time - My whole card this week was based on a couple of my favourite patterns in the Whale Of A Time DSP pack. There are some amazing patterns in this pack but the ones featuring the turtles stole my heart the minute I set eyes upon them! I have had so many special encounters with turtles when scuba diving that these graceful sea creatures will always be special to me. I could happily never have cut these papers, but when I saw Anne Marie's sketch this week I saw a way to use these patterns in a fun way. I used the piece with the small turtles swimming on the current for my base, then added a section featuring the larger turtles for the central section. I wanted it to appear almost as if the turtles on the central panel were a magnified version of the turtles behind. Furthermore, I was careful to choose which piece to cut for my central panel; doesn't that green turtle in the centre appear to be looking at you head on? Here's a close-up so you can see what I mean:
Flip The Sketch - It was the diagonal on the sketch that made me think of the paper design featuring the turtles travelling on the current, but they weren't swimming in the right direction. To solve the issue, I flipped the sketch along the vertical edge and inverted all of the elements. I also made the central rectangle smaller and borderless (I didn't want to obscure the diagonal of turtles too much) and my sentiment banner slightly longer to accommodate my chosen sentiment. My interpretation of the sketch is less literal this week, however you can still clearly see all of the elements.
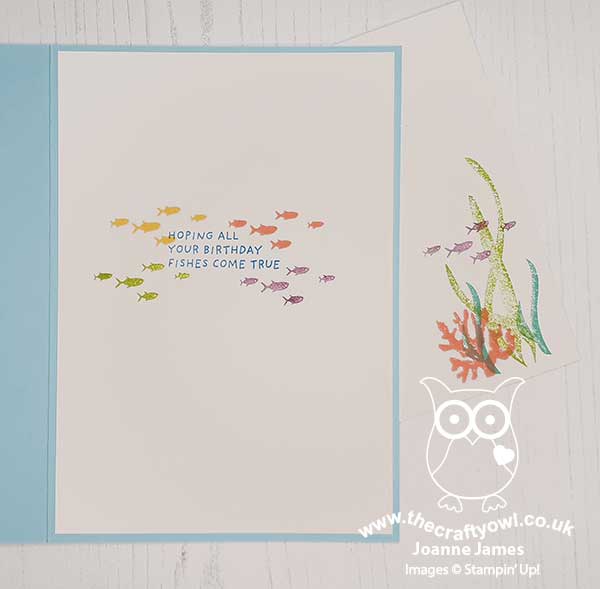
It's Not All About The Paper - Whilst the front of my card most definitely focuses on my chosen papers, this card is not all about the paper! I added some stamping to the corner of my envelope and added this cute punny sentiment inside along with some colourful shoals of fish to complete my card:
Whilst at first glance my card may appear simple, it actually took a lot of thought to bring my ideas to fruition. So what do you think? Do you like the end result? Do leave me a comment below - I would love to hear your thoughts!
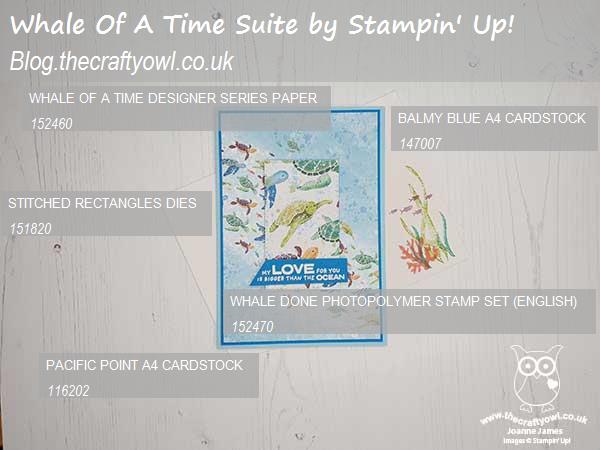
Here is the visual summary of the key products used on today's project for you to pin for easy reference:
You can see all of my Product and 'How To' summaries on my 'How To - Tips and Techniques' Pinterest board in case you've missed any.
Before you reach for your ink and papers, check out what our amazing team has created to inspire you this week:
The Paper Players Design Team
Here's a quick recap of our challenge rules:
1. Create a new paper project
2. Upload your creation to your blog with a link back to us and provide a direct link to the post featuring your challenge submission.
3. Please link your card to no more than four challenges, TOTAL.
4. Have FUN!
You can see all of my 'How To' summaries on my 'How To - Tips and Techniques' Pinterest board in case you've missed any.
Enjoy your day; we are hoping to dodge the thunderstorms and go cycling today as well as do some baking amongst other things. I'll be back tomorrow with another project. Until then, happy stampin'!
Stampin' Up! Supplies Used: