
Today it's Sunday and time for this week's new challenge over at The Paper Players! It's the turn of the fabulous Ann to host this week and she has a seasonal theme for us to work with:
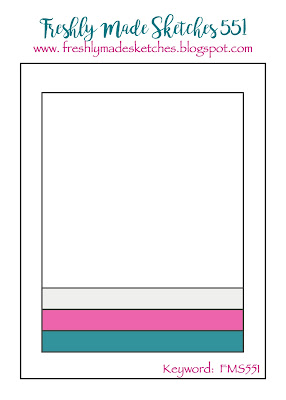
I'm back following my week off last week; I've been enjoying a well-earned break in the Florida sunshine so Ann's theme this week of 'Fall Fun' brought me back down to earth with a bump! I'm not ready for pumpkins and spiced lattes just yet though; I took my inspiration from the bright autumn leaves in our challenge badge and paired them with the lovely Kim's fantastic sketch over at Freshly Made Sketches to come up with this colourful creation - take a look:
Here's the low-down on today's card:
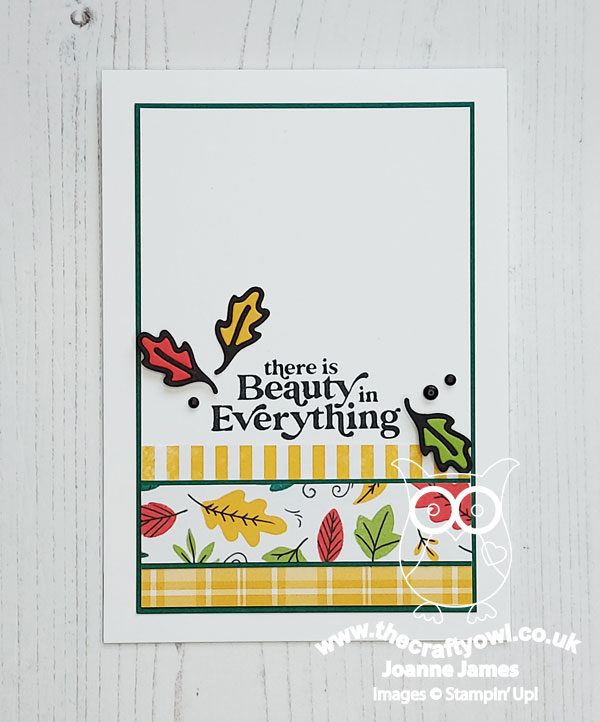
Celebrate Everything - Kim's sketch features a trio of stripes - perfect to feature a trio of designer papers. A great sketch if you have some co-ordinating scraps to use up: I paired a scrap of yellow gingham with two new papers cut from the Celebrate Everything designer series paper stack; this is a hostess reward and contains 48 sheets of 12" x 12", so is such great value for many and has a range of fabulous seasonal patterns and designs. I love the colourful autumn leaves, so used a stip of this paper in the centre and built the rest of my card around it.
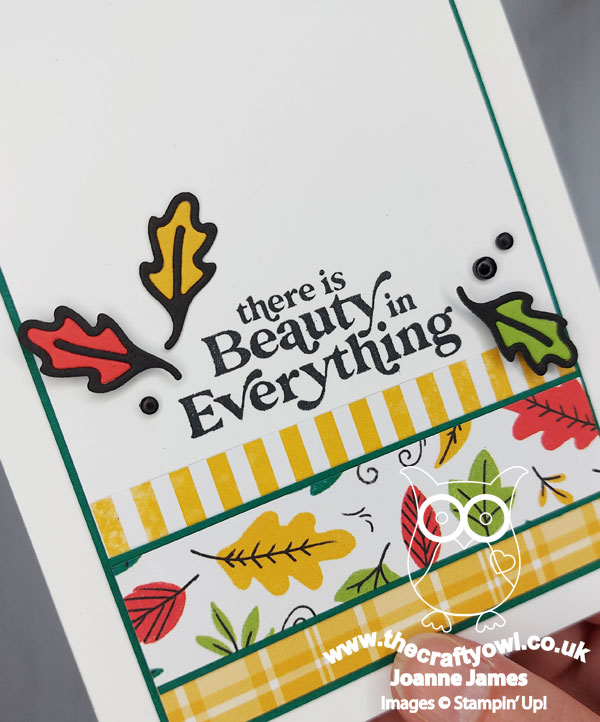
Simply Fabulous - I chose a sentiment from one of my most favourite stamp sets, 'Simply Fabulous', that works perfectly for a seasonal card - I think the changing colours of the autumn leaves is one of the true beauties of nature, don't you agree?
Country Wreaths Diecut Leaves - I accented my sentiment with some matte enamel dots and a trio of diecut leaves from one of the leaves in the Country Wreaths Dies set - I thought they co-ordinated nicely with that central strip of paper. I stuck one on flat and popped the other two up on dimensionals to complete my card:
That's my card complete - a seasonal notecard for my stash.
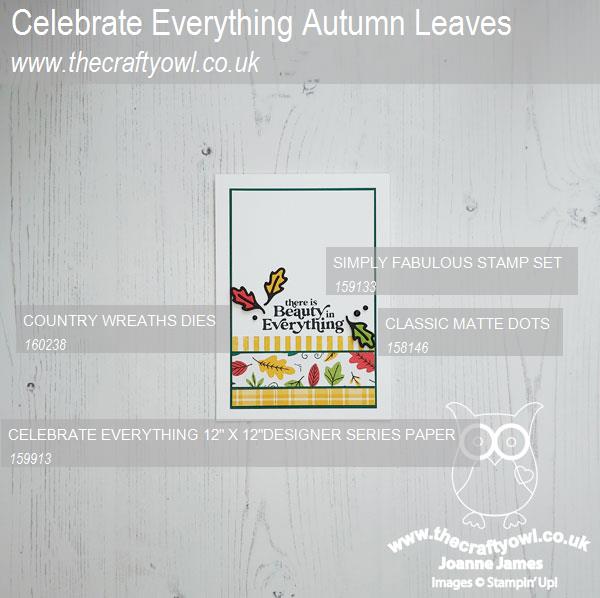
Here is the visual summary of the key products used on today's project for you to pin for easy reference:
You can see all of my Product and 'How To' summaries on my 'How To - Tips and Techniques' Pinterest board in case you've missed any.
Before you reach for your ink and papers, check out what our amazing team has created to inspire you this week:
The Paper Players Design Team
Here's a quick recap of our challenge rules:
1. Create a new paper project
2. Upload your creation to your blog with a link back to us and provide a direct link to the post featuring your challenge submission.
3. Please link your card to no more than four challenges, TOTAL.
4. Have FUN!
Enjoy your day; we are getting ready for the James Juniors to return to school this week and finishing the last of the post-vacation ironing - joy! I'll be back tomorrow with another project. Until then, happy stampin'!
Stampin' Up! Supplies Used: