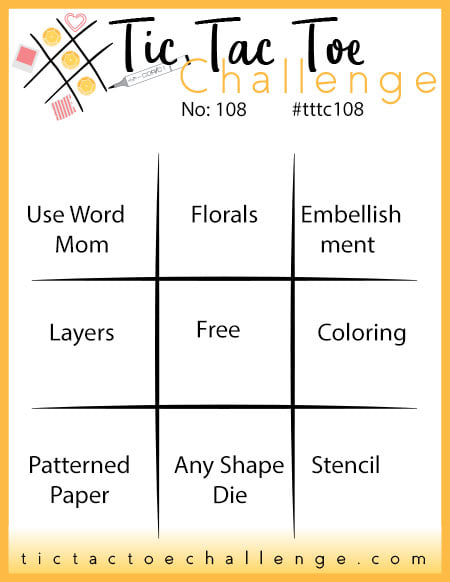
It's Thursday and time for a new challenge over at TicTacToe! It's the turn of Team X to host this week and our fearsome team leader Felicita is our featured designer this week. This is the fun board that we are playing along with:
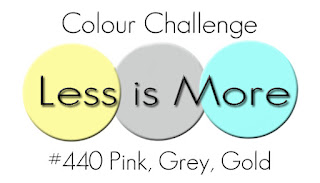
I went down the middle column with Florals, Free and Any Shape Die and used the current colours over at Less Is More for another outing with my Bloom and Grow stamp set - take a look:
Here's the low-down on today's card:
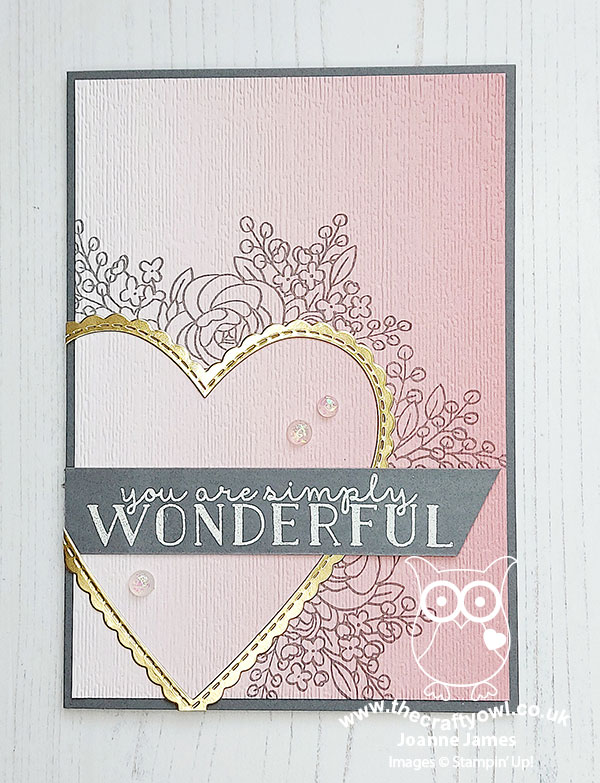
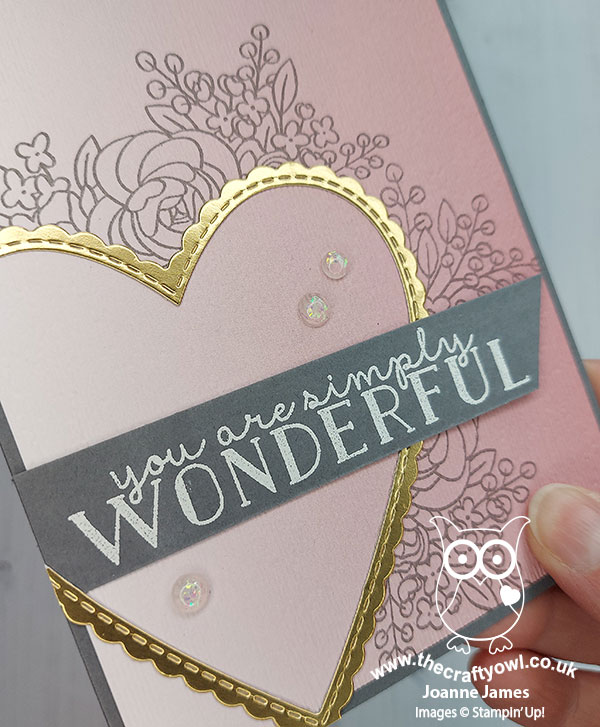
Bloom And Grow - I stamped the same floral bough that I used on Tuesday's card, but this time just used the outline in Basic Grey and stamped it onto a piece of Rococco Rose ombre paper, having first masked off my heart shape with copy paper, as I wanted the flowers to edge my heart but the heat itself to remain uninked.
A Subtles Ombre - Before adding my diecut heart or sentiment or adhering to my card base, I ran my sheet of stamped ombre paper through my Subtles embossing folder for a little added textural detail. I cannot believe this embossing folder is retiring - it's a real 'how will I ever live without you?' product for me!
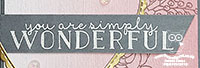
A Stitched Heart - I decided to make a feature of the gold element on my card. so went for a simple stitched heart outline die that sat in front of those masked florals, and I wove my sentiment strip under and over it. I added a trio of opal rounds for a little extra pink/gold sparkle to complete my card:
So what do you think? Another trio of items from my craft stash I will be sad to say goodbye to. Thank goodness there is a new Stampin' Up! catalogue on the way to soften the blow!
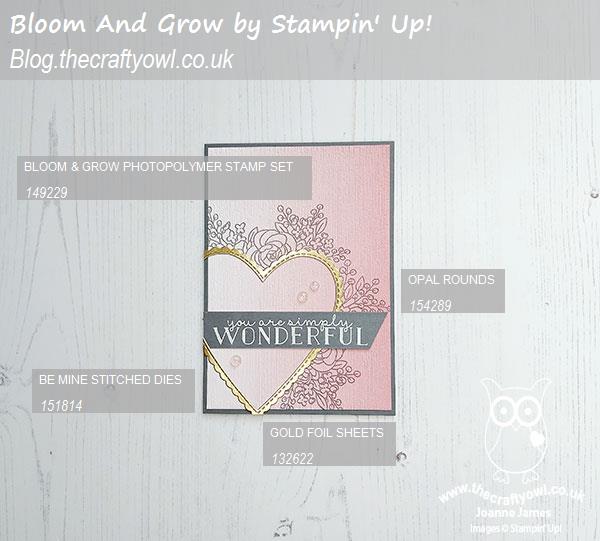
Here is the visual summary of the key products used on today's project for you to pin for easy reference:
You can see all of my Product and 'How To' summaries on my 'How To - Tips and Techniques' Pinterest board in case you've missed any.
A tictactoe board offers so many creative possibilities - how does this week's board inspire you? Why not have a go? We would love to see you in the gallery and who knows - you might be selected for Designer's Choice and be eligible to be a guest designer on a future challenge.
Enjoy your evening; I am about to join an online catalogue launch event for demonstrators - exciting stuff! I'll be back tomorrow with another project. Until then, happy stampin'!
Stampin' Up! Supplies Used:
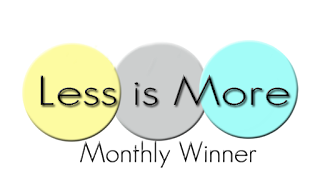
Delighted that this card along with my other entry earned me LIM Monthly winner for April - yay!