by Joanne James31. March 2016 08:05
Today it's time for a new challenge over at Create With Connie and Mary and this week we have a colour combination for you:
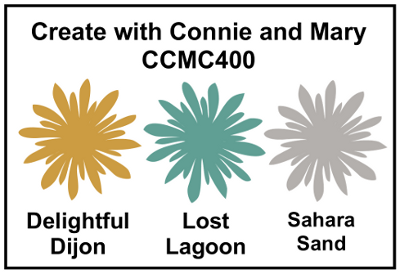
Ok - so I'll be honest upfront: I'm not a fan of Delightful Dijon! Actually, I'm sure I've declared this to my regular readers before and I can honestly say I've only used it once on a card where I really loved the output (funnily enough a previous CCMC colour challenge - you can see that card here). I have therefore mixed feelings about today's card - and it's really the presence of the mustard that's the reason! So, here is today's creation:
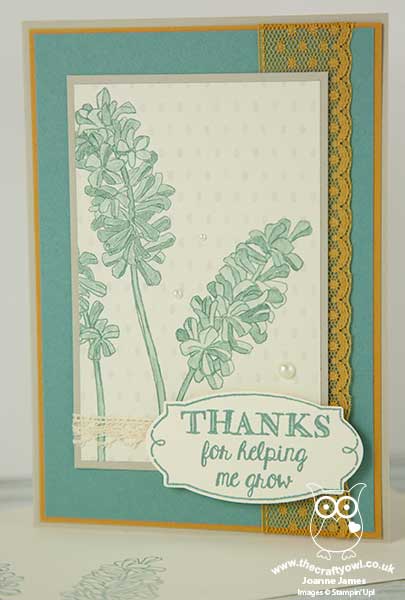
The details for today's card are as follows:
Helping Me Grow - This is a stamp set you haven't seen me use before and there is good reason for that - I don't own it! I actually bought it as a Christmas gift for my mother-in-law, borrowed it back for an idea I had that I then didn't get to try out a few weeks ago but knew it would be just perfect for today's card. The large, over-size blooms in this set are perfect for a centre-piece of their very own; I stamped them in Lost Lagoon and used my Aquapainter to colour them in with the same colour for a soft, washed look. So thank you Kathy!
Timeless Elegance - If you look really closely, you will see that there is a subtle pattern to the paper I used for my main stamped image. The Timeless Elegance designer series paper has Sahara Sand as one of its feature colours; it adds interest to my floral panel without overwhelming the stamped image and fits with the challenge colours.
The Perfect Label - The sentiment on my card is also from the 'Helping Me Grow' stamp set. There are some great sentiment combinations that can be made with this set; there are also a number of nice corner or border treatments, including the one I used on this card. What's more, the sentiment border is the perfect fit for the framelit in the Rose Garden Thinlits Dies set - bonus!
So that's my card - not-so-Delightful Dijon and all!
Here is the visual summary of the key products used on today's project for you to pin for easy reference:
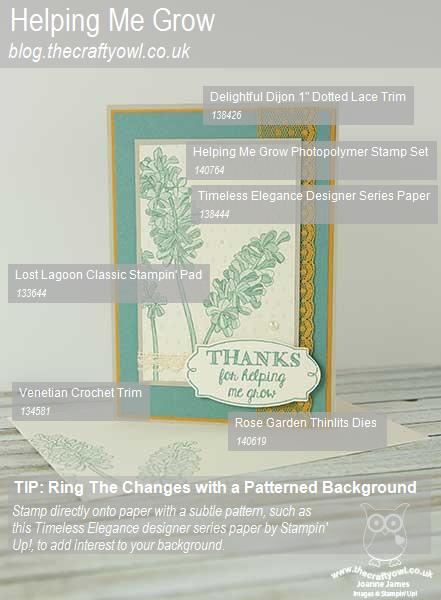
You can see all of my 'How To' summaries on my 'How To - Tips and Techniques' Pinterest board in case you've missed any.
Do visit the other Design Team members to see what they did with this week's colours; there's lots of inspiration over on their blogs too!
Enjoy your day and I'll be back tomorrow with another project; until then, happy stampin'!
Stampin' Up! Supplies Used:
- Helping Me Grow Photopolymer Stamp Set
- Rose Garden Thinlits Dies
- Timeless Elegance Designer Series Paper
- Delightful Dijon A4 Cardstock
- Delightful Dijon 1" Dotted Lace Trim
- Lost Lagoon Classic Stampin' Pad
- Lost Lagoon A4 Cardstock
- Very Vanilla A4 Cardstock
- Sahara Sand A4 Cardstock
- Pearl Basic Jewels
- Venetian Crochet Trim
by Joanne James22. January 2016 08:00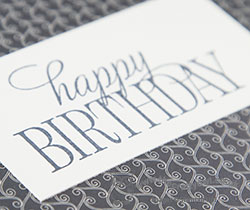
It's Friday - who doesn't love a Friday?! Today I have a rather special birthday card to share that is rather appropriate for this week's Can You Case It? Challenge where they too are celebrating their third birthday anniversary:


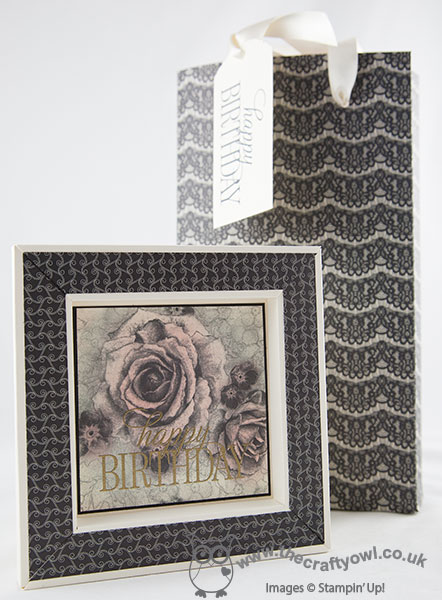
We have a choice of 'black, white and elegant' or 'black, white and fun': my project today is definitely the former - a lovely 6" shadow box frame birthday card featuring the Timeless Elegance Designer Series Paper. My papers are black and vanilla rather than black and white, but I'm hoping the CYCI team will allow this! Here's the card:
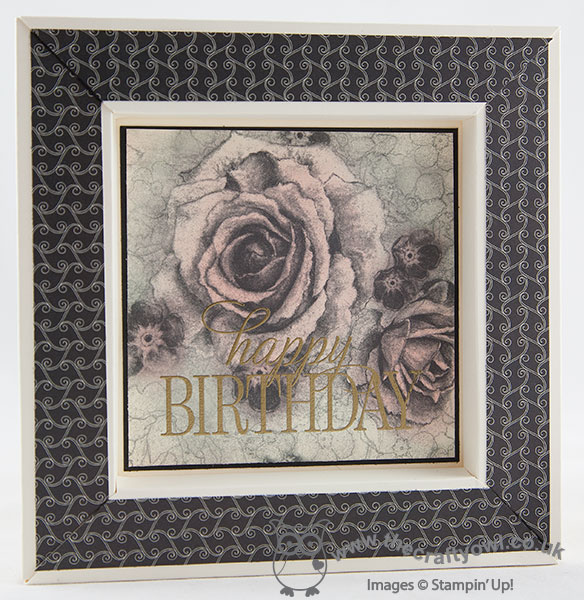
To make the card itself, I followed this tutorial by the talented Amanda Bates. For the central panel, I used one of the patterned papers and added just a hint of sponged colour in Blushing Bride and I heat embossed my greeting in gold over the top. I then used a co-ordinating pattern for my frame decoration. Isn't that just lovely? I made this card for my mother-in-law who loves a black and white colour combination; I also made a co-ordinating gift bag and tag for her present using my Gift Bag Punch Board and a box to present my card in:
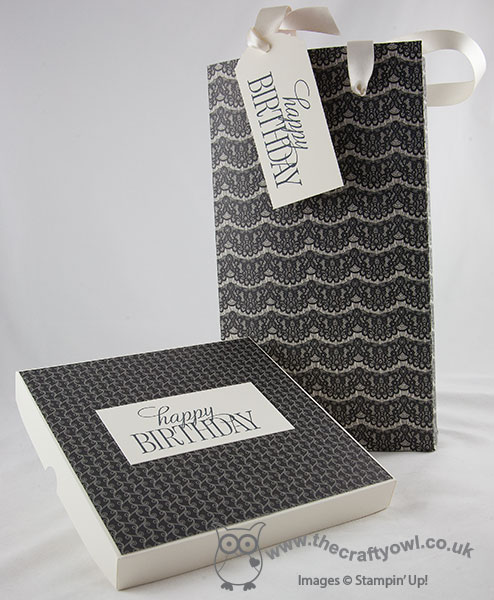
Whilst I'm not a massive fan of black and white as a colour combination, I do love the patterns in these papers and I think the colour combination can indeed look very elegant. More importantly, this card was made more with the recipient in mind rather than the creator and, since she loved it, I guess that's all that counts!
That's all from me today; I'll be back tomorrow with another project; until then, happy stampin'!
Stampin' Up! Supplies Used:
by Joanne James12. January 2016 10:41
Good morning everyone! Today I'm sharing a card for this week's sketch over at Pals Paper Arts - I can't resist a good sketch!

I decided to use the Rose Garden Thinlits for the focal point on my card today, but having used lots of pink on my cards lately I decided to veer away from Valentines and make a card for one of my January birthdays whilst trying something a little different - take a look:
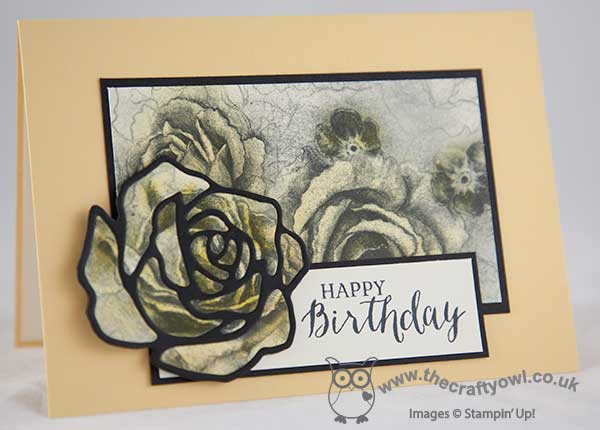
I lightly sponged a piece of the rose-patterned Timeless Elegance designer series paper in So Saffron and Daffodil Delight, then in addition to my panel, I took one rose and ran it through the Big Shot with my Rose Garden Thinlits Die and paper-pieced the negative pieces into an outline die cut in Basic Black, having first adhered this to a piece of cardstock to hold everything in place. I then cut the outline out by hand. I stamped my birthday sentiment from the accompanying Rose Wonder set onto Very Vanilla to complete my card. I had originally intended to make a sympathy card, but decided that the paper made this card a little too 'flowery' for the intended male recipient, so instead switched to birthday at the last minute. I think the paper-pieced rose works quite well - whilst the petals don't line up, I think it adds an interesting depth and illusion of texture to this otherwise post-friendly card. What do you think? One thing is for sure, this framelit set is gorgeous and I can see me using it lots more this season for all kinds of cards!
That's all from me today; I'm off to work through more annual accounts (my least favourite job!) and do more preparation for my open house event later this week. Back tomorrow with Wednesday Weekly Deals and a new project. until then, happy stampin'!
Stampin' Up Supplies Used: