Purple Springtime Impressions Corner Card

by Joanne James1. May 2019 07:00

Today I'm sharing a quick clean and simple card for this week's challenge over at CAS(E) This Sketch that also works for another entry into the Addicted to CAS challenge which is all about contrasts:


This sketch was perfect for a tone-on-tone Springtime Impressions floral Corner diecut contrasted with a white front panel:


I diecut the edge of my white panel to but up to my gorgeous Grape diecut and adhered both pieces to my Highland Heather card base, paper-piecing a few of the flower centres and stamping my birthday sentiment to finish. I also trimmed the left-hand corner of the diecut to fit my portrait orientation.

That's all there is to it! 

Here is the visual summary of the key products used on today's project for you to pin for easy reference:


You can see all of my 'How To' summaries on my 'How To - Tips and Techniques' Pinterest board in case you've missed any. 

Enjoy your day and I'll be back tomorrow with another project. Until then, happy stampin'!


Stampin' Up! Supplies Used:

Table built using Product Table Builder by The Crafty Owl - Independent Stampin' Up! Demonstrator.

Garden Impressions Floral Pocket Card

by Joanne James21. August 2018 10:00

It's Tuesday and I have my third post of the week! Today I'm sharing another of the cards that I made in one of my recent technique classes featuring the Garden Impressions Product Suite that is perfect for the current floral challenge over at Inspire.Create:


I made a pocket card featuring one of my favourite Garden Impressions paper designs with an over-the-top diecut embellishment - take a look: 


Here's the low-down on today's card:

Impressionist Inspiration - You now what a fan of designer series paper I am and the Garden Impressions paper is no exception; I just love these bold bright colours and the Impressionistic style of the patterns and florals in this pack. I like each and every pattern in this pack and this is already my most-used papers. Here I used it to decorate the flaps of my pocket card, which I made from co-ordinating Pacific Point cardstock using my trusty Envelope Punch Board and Envelope Expert tool (my finished card measures 10.5cm x 15cm).

Paper-Pieced Springtime Impressions - Not content with the florals on my basic pocket card sleeve, I decided to add the fabulous corner diecut from the Springtime impressions Thinlits set. I diecut a base in Shaded Spruce, then cut the whole thing again in Melon Mambo and Calypso Coral and snipped out some of the flowers and paper-pieced them onto my base piece. This may seem extravagant, but if you keep the offcuts you can use them to create another one in an alternative colourway, so there is very little waste really. I finished the whole thing with a Mango Melody butterfly. Bold? yes. Bright? Absolutely. Yet I love it! 

Abstract Florals - I added my sentiment to a banner tag on the front of my pocket, so that the whole of my inside card is blank for my message. I couldn't leave this piece 'naked' though, so I added a row of bright pink flowers courtesy of the Abstract Impressions stamp set across the bottom. I love this stamp set - so easy to use as it really is easy to line up the images for the two-step stamping required.

Here is the visual summary of the key products used on today's project for you to pin for easy reference:


You can see all of my 'How To' summaries on my 'How To - Tips and Techniques' Pinterest board in case you've missed any. 

Enjoy your day and I'll be back tomorrow with another project. Until then, happy stampin'!


Stampin' Up! Supplies Used:

Table built using Product Table Builder by The Crafty Owl - Independent Stampin' Up! Demonstrator.

Never-Ending Garden Impressions and A Designer Paper Obsession!

by Joanne James8. August 2018 07:00

A midweek post for you before I head out on today's activities with the James Juniors! Today I'm sharing a card that is perfect (and just in time!) for the current challenge over at As You See It:

This was an easy one for me! There are lots of things that fall in and out of love with as I craft, but there is one thing that I will always be obsessed with - and that's designer series paper! I have boxes and boxes of the stuff, old and new (about 25 12"x12" storage boxes at the last count!!). I use it - but I hoard it too! One of my team jokingly shared the attached image on our team page recently saying 'I wonder if you know anyone like this?'

Image may contain: text

Of course, she knew it was perfect for me :-) I know that some of you reading this will also share my passion for patterned paper, so if you would like to see a fun project that showcases all those lovely patterns, read on! 

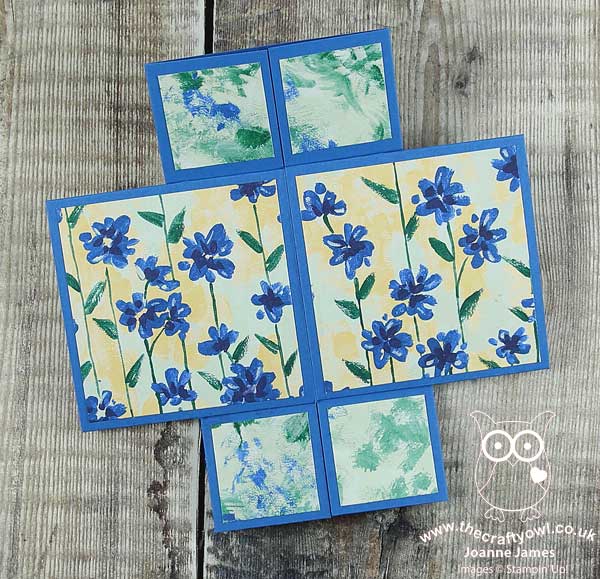
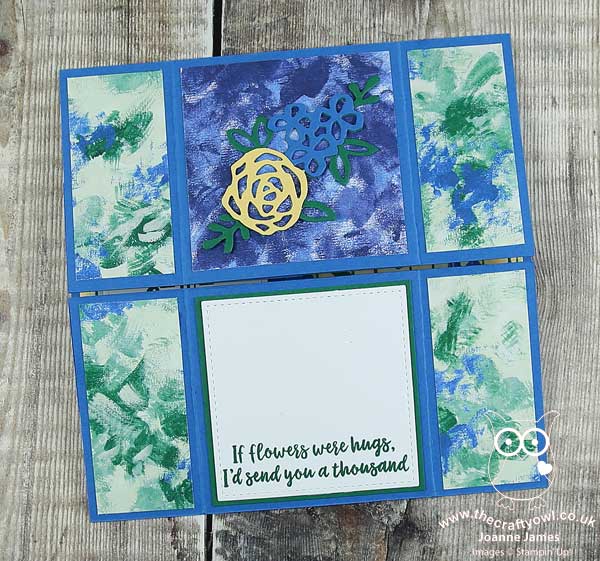
In my recent technique class featuring the Garden Impressions Suite, we made a never-ending card featuring the gorgeous Garden Impressions papers. This is a photo-heavy post, so that you can see each of the sides of these fun-fold cards. So first up, here is the version we made in class:

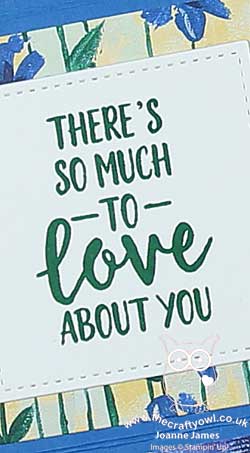
This is the front:
 

The card then opens from the centre to reveal the next 'side':
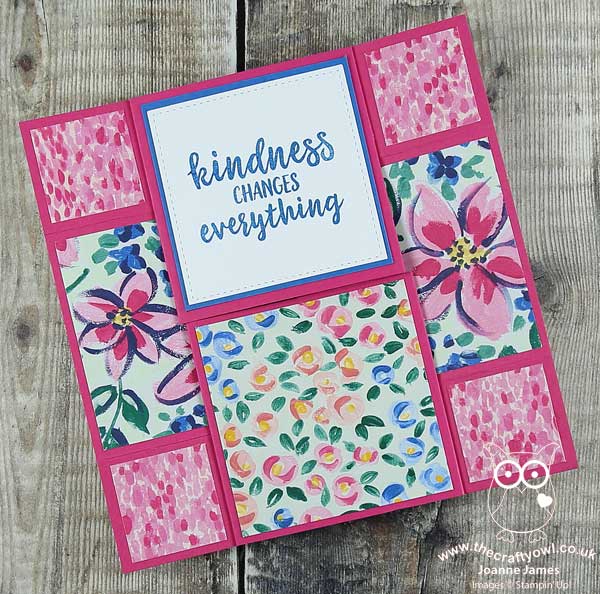
 

Followed by a third fold:


And then the final 'side', with space above the sentiment to write a personal message:
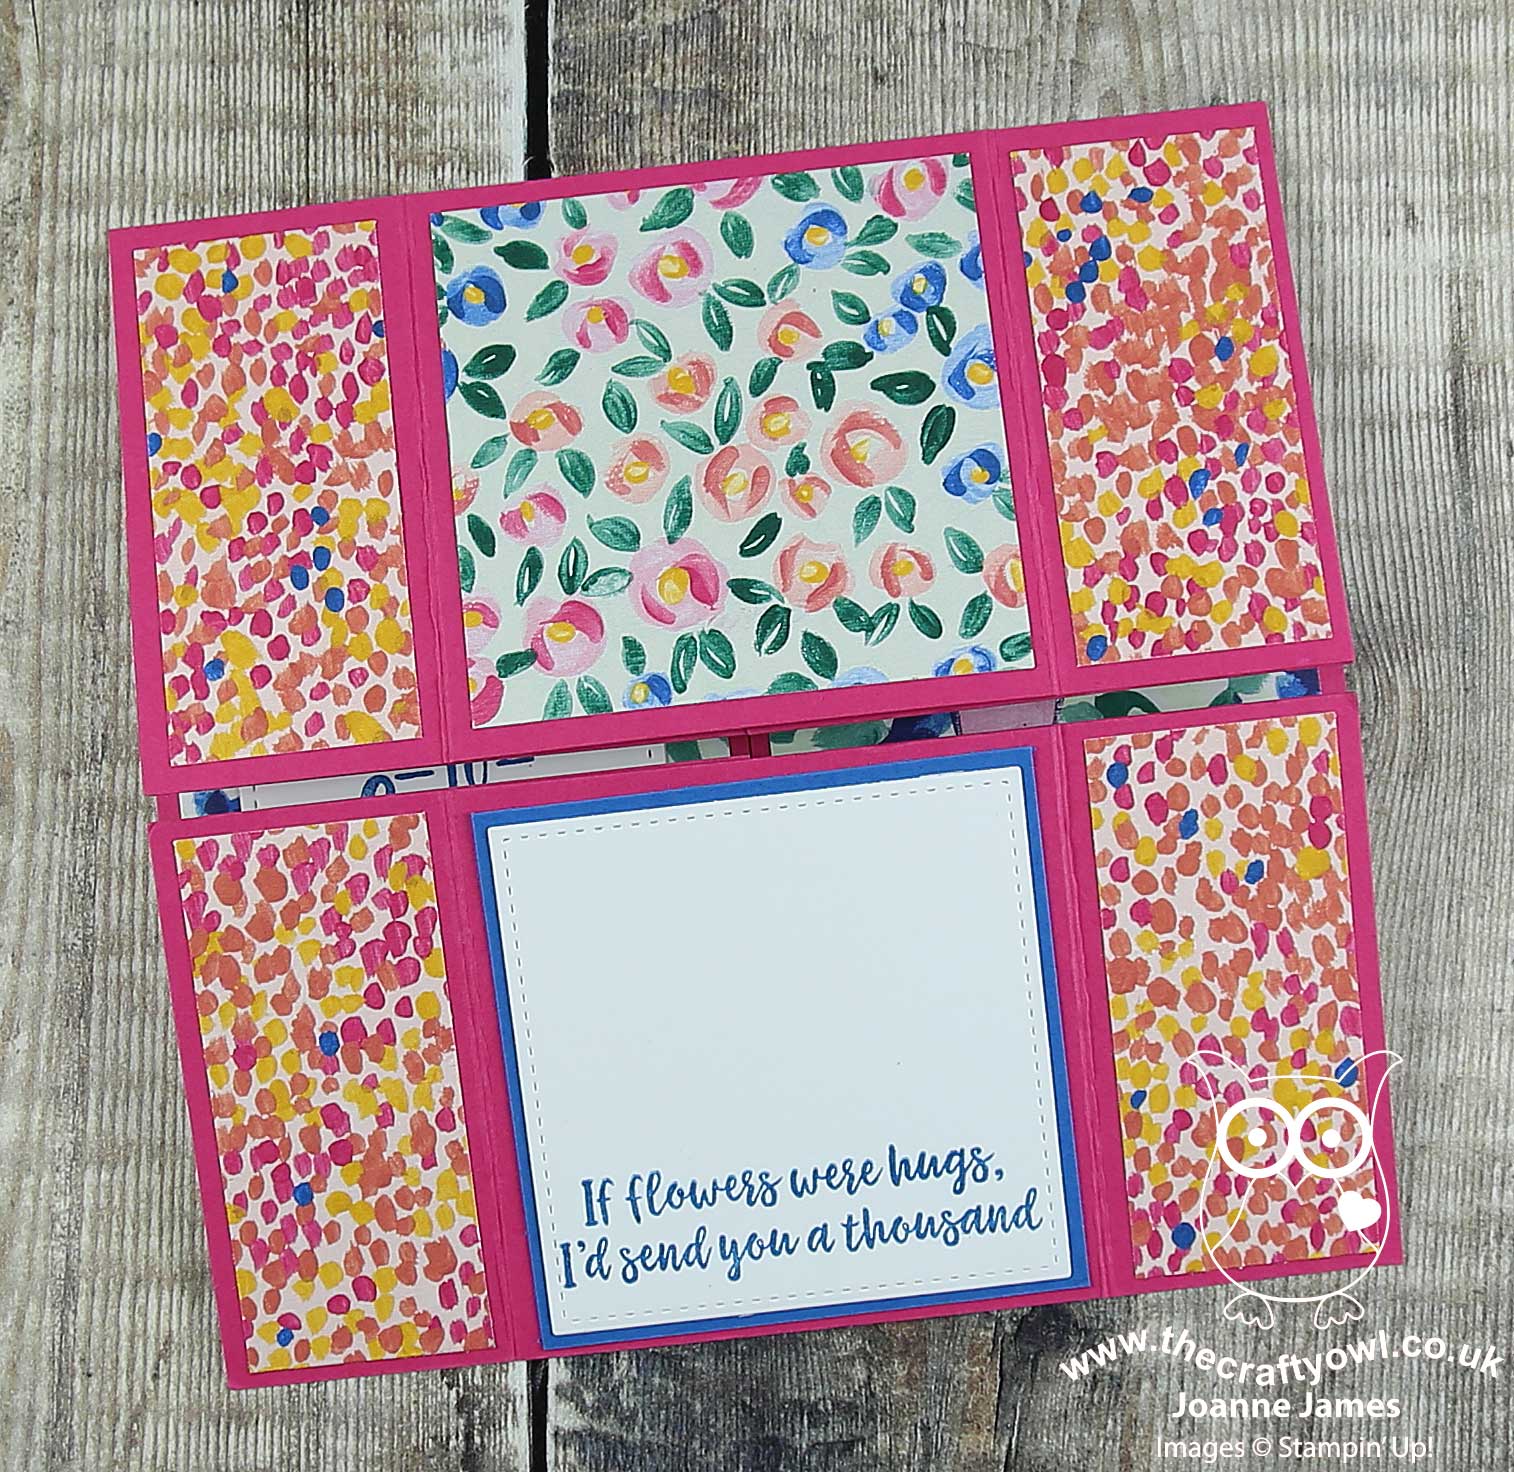
 

The next fold then takes you back to the beginning. Whilst the still photos show you each of the sides, they don't really highlight the mechanism; I shot a  short video of one of the ladies at my class demonstrating how hers worked which will give you a much better idea of why it's called a never-ending card -you can see this over on my Facebook page below:.


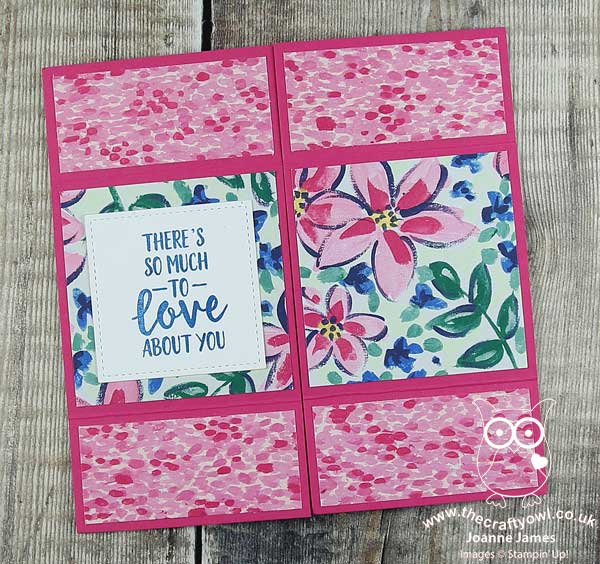
After the class I also made another one using the same papers in an alternative colourway, and decorated it with some of the diecut pieces from the Springtime Impressions thinlits dies set - take a look:
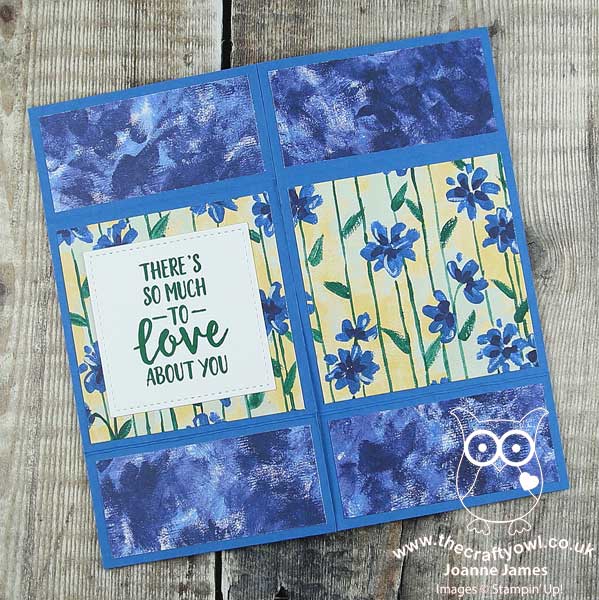
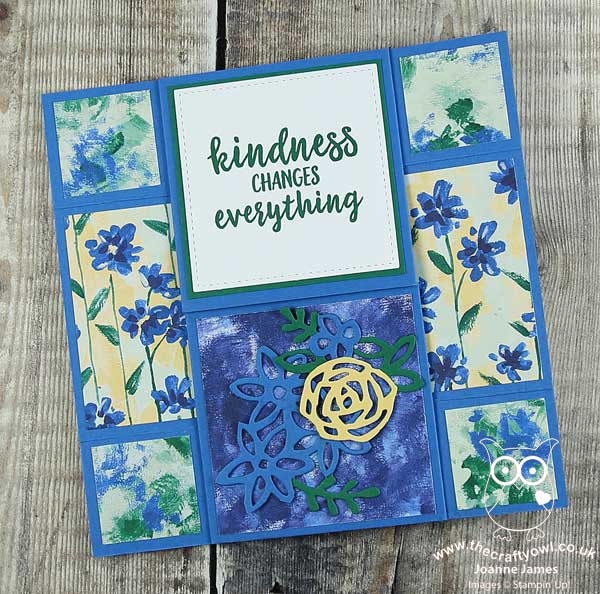


The basic mechanism for these cards, which measure 6" x 6" finished size, is fairly straightforward; it's choosing how to decorate them and which papers to use that takes the thought - especially when your collection is as vast as mine!

Here is the visual summary of the key products used on today's project for you to pin for easy reference:
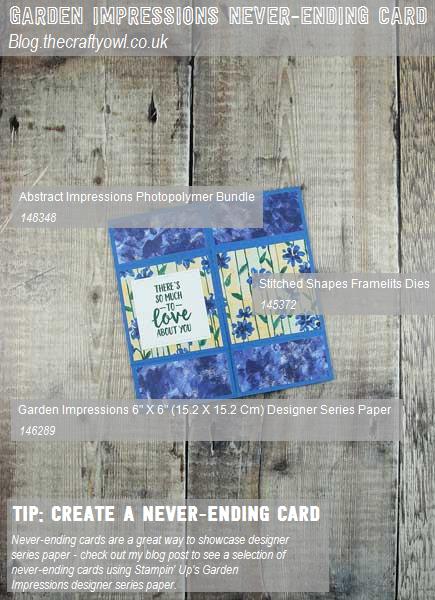
 

You can see all of my 'How To' summaries on my 'How To - Tips and Techniques' Pinterest board in case you've missed any. 

Enjoy your day and I'll be back tomorrow with another project. Until then, happy stampin'!


Stampin' Up! Supplies Used:

Table built using Product Table Builder by The Crafty Owl - Independent Stampin' Up! Demonstrator.

New Online Exclusives

There are new products available exclusively in the online store from 5 November - check them out here.

Latest Kits!

Stampin Cut and Emboss

The Layered Landscapes Kit and Nature's Paintings Kit are the latest kits in the online store - get yours here!

Shop Online

Access my online shop 24 x 7, 365 days of the year:

Current November hostess code:

9NKXDTTR

Shop Online

Mini Catalogue

BROWSE THE CATALOGUE

'Tis The Season - the new Stampin' Up! Mini Catalogue is here! For more details and to download your copy click here

Scrapbooking

Stampin' Up! has introduced a new range of 12x12" scrapbooking product and kit - the full range is now available to purchase online. To download a copy of the new digital Scrapbooking Catalogue click here.

2024-25 Annual Catalogue

BROWSE THE CATALOGUE

Click on the image to download your copy of the 2024-25 annual catalogue. For a full list of current SU! supplies, go to my online store. If you would like any help or advice, please drop me a line at joanne@thecraftyowl.co.uk or give me a call on 07773 421446 - I'd be happy to help.

Join My Team

It's always a great time to join Stampin’ Up! New team members can get £130 worth of products for only £99 + free business supplies + free shipping + all the fun being a part of Stampin’ Up! Stampin' Up! has something for everyone: join my growing team and benefit from my support to enjoy Stampin' Up! however you choose.

If you're interested, call me for a chat to understand how I can help you realise your goals. Alternatively, if you have already decided to sign up and you just can't wait, please click here for the link to the online form where you can sign up and order your starter kit right away! 

About Me

Hi I'm Joanne and live in Northampton and when I'm not looking after my husband and two beautiful children, am an avid crafter with a passion for all things Stampin' Up!

I must confess that I have never been a big rubber stamper - until I discovered Stampin' Up! that is. I love the fact that I can get such great results with co-ordinating stamps, inks, papers and punches - the possibilities are endless! Join me on my stamping journey as I share the things I love and be inspired to create amazing things yourself!

Follow Me

Monthly Newsletter

Box Builder

Click the button above to use Box Buster to create your custom box design using the Envelope Punch Board!

Kits Collection Now Available!

Stampin Cut and Emboss

The new Kits Collection from Stampin' Up! is now available!

Click here to see the current kits available and order yours online today.

I Design For


Stampin' Up Stuff

This is my personal blog and is not endorsed by Stampin’ Up! I hope you find it a plentiful source of ideas and personal inspiration but please don't copy my designs for contest submission or use for classes, publication or sale without express permission.