by Joanne James18. September 2021 20:06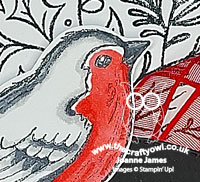
Today I'm sharing a card with the current challenge over at Global Design Project #GDP309:

This is another of my cards using the Festive Foliage stamp as my background, this time paired with the robin from the Happy Holly-Days stamp set - take a look:
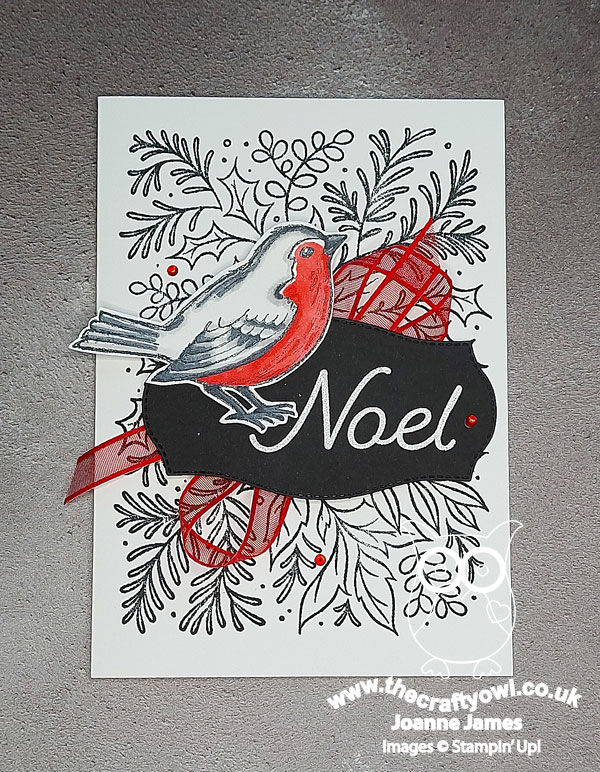
Here's the low-down on today's card:
I kept to a black and white colour scheme for my background and sentiment label, with a pop of Real Red for my third choice - the perfect way to emphasise my lovely robin red breast and bring in a flash of festive colour:
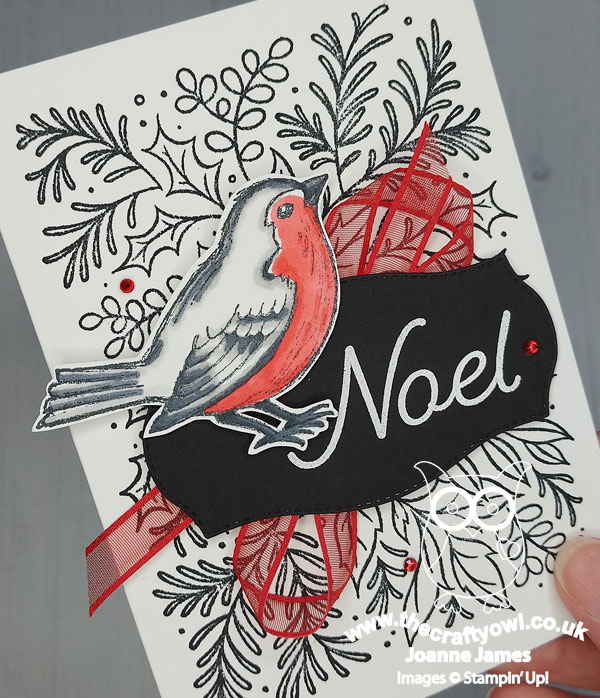
I added some red sheer ribbon and rhinestone jewels to complete my card.
Here is the visual summary of the key products used on today's project for you to pin for easy reference:
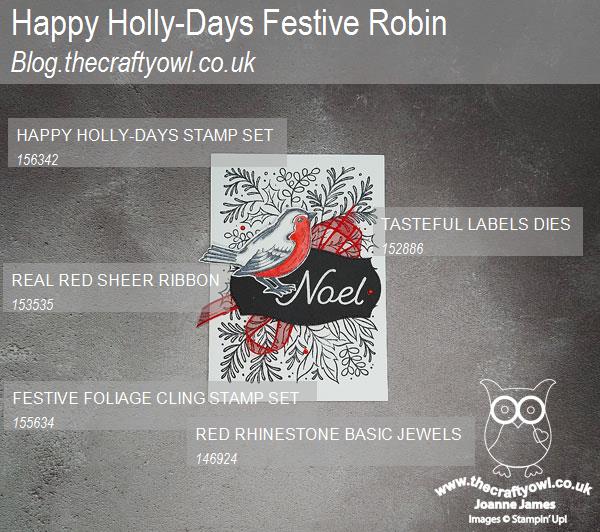
You can see all of my 'How To' summaries on my 'How To - Tips and Techniques' Pinterest board in case you've missed any.
Enjoy your evening and I'll be back tomorrow with another project. Until then, happy stampin'!
Stampin' Up! Supplies Used:
by Joanne James19. January 2015 11:26I have another card to share with you today - a double-post day, woohoo! You can see my earlier card here. This one is quite different!
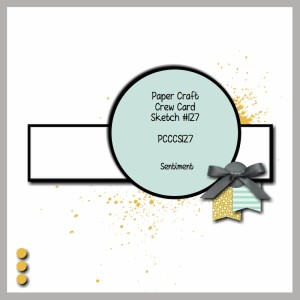
It started out as my card for this week's challenge over at Less is More, where the challenge this week is 'friends'; I started out thinking of something cutesy or animal-themed, then remembered a stamp set I have that I've used only one stamp from (the #Ijustloveyou stamp I used a couple of times last week) and thought it was about time to ink up a couple more stamps in this set. This also resulted in a complete change in design direction! Since this definitely counts as 'NBUS' (never before used schtuff!), I'm also going to link up with CASology and the lovely Darnell with her third NBUS challenge (go Darnell! Thanks for encouraging us to actually use ALL of the stamps we buy!!). I also used this week's sketch over at The Paper Craft Crew as my inspiration (check out Justin's awesome card this week - you are definitely going to want to CASE it!!). Edited to add: At Sarah's suggestion over at LIM, I am also linking up with Uniko Studio's current challenge where the theme is 'love and friendship'. So five challenge links in total, which is something of a record and entirely unplanned, given that I already made today's card and this one was supposed to be for Thursday! So here are all the badges:
After all that - if you're still with me! - I'm guessing you might like to see my card!! Well, here it is:
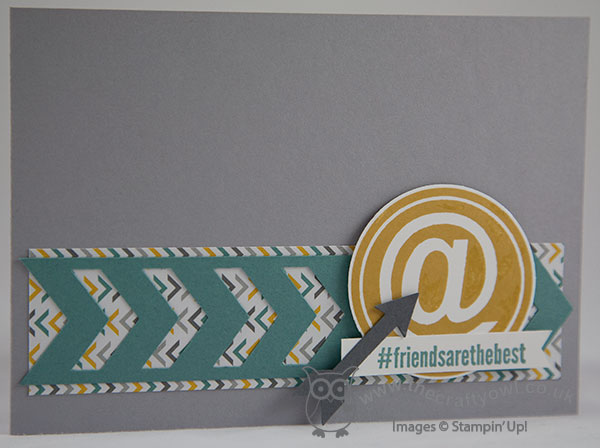
A very clean and simple card, with a slightly masculine feel to it I think due to the colour scheme, which I took from the Moonlight DSP which is peeking through under the Chevron border punched piece. I popped the ampersand up on dimensionals and layered with the hashtag sentiment and arrow to finish. Super simple - easy enough to recreate for a friend, male or female, just to let them know you care. Better still, both the chevron border punch and What's Up arrow punch are on this week's Wednesday Weekly Deals, so you can pick them up even more cheaply than usual!
That really is all from me today; back tomorrow with another project. until then, happy stampin'!
Stampin' Up! Supplies Used:
1336ab55-f27c-4208-8bfc-b1d289c29388|0|.0|96d5b379-7e1d-4dac-a6ba-1e50db561b04
Tags: #Hello, Chevron Border Punch, Moonlight, circle punch, What's Up Punch, Wednesday Weekly Deals, Stampin' Up, Stampin' Up Card, Stampin' Up Card ideas, Stampin' Up Supplies, Shop online, Promotions
Cards | Promotions | Stamping
by Joanne James14. January 2015 11:14It's Wednesday so that means a new collection of Wednesday Weekly Deals! This week's deals are included below - they will be available for one week only, before a new collection of deals is announced.
As always, if you want to take advantage of any of the deals on offer, you can support my business by placing your order online by clicking here or using the link to my store on the right hand side of my blog page where it says 'Shop Online' or with me in person. Don't forget to add the Hostess Code for January (you can find this under the 'Shop Online' section on the right) and be sure to make sure that you don't check the 'no contact' box if you'd like to be kept updated with the progress of you order and receive a little thank you in the post from me.
Here's a summary of this week's one-week only Wednesday deals - click on each item to go to the online store to purchase:
This definitely is the week of the punch, with four great punches on offer. Both the What's Up Punch and the Note Tag punch co-ordinate with stamps that are available in the 'You Brighten My Day' exclusive stamp set, available free with a £45 order during Sale-A-Bration, so if this is a set you've had your eye on, this is a great opportunity to get even more value from your £45 spend. Some lovely ribbons and a gorgeous MDS set too.
Pop back later for a card that uses two of this week's punches, that I made with the ladies at my card technique class earlier this week. Until then, happy shopping!
by Joanne James25. May 2014 20:23Sunday is always a good day, but it's doubly good when followed by a Bank Holiday - looking forward to tomorrow already! We've had a restful day today after yesterday's busy one and also managed our first BBQ of the year, albeit having brought everything inside to eat as it was rather breezy outside. Today's card uses the colours over at this week's Colour Me...! challenge and Jen Mitchell's clean rectangular sketch over at Freshly Made Sketches for my layout:
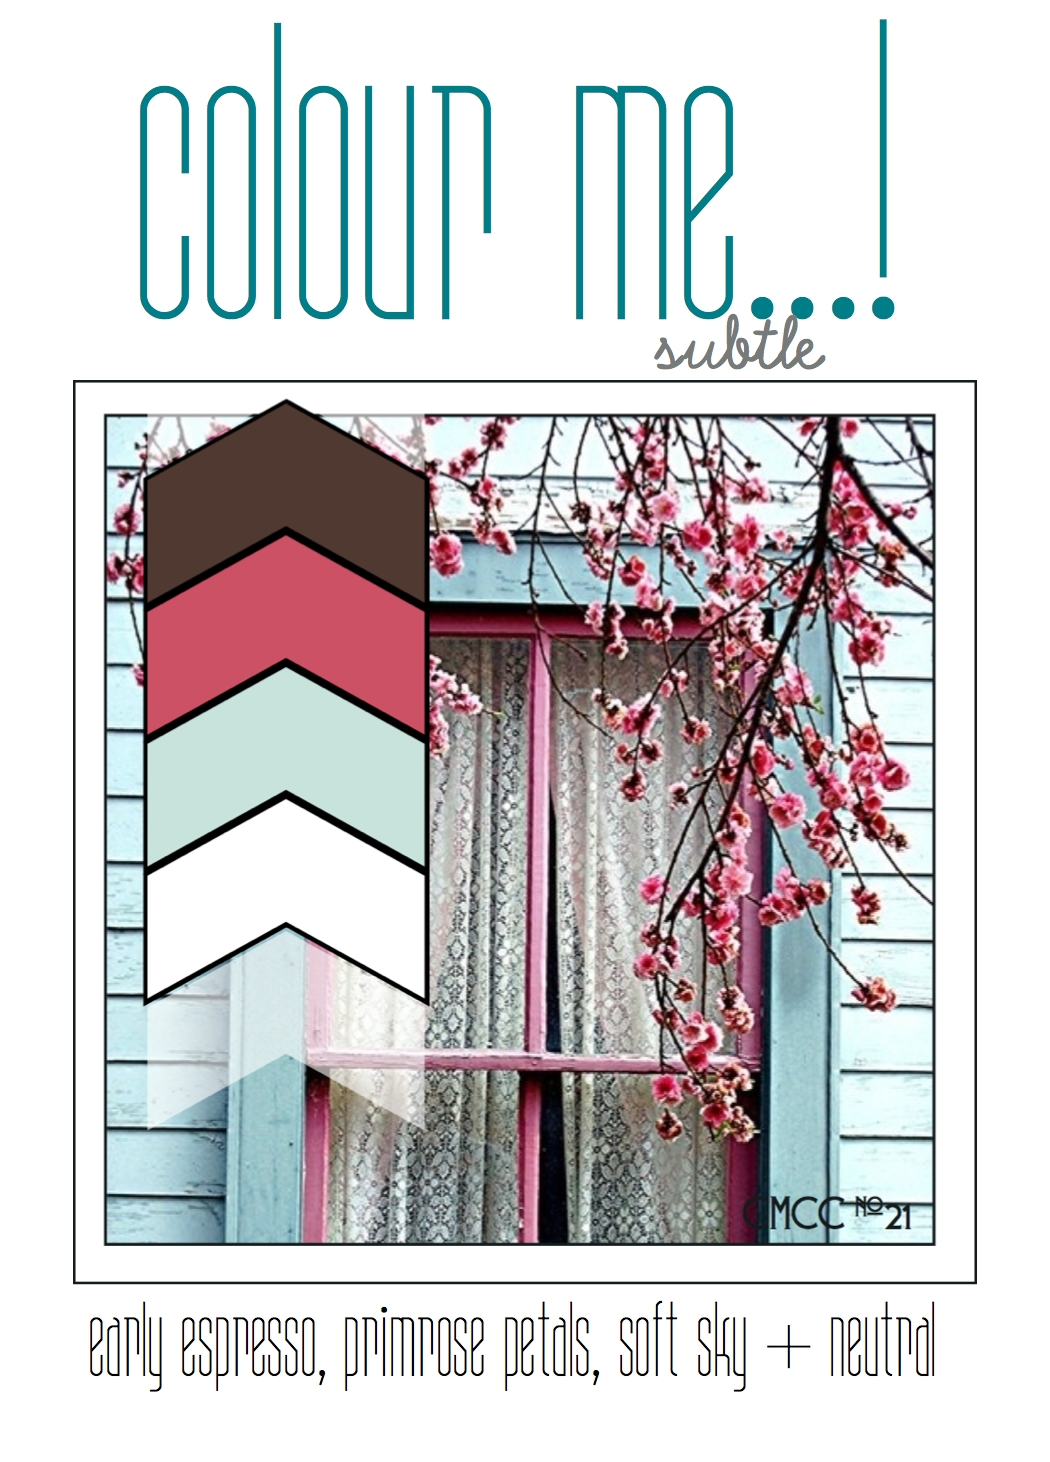
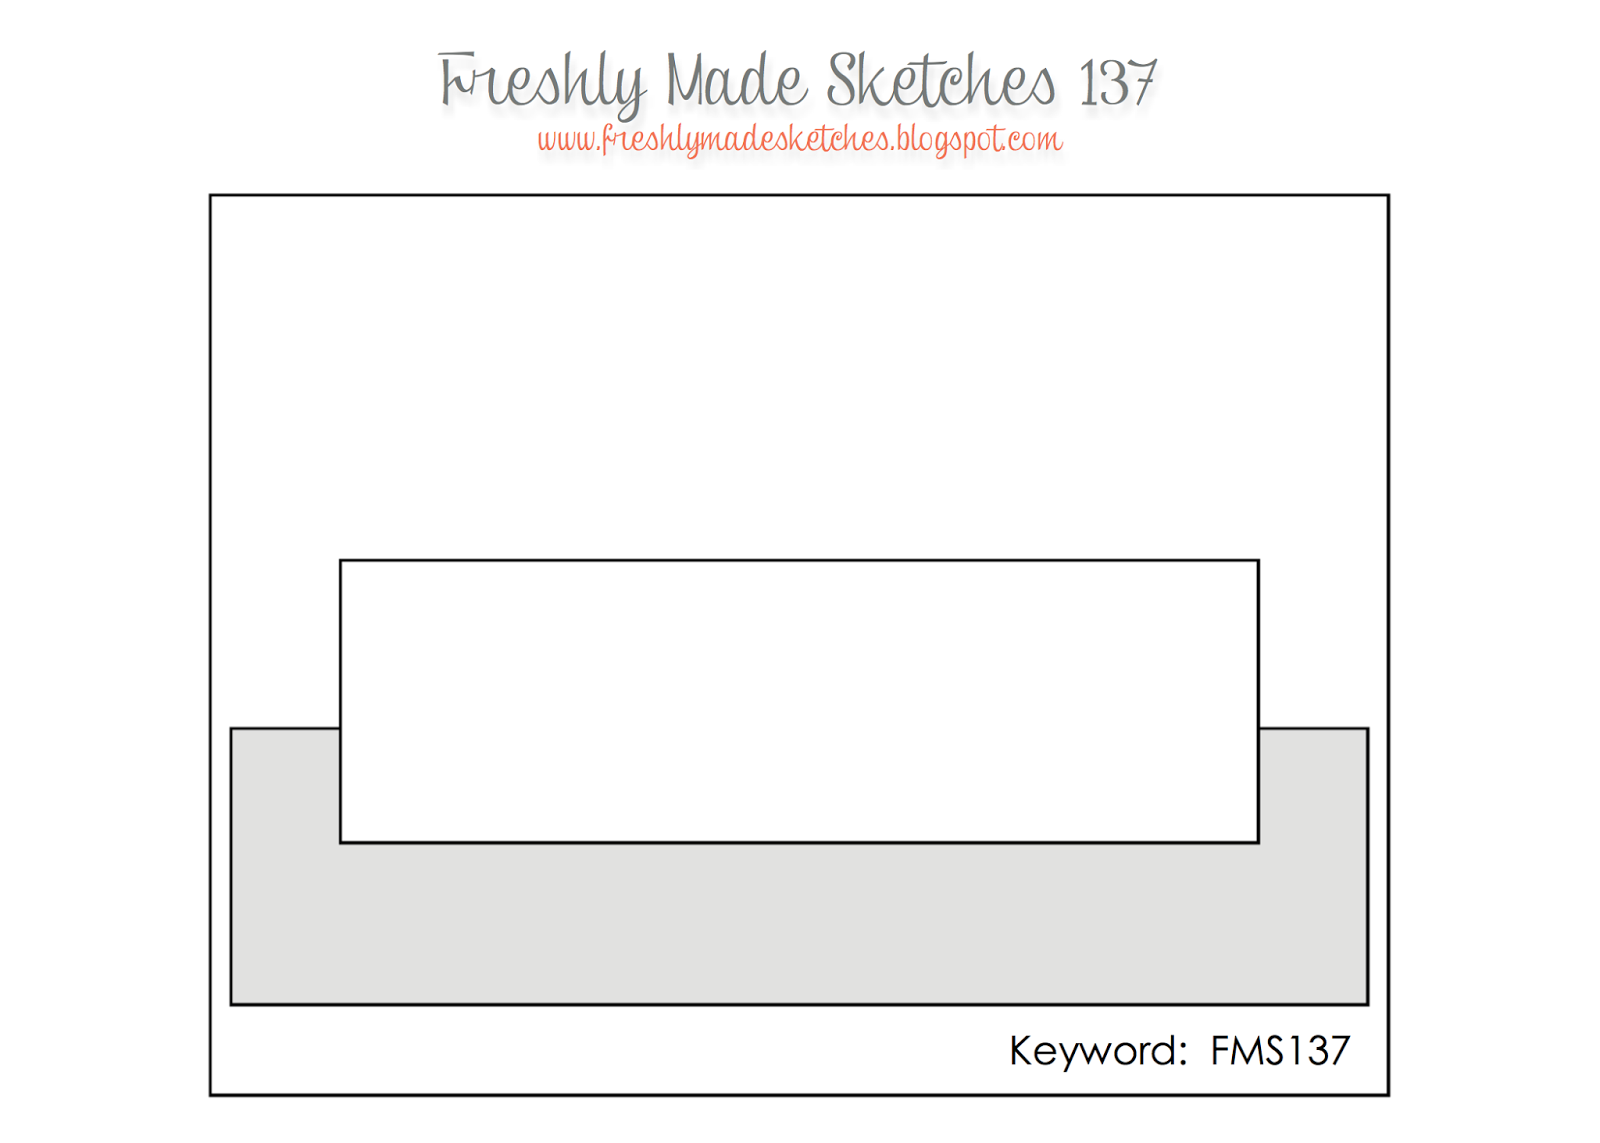
I rotated the sketch through 90 degrees to create my card and took my inspiration directly from the photo alongside the colour palette. Here is my card:
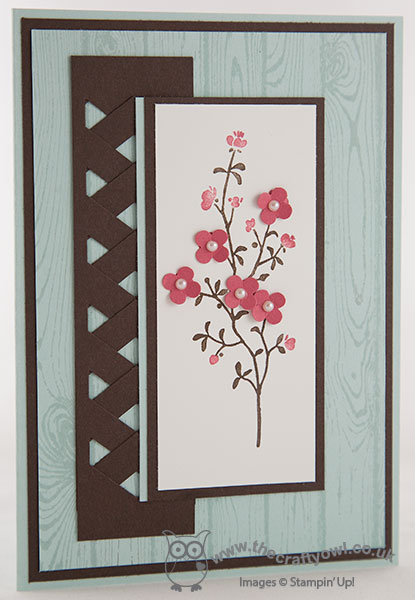
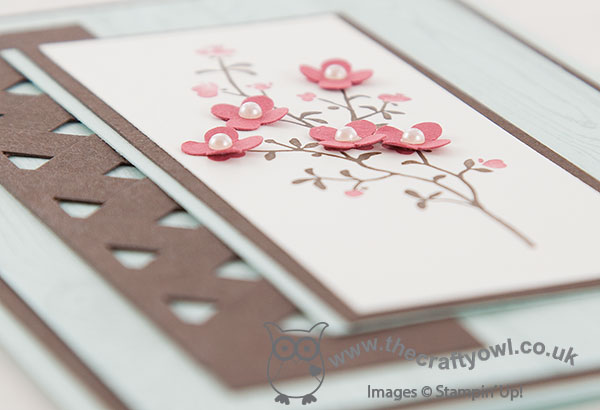
I used Soft Sky for my base and layered with a mat of Early Espresso and then a further layer of Soft Sky that I stamped with the Hardwood stamp in the same colour. I created a trellis using two pieces of Early Espresso punched with my Chevron Border punch and made the focal point of my card the cherry blossom from the Morning Meadow hostess stamp set, which I inked up with my Early Espresso and Primrose Petals marker pens then stamped onto Whisper White. I punched some flowers out of Primrose Petals cardstock using one of my Itty Bitty punches, added pearls to the centres and added these onto the stamped image on the largest flowers to add dimension and interest. I then matted this panel onto Early Espresso and added an off-centre panel of Soft Sky - this goes against the grain from a design perspective for me, but I needed to have the Early Espresso mat onto the Hardwood layer, yet broken with some Soft Sky on the opposite side so that the panel didn't just merge into the trellis and it looks so much better with than without, so convention is out of the window! I also chose not to use a sentiment on the front of my card as I didn't want to add another layer; I decided to keep my sentiment on the inside of my card.
I hope you like today's card; back tomorrow with another card. until then, happy stampin'!
Stampin' Up! Supplies Used:
by Joanne James21. March 2014 20:48There are 10 days left until the end of Sale-A-Bration. Lots of you have taken advantage of the extra hostess benefits on offer to host a party or received one or more of the great free gifts on offer with every £45 spend. Today I thought I would take the opportunity to remind you of the benefits of joining Stampin' Up! as a demonstrator during Sale-A-Bration:
- The starter kit will be £99 and includes products of your choice up to the value of £150 - this is a whopping £51 of extra product!
- You will also receive a business supplies pack including annual and seasonal catalogues, order forms, etc.
- You will receive a 20% discount on every order you place
- You will also receive a 30% discount on the first order you place over £150 within the first 30 days of sign up
- You will receive 2 free months of Demonstrator Web Services
- If you reach £225 sales within the first quarter (ending 30th June 2014), you will maintain your demonstrator status until 30th September. If you don't, your demonstrator status will lapse, but without penalty; you have no obligation to purchase anything other than your starter kit if you don't want to.
- If you join my growing team, you will get to benefit from my knowledge, help and support in addition to that of one of the UK's most successful teams of demonstrators and the considerable resources provided by Stampin' Up itself. You will receive your own team welcome pack from me, along with your own complimentary copy of my demonstrator software Product Table Builder worth £35
Here's part of the welcome pack I sent to one of the lovely ladies who joined my team recently, designed to co-ordinate with a card I made for the Mojo Monday challenge recently (you can read more about how I made the card here):
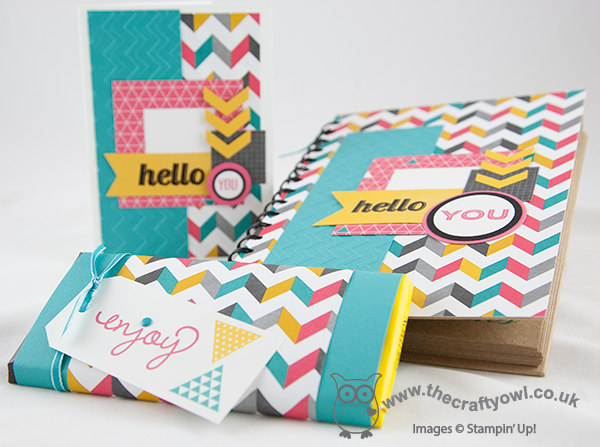
In addition she also received a handbook and other items that will be useful as she grows her Stampin' Up! business. Whether you want to feed your own crafting habit by having access to discounted craft supplies, or would like to earn a little (or a lot!) extra income and run your own business, I am here to support you in any way I can.
You have just 10 days to take advantage of the enhanced Sale-A-Bration sign up offer: contact me on 07773 421446 or joanne@thecraftyowl.co.uk if you would like to know more or alternatively sign up here today!
Back tomorrow with another project; until then, happy stampin'!
Stampin' Up! Supplies used:
a8ef88e1-1272-4286-8774-c6b7a2c0963c|0|.0|96d5b379-7e1d-4dac-a6ba-1e50db561b04
Tags: Kaleidoscope, Simply Celebrate, Perfect Pennants, Chevron Textured Embossing Folder, Circles Framelits, Square Framelits, Stampin' Up, Stampin' Up Card, Stampin' Up Card ideas, Stampin' Up Supplies, Chevron Border Punch
3D Projects | Cards | Join My Team | Product Table Builder | Sale-a-bration | Stamping
by Joanne James8. March 2014 20:54Today's card is one I designed for this week's Mojo Monday sketch challenge, where I was attracted by the layout and the 'frame' element that is central to the sketch:
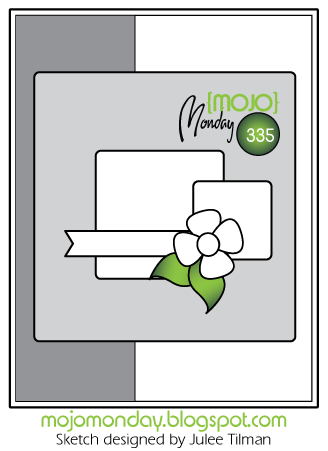
Here is my take on the sketch:
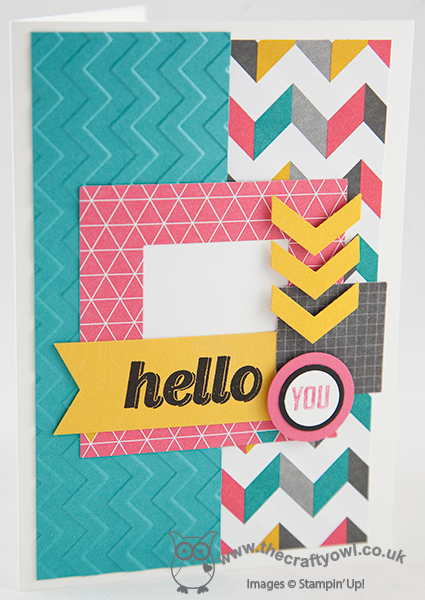
My card is a riot of graphic patterns and colour, using the Kaleidoscope Designer Series Paper as the inspiration for my colour scheme. I added a layer of texture with a Bermuda Bay panel that I dry-embossed with my Chevron Textured Impressions Embossing Folder, then layering the various elements in contrasting papers and finishing with a banner of Crushed Curry that I stamped with Versamark and heat embossed in black embossing powder to give it a lovely sheen. Cutting my frame was easy with the aid of my square framelits - this is one of those times when they are invaluable. I popped my chevron punched pieces on dimensionals, using them to draw the eye to my button 'You' (this is a partial stamp of the 'You & Me' stamp in the Perfect Pennants set).
I'm not one for mix-and-match of patterns as a rule, but sometimes it's ok to step outside of your comfort zone. I hope you're all enjoying your weekend; the weather has been much warmer and brighter here in the UK today - we managed to get some time outside in the garden today, which made a nice change.
Back tomorrow with another project; until then, happy stampin'!
Stampin' Up! Supplies Used:
e877f062-6a34-43c5-93b8-102c7a75c658|0|.0|96d5b379-7e1d-4dac-a6ba-1e50db561b04
Tags: Chevron Border Punch, Chevron Textured Embossing Folder, circle punch, Circles Framelits, Square Framelits, Stampin' Up, Stampin' Up Card, Stampin' Up Card ideas, Stampin' Up Supplies, Shop online, Perfect Pennants, Kaleidoscope, Simply Celebrate
Cards | Stamping
by Joanne James4. February 2014 20:29Good evening blog readers! Today I'm sharing another card that I made to link up to the colour challenge this week over at Create with Connie and Mary. Why, you ask? Well, this is this week's colour challenge:
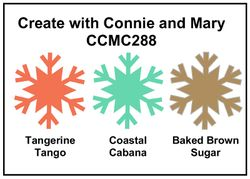
Now I already linked up this card that I had made for the Spring Sketch Challenge over at CCMC, because it just so happened to be in the right colours. Since that was more by accident than design, I decided to challenge myself to have another go at creating something specifically using these colours. To make it doubly challenging, I decided to try and not use any of the Retro Fresh DSP on my card - not because I don't love it, but because I wanted to create a card that looked different to the last one. So, here's the card I came up with:
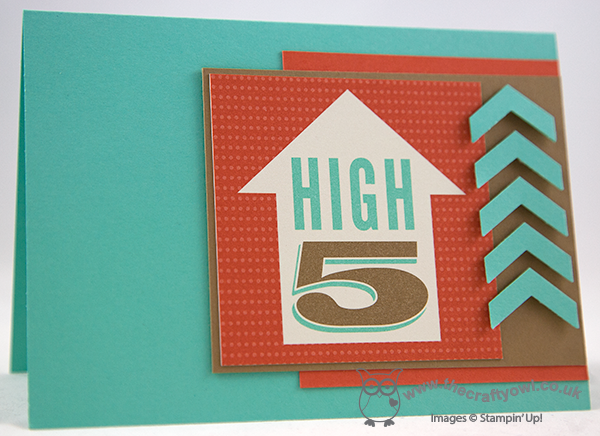
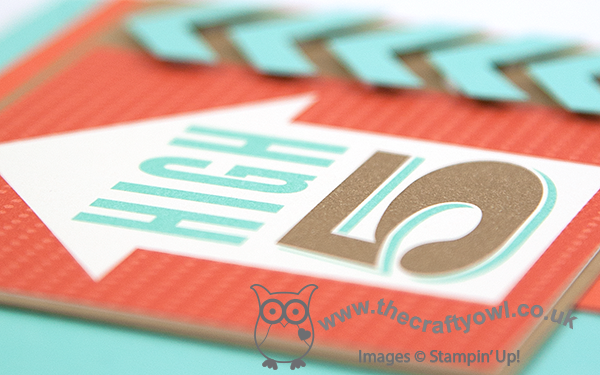
This card is very 'CAS' for me; I love 'clean and layered', but find 'clean and simple' more of a challenge (I think the large amount of 'white space' scares me!) I used one of the Retro Fresh Journalling Tags as the focal point for my card; as I'm not a big scrapbooker, I don't generally invest in journaling tags, but having seen some made into great cards on other people's blogs last season, I decided I would invest in a set of the new tags expressly to see if I could use them in card making. I have to say, I really like some of the cute tags and sayings included in the Retro Fresh tag kit and they are great for creating a quick focal point on a card. There are a few different sizes included and I think they're a bargain too, so if you've never bought a pack you might like to try them - like me, you might be pleasantly surprised! I finished this card before I realised I hadn't actually inked up a stamp either - this really is a card of so many 'firsts'!
I'm saving this card for when my son earns his next times tables badge at school; this will be a great 'hi 5' moment and this card will be the perfect way to celebrate.
Back tomorrow with another card; until then, happy stampin'!
Stampin' Up! Supplies Used:
by Joanne James19. September 2013 21:29Finally, my first post using some of the lovely items from this year's Autumn-Winter seasonal catalogue! This week sees us into double figures (yes, 96 days to go until the big day!!) so it's most definitely time to get organised! The Season of Style This and That Journal is just the thing to see you organised from now through to the new year: it has a 4 month day to day planner, space for jotting down ideas and plans, Christmas card lists and gift ideas, along with handy pockets to store your receipts and Christmas stamps as you go along.
The journal itself comes with a lovely embossed Crumb Cake front which would make a great cover as is, but I chose to decorate mine in colours that co-ordinated with the co-ordinating Season of Style This and That Designer Stickers and Washi Tape that I will be using on the inside just to give it a festive feel. Here's my finished cover:
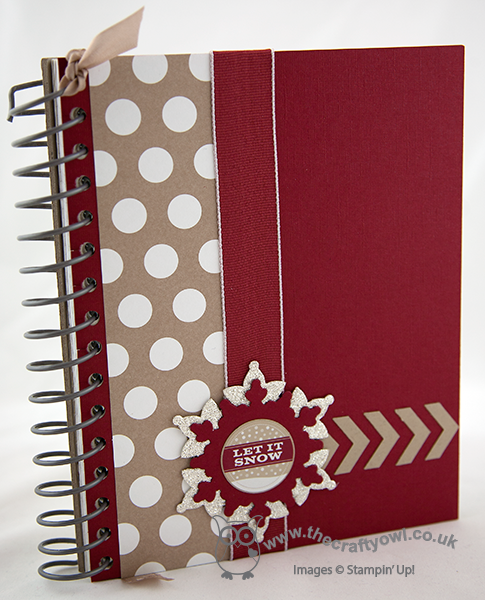
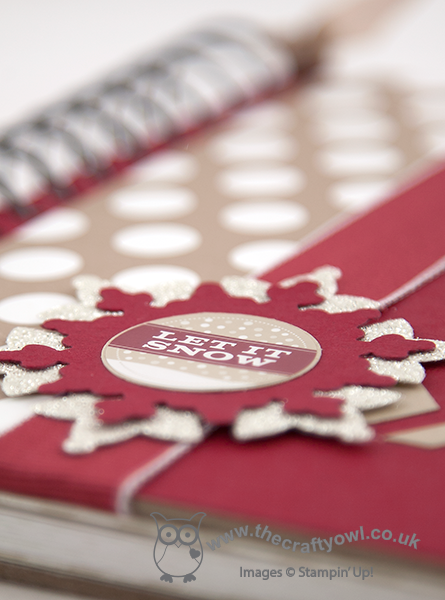
I went with a fairly simple and 'flat' cover, as I wanted my journal to be practical and not have bits falling off as I put it through its paces. I covered it in Cherry Cobbler textured cardstock, with a strip of spotted Season of Style DSP. Some wide ribbon, chevron punched pieces and a decorated layered snowflake finished it off. Here's a close up of my feature embellishment:

The detail in the centre is one of the stickers from my Designer Sticker set and I included a Silver Glimmer snowflake cut with the Festive Flurry Framelits for just a hint of glitter - only because I know it won't shed sparkles over everything :-) Gotta love Glimmer Paper! I also tied some Crumb Cake seam binding ribbon to the spine to hang inside as a handy bookmark.
I have already started scribbling on the inside - I'll share my pages as they get busier! - and think this is a must-have item if you like to be organised for the festive season. Here's a short video from Stampin' Up! that takes you on a mini-tour inside the journal itself:
Back tomorrow with a fun birthday card; until then, Happy Stampin'!
Stampin' Up! Supplies Used:


