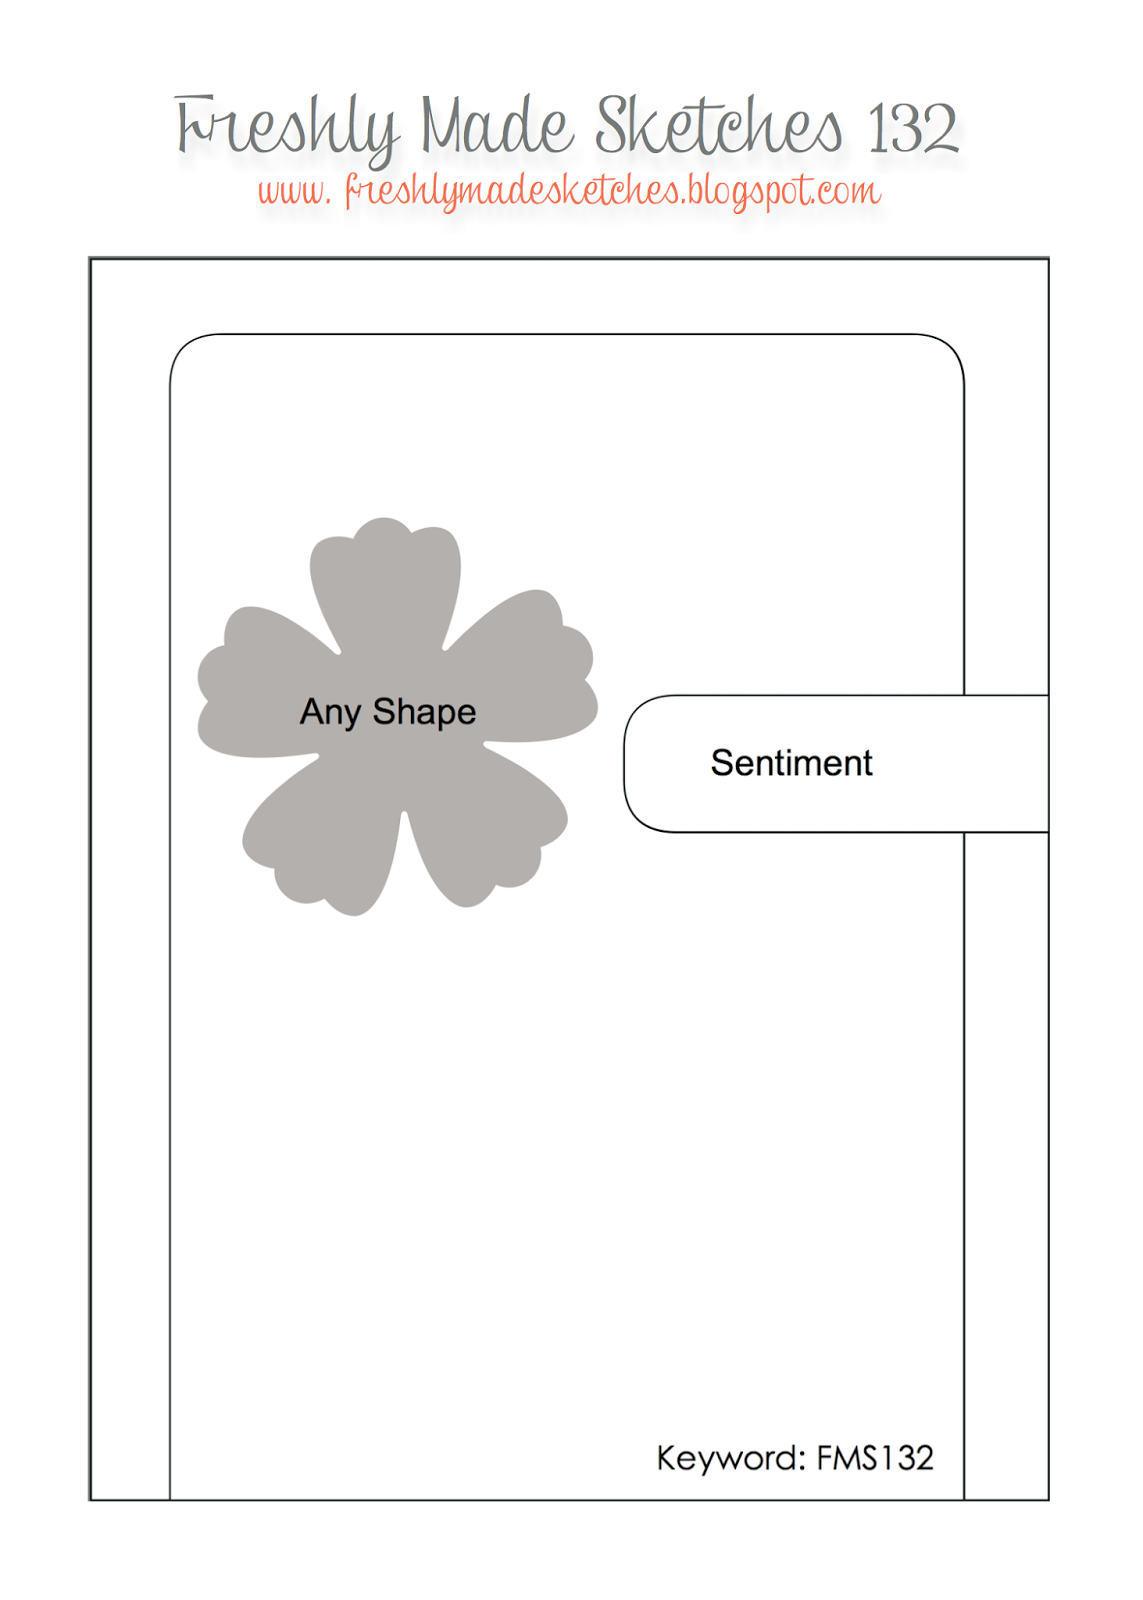
by Joanne James21. April 2014 08:00Today I'm sharing a card I made with Jen Brum's great sketch over at Freshly Made Sketches - I combined it with the colours over at The Colour Throwdown, where one of my favourite colour combinations - Basic Grey and Melon Mambo - is trio'd with Garden Green:
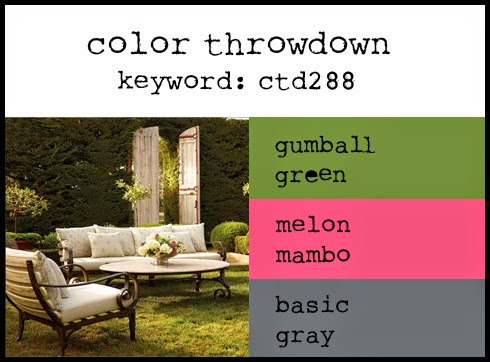
A great combination - here is my card:
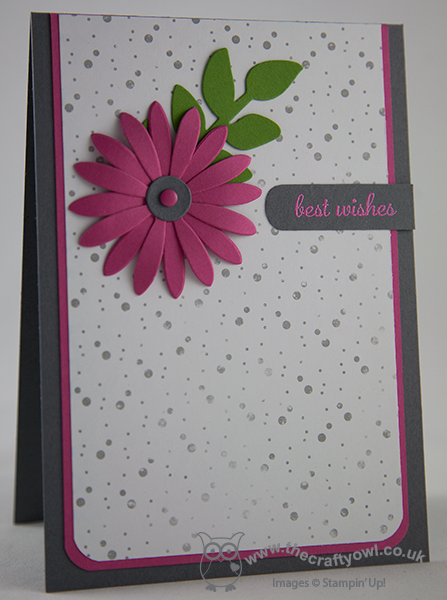
I used Basic Grey for my base and matted this with a piece of Melon Mambo to create a narrow border between my base and my central panel of High Tide DSP. I decided to use a flower as my focal point, but instead of stamping I decided to die cut two flowers with my Blossoms Originals die and layer them together, finishing with a small grey circle and pink candy dot centre. I tucked a Gumball Green leaf behind (cut with the Secret Garden framelits) and stamped my sentiment in Versamark onto Basic Grey and heat embossed with Melon Mambo embossing powder. The green leaf provides a lovely 'pop' of colour behind the flower and lifts the whole card, I think. Gumball Green has to be my favourite of the soon-to-be retiring In-Colours - I will so miss it when it's gone!
As I stepped back to admire my card, I realised that I had adhered my mat panels upside down in relation to Jen's sketch - and by this point, my Tombo was well and truly stuck fast - oops! I am hoping the team at FMS will forgive me this oversight ;-)
Back tomorrow with another card; until then, happy stampin'!
Stampin' Up! Supplies Used:
6eda0766-b520-4816-99ec-262249451e26|0|.0|96d5b379-7e1d-4dac-a6ba-1e50db561b04
Tags: Blossom Party Originals, Secret Garden Framelits, Big Shot, Magnetic Platform, High Tide, Shop online, Stampin' Up, Stampin' Up Card, Stampin' Up Card ideas, Stampin' Up Supplies, Envelope Punch Board
Cards | Stamping
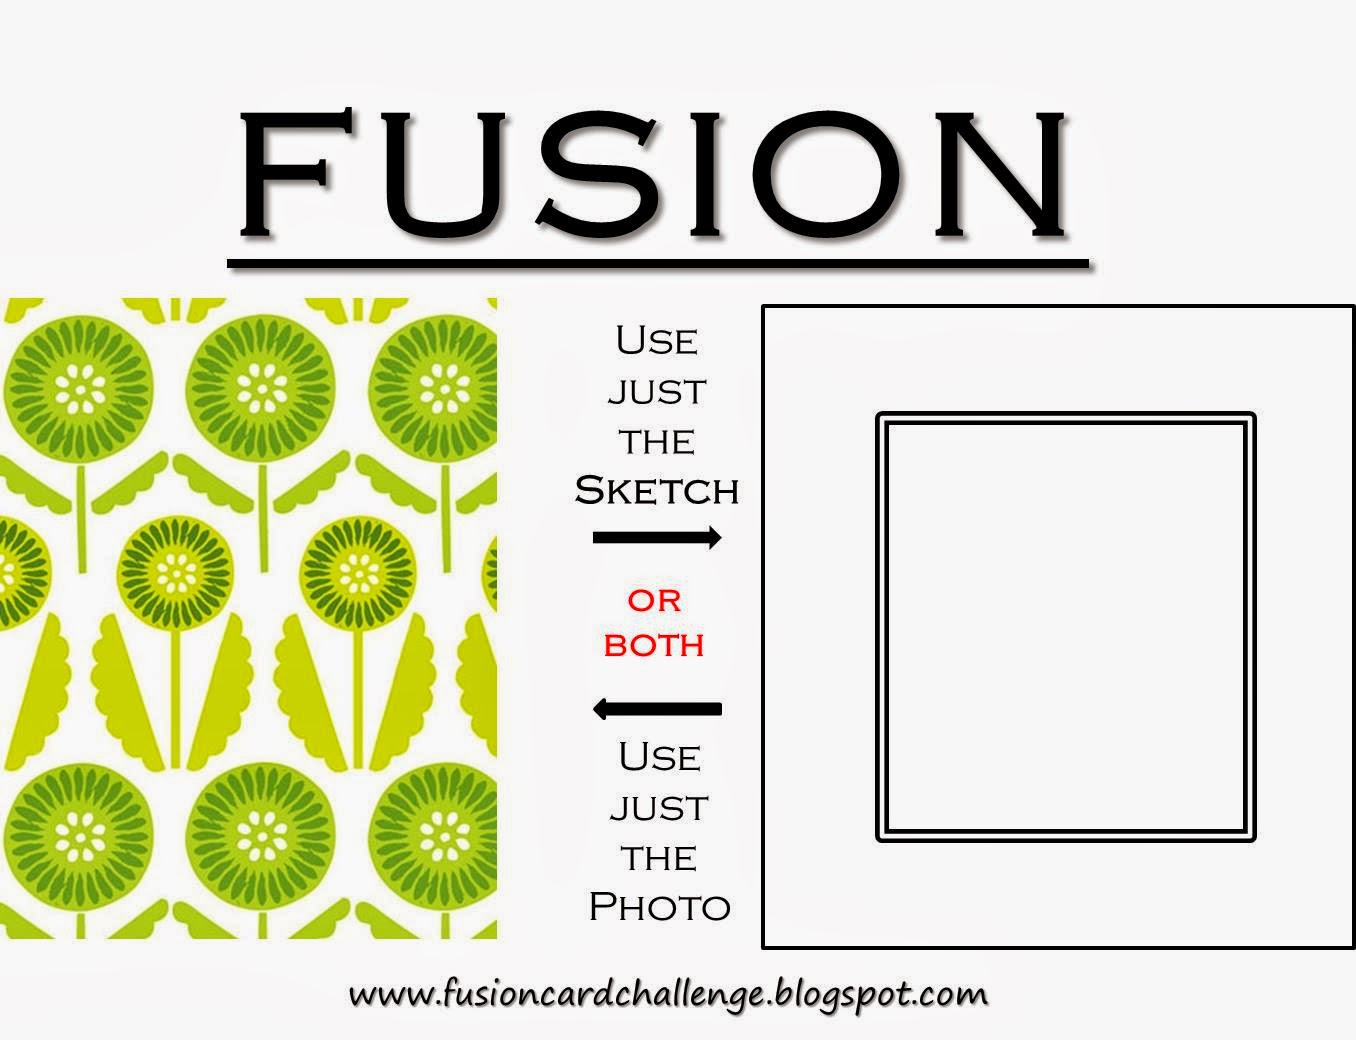
by Joanne James20. March 2014 21:27Good evening blog readers! Today I have a simple Spring flower card to share with you; simple in execution, yet I have been pondering its execution for almost a week. Why? Well, the challenge over at Less is More this week is to use masking or stencilling on your card. As I don't own much in the way of stencils and generally make my own templates if I want to mask or stencil something, I've been deliberating what to do. Then I saw the photo inspiration over at Fusion this week -
and I had a sudden flash of inspiration. Here is my card:
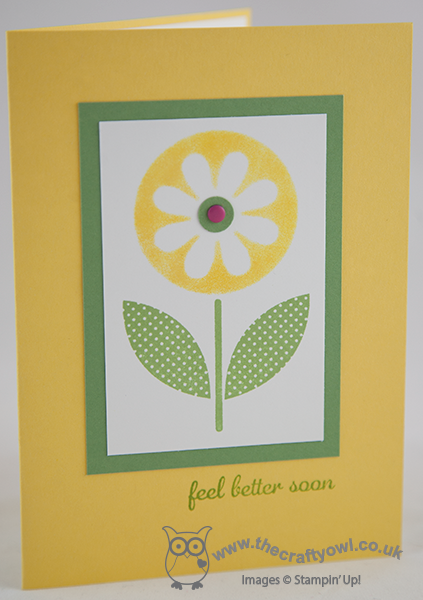
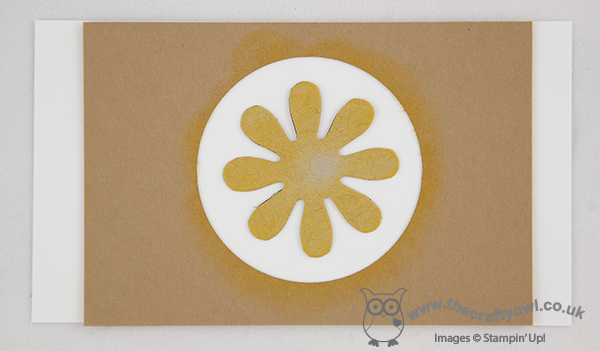
I kept with the yellows and greens of the inspiration photo and used Daffodil Delight and Wild Wasabi as I wanted my card to have a light, bright spring feel. I was tempted to stencil a repeating pattern, but decided instead to go with a single graphic flower instead for greater impact. I created the flowerhead by making my own stencil from a piece of card with a punched out circle and once in place on my white card, I positioned a flower cut with my Blossom Party Originals Die in the centre with some low-tack adhesive and sponged yellow ink onto the space in between - here's a photo of my makeshift mask/stencil which might make more sense:
For the stem I used a retired stamp from a set called 'Sweetheart'; this was the first ever stamp set I purchased so I feel I can't part with it for sentimental reasons and it was just perfect for this card. I finished with a simple sentiment and a bright pink candy dot layered on a small punched circle.
I'm also linking this card up with the lovely peeps over at The Paper Players this week, where Jaydee's challenge this week is to create something clean and simple with the theme of 'Spring'; I'm pretty sure today's card fits the bill.
Back tomorrow with another project; until then, happy stampin'!
Stampin' Up! Supplies Used:
by Joanne James27. November 2013 21:02Today I'm sharing a gift I made for some of my most supportive stamping friends who I met up with at Convention. One of the great things about being a Stampin' Up! demonstrator is the friendships you make along the way - I have friends that I would never have met if it wasn't for Stampin' Up! and they are some of the most supportive when it comes to sharing successes, failures and ideas. Here is one of the gifts I made:
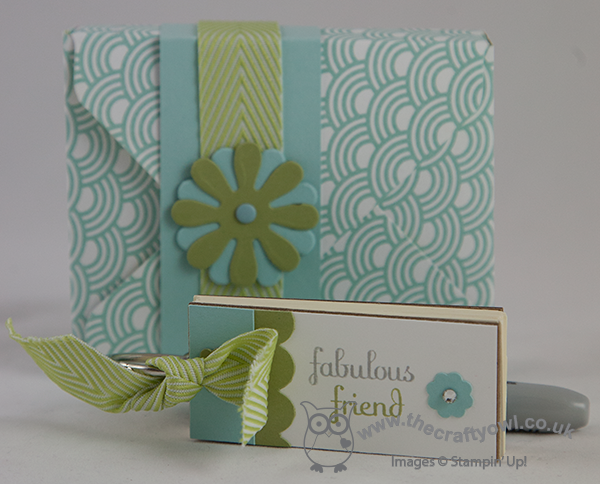
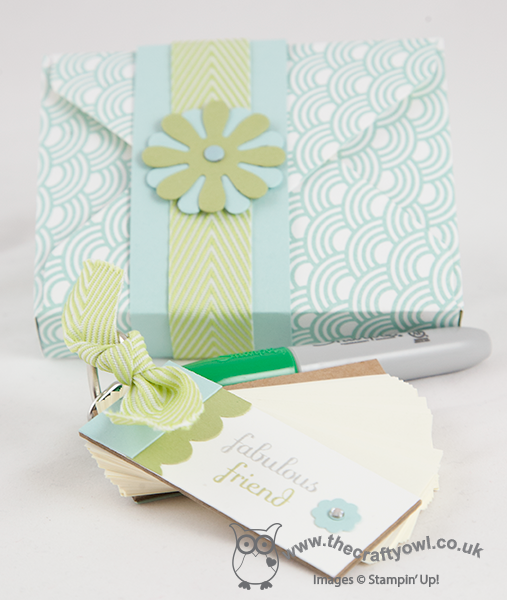
I found these cute little keyring notebooks in a local stationery store and customised them with stamps, punches and ribbon. I added a keyring Sharpie pen to each one, then made a little box with my Envelope Punch Board and closed with a co-ordinating belly band.
These are perfect for keeping in your handbag to always ensure you have a pen and paper to hand for quick notes.
Back tomorrow with another project. until then, happy stampin'!
Stampin' Up! Supplies Used: