Happy Monday everyone! For me this is officially the first day of the long school summer holiday! The James Juniors actually finished a couple of weeks ago, but having spent two weeks abroad on vacation today marks the start of our time at home - 6 weeks of no school runs, yay! So how long before I get cries of 'I'm booorrrreeeeedddd' do we think??!
I was pleasantly surprised to return home to the UK to find that summer has finally arrived, so I'm hoping that today's card doesn't tempt fate! I made it with a few challenges in mind:


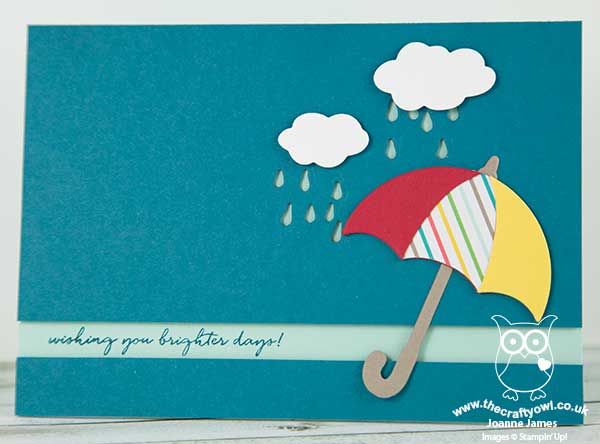
The team over at CASology have a cue card of 'rough', which can mean many things; I decided to go with a 'get well soon' sentiment and also included some diecutting which the team over at TGIF are looking for this week and a little paper piecing for the team over at Just Add Ink. Take a look:

Here's the low-down on today's card:
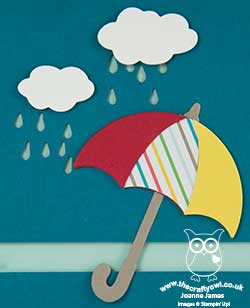
Umbrella Weather - With the exception of the sentiment, which comes from the co-ordinating 'Weather Together' stamp set, my card is all about diecutting today. The umbrella, clouds and raindrops are all part of the Umbrella Weather Framelits set. I've been wanting an umbrella set for ages (you can see my previous punch art attempt at creating my own umbrella here) and this framelit set is perfect: it contains two different umbrella types and lots of border patterns that you can use to customise them, in addition to clouds, hearts and raindrops. The framelits are a great standalone set and you don't need the stamp set to get great use out of these, although given that together they can be purchased as one of the many discounted bundles in the catalogue, I'm not sure why you would buy them alone (just saying :-) )
Paper Piecing - Paper Piecing, the technique that uses small pieces of paper or card to create a pattern, originates from an old quilting technique where the quilter sews small pieces of fabric onto paper in order to make it easier to join them together. On my card I decided to paper-piece the sections of my umbrella. I cut one complete umbrella out of Real Red, then cut a further three umbrellas - one red, one yellow, and one out of a scrap of retired Cherry on Top DSP from my scrap box - and fussy cut each of these by hand into three sections, that I then paper-pieced together and glued to the red base to create my colourful brolly.
Minimal Layers, Maximum Interest - I wanted to create interest not only with my use of bright blocks of colour but also in terms of dimension, with the raindrops, sentiment, clouds and umbrella all completing for layer space on my card. In order to maintain my 'clean and simple' feel, I created a recess in my top mat for my sentiment and popped this layer up on dimensionals to add depth to my raindrops. I then adhered my umbrella directly onto this layer, arching the recess, and finally popped the clouds onto dimensionals for a little lift too.
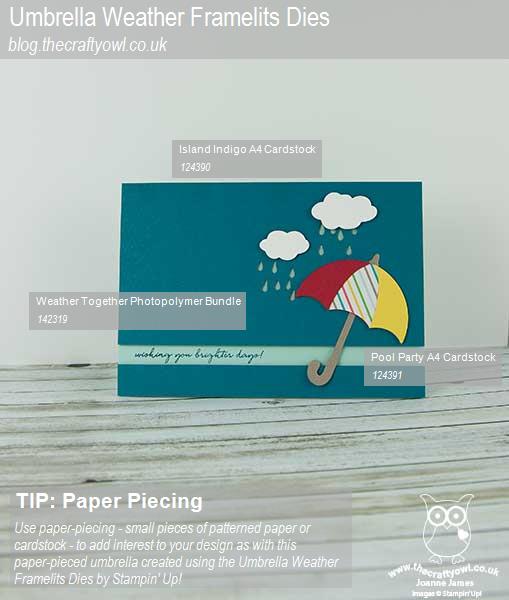
Here is the visual summary of the key products used on today's project for you to pin for easy reference:

You can see all of my 'How To' summaries on my 'How To - Tips and Techniques' Pinterest board in case you've missed any.
A brightly coloured card that should cheer someone having the roughest of times!
That's all from me today; I have a date with a huge basket of post-vacation ironing along with some time outdoors with the James Juniors making the most of the nice weather whilst it lasts. I'll be back tomorrow with another project; until then, happy stampin'!
Stampin' Up! Supplies Used: