by Joanne James20. December 2017 22:00
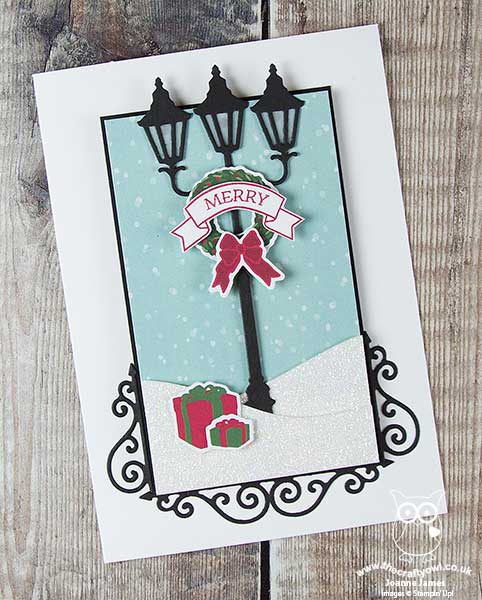
I've been away for a few days with my family to experience the delights of the German Christmas markets and enjoy some much-needed pre-Christmas R&R, but have just managed to squeeze in a post for you this evening amidst some last-minute card writing to share the second part of my Brightly Lit Christmas set and possibly one of my favourite cards of the season - take a look:

Here's the low-down on today's card:
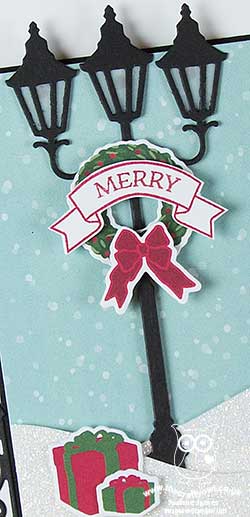
A Framed Christmas Lampost - I created my delightful snowy lampost scene and use the crossbar lampost framelit to create a gorgeous frame for my mini focal point, something I picked up from a wonderful crafty friend of mine, the talented Amanda Bates over at The Craft Spa; thanks for the inspiration, Amanda!
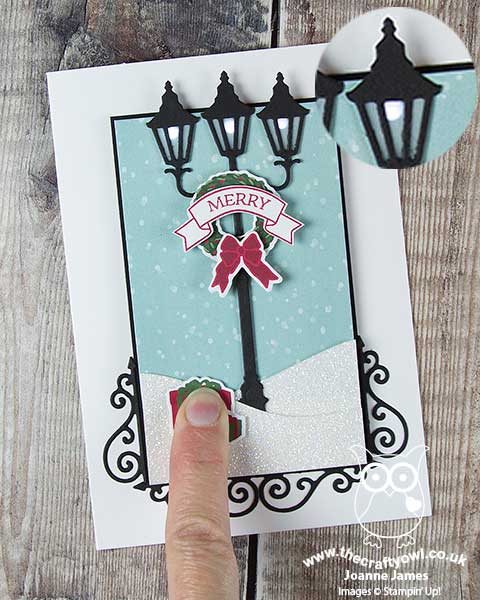
Light The Lamps - The best bit of this stepped-up card? The lamps light up! I used a Chibi circuit kit to create a circuit behind the main panel and when you press the presents, the lamps light as you can see on this zoomed-in photo below:

How cool is that?! These circuits are easy to create although with three bulbs on this card, a little pricey and only really suitable for a special card, but a fun way to step up a card with the Christmas Lampost Thinlits Dies for sure.
Pick A Piece Of Paper - The only stamping on my card is the little 'Merry' banner across my wreath; the wreath itself and the presents were diecut from the Christmas Around The World Designer Series Paper. This paper is the one I initially found the most difficult to work with, yet in reality have used most - it's amazing how creative you can be when challenged!
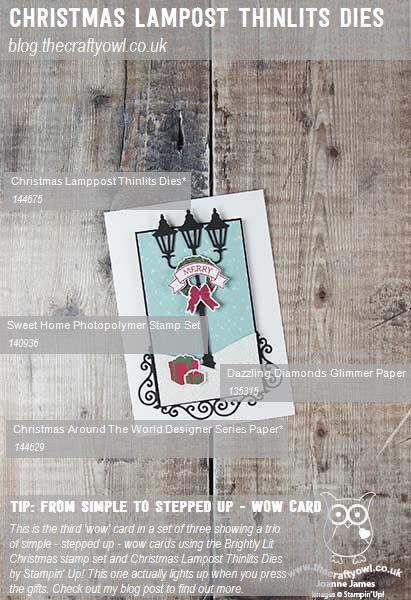
Here is the visual summary of the key products used on today's project for you to pin for easy reference:

You can see all of my 'How To' summaries on my 'How To - Tips and Techniques' Pinterest board in case you've missed any.
Enjoy your day and I'll be back soon with another project. Until then, happy stampin'!
Stampin' Up! Supplies Used: