Today it's Sunday and time for this week's new challenge over at The Paper Players! It's the turn of the fabulous LeAnne to host this week and she has a fun clean and simple challenge for us to work with:

Make a tag or feature a tag on your project - just remember to keep it clean and simple! I had another vellum idea I wanted to try out and LeAnne's challenge today gave me the perfect opportunity - take a look:
Here's the low-down on today's card:
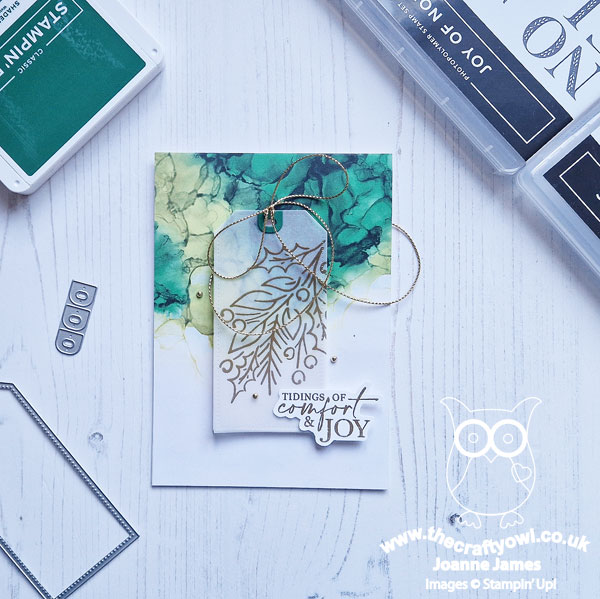
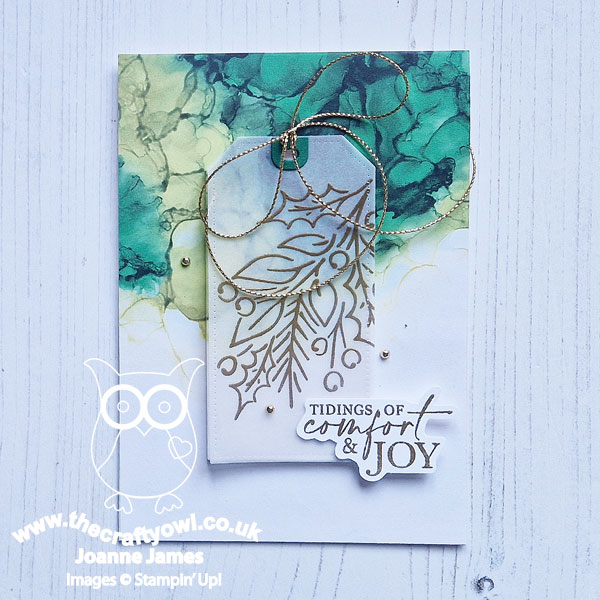
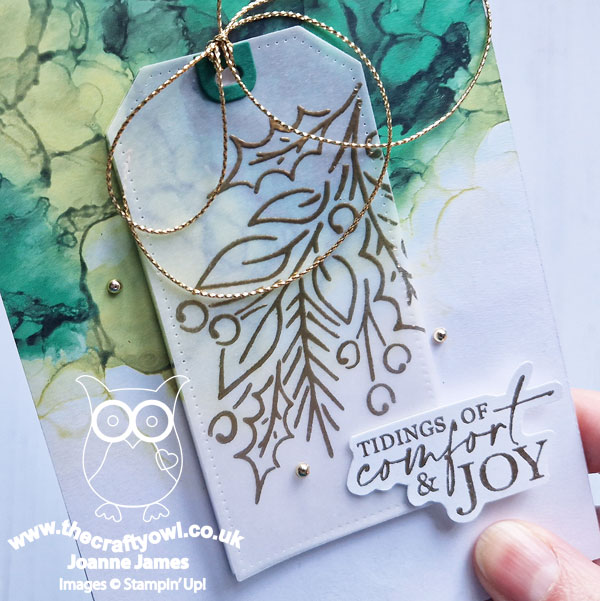
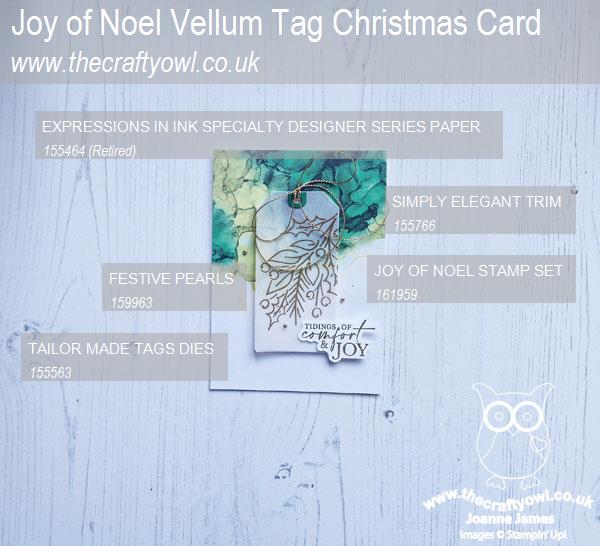
First things first: I used a piece of retired Expressions In Ink Specialty Designer Series Paper for my card base for ease, but you could easily recreate this alcohol ink effect using some Stampin' Blends and drops of rubbing alcohol. I then cut my tag shape out of the centre of my designer paper panel, before gluing it to my white cardbase (minus the tag). I cut 5 extra tags out of white carstock and added these behind the DSP one, so that when they were glued back into the space the stacked tag would have added depth. I cut another tag out of vellum (I used a scrap of Shaded Spruce for the reinforcer) and stamped the large foliage stamp from the 'Joy of Noel' stamp set in Versamark off the edge and heat embossed it in gold. When it is added (tied not glued) to the tag stack I created earlier, the design is clear and the vellum softens the alcohol ink effect on the tag below:
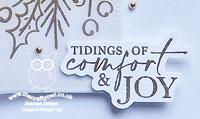
A gold heat embossed sentiment from the 'Christmas Classics' stamp set, along with some gold elegant trim and a trio of festive pearls, complete my card.
I really like the finished effect - minimal layers and embellishments, lots of white space and enough gold to add a little festive flair. The foliage stamp in the 'Joy of Noel' stamp set is so versatile - although it's a line stamp, it doesn't have to be coloured - there are so many different ways to use it. If you would like even more inspiration using the 'Joy of Noel' stamp set, you can search my blog for lots more examples or better still, this is the bundle that features in this month's 'Join In With Joanne and Jan' tutorial that I have created with my NZ friend, the lovely Jan Clothier - if you purchase this bundle from me this month you will receive our tutorial for FREE with full instructions for 4 additional projects using this fabulous set.
Back to today's project! Here is the visual summary of the key products used on today's project for you to pin for easy reference:
You can see all of my Product and 'How To' summaries on my 'How To - Tips and Techniques' Pinterest board in case you've missed any. I'm also linking today's project up over at Less Is More where the theme is 'anything CAS goes'.
Before you reach for your ink and papers, check out what our amazing team has created to inspire you this week:
The Paper Players Design Team
Here's a quick recap of our challenge rules:
1. Create a new paper project
2. Upload your creation to your blog with a link back to us and provide a direct link to the post featuring your challenge submission.
3. Please link your card to no more than four challenges, TOTAL.
4. Have FUN!
Enjoy your day; it's a rather wet and miserable weekend here so I will be staying indoors today I think - maybe some festive baking will be on the cards! I'll be back tomorrow with another project. Until then, happy stampin'!
Stampin' Up! Supplies Used: