Today I have my card for the new challenge over at Festive Friday.
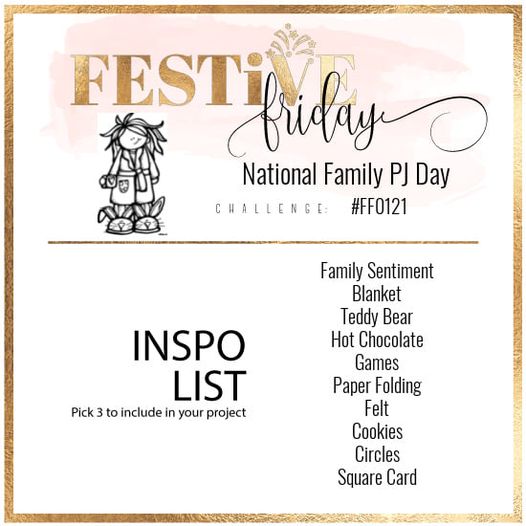

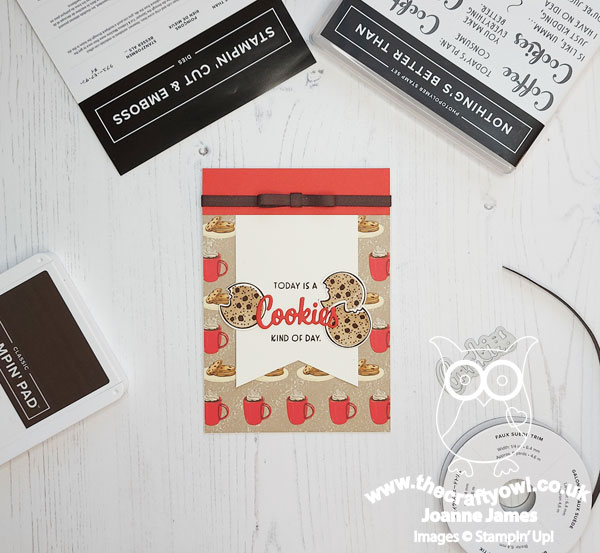
The challenge that we are celebrating this week is 'National Family PJ Day' which is on November 14th - who knew?! Remember the fun thing is that at Festive Friday you do not need to actually celebrate the occasion; your goal is to simply use three or more items from the inspiration list on your project. This week I used hot chocolate, cookies and circles along with the sketch over at Sunday Stamps for my layout and this is what I came up with:
Here's the low-down on today's card:
To The Rescue - I almost struggled to combine enough of the elements this week - I had most of them in one form or another, but not that could be used together. Then I remembered I had some of this retired 'Night Before Christmas' designer series paper from a few years ago in my stash and bingo - it gave me cookies and hot chocolate in one! All I needed to do was combine with the 'Nothing's Better Than' stamp set for my sentiment and the Love You More Than co-ordinating dies for my diecut circle-shaped cookies and I had a trio!
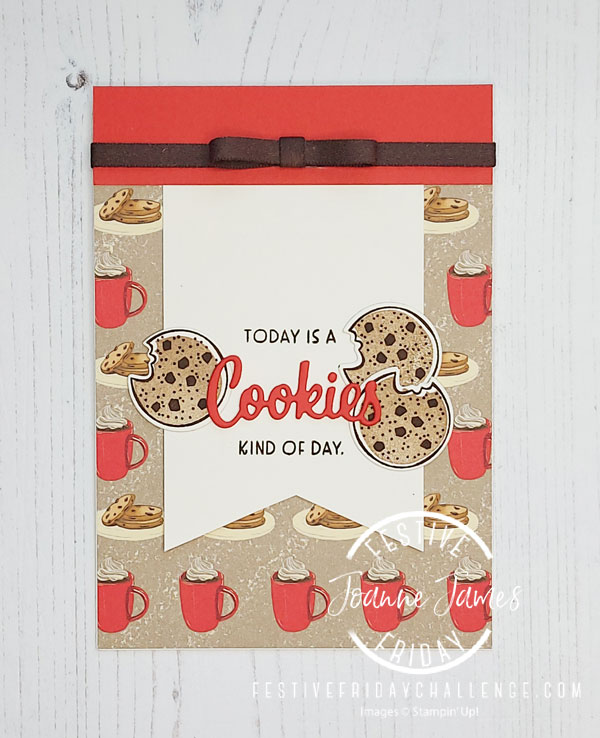
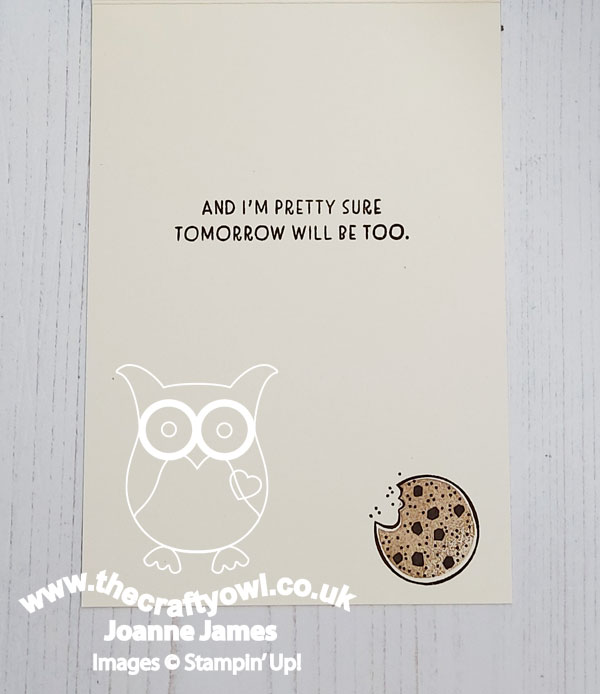
A Cookie Trio - I stamped and diecut a trio of cookies to compliment my greeting on the front of my card, which I carried over to the inside too:
This set really is so much fun - you can create all kinds of greetings and messages with it! This card will be perfect to go with a home-baked gift in the run up to the festive season and is sure to make someone smile!
A Stacked Sentiment - I diecut the word 'cookies' in my greeting and triple-stacked it to add height, using Poppy Parade to pick up the colour of the mugs on the paper - I used this for my banner topper too.
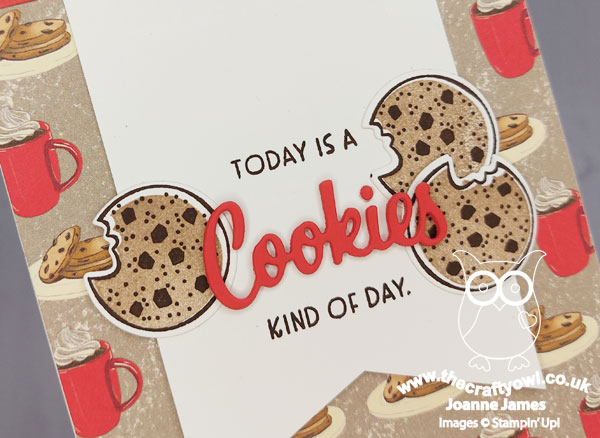
Whilst this isn't a Christmas card, I think the red gives it a fun, festive feel. I also added some of the Early Espresso suede effect ribbon to the topper - this feels so luxurious and makes nice flat bows too.
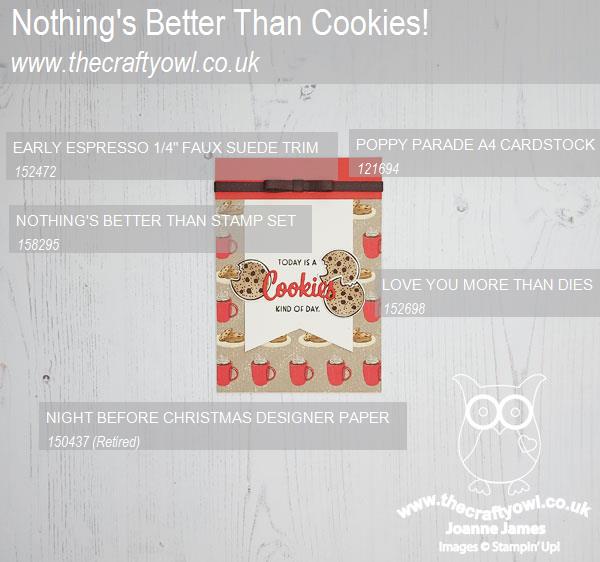
Here is the visual summary of the key products used on today's project for you to pin for easy reference:
You can see all of my 'How To' summaries on my 'How To - Tips and Techniques' Pinterest board in case you've missed any.
How does our board inspire you? I can’t wait to see what YOU create! For more inspiration, be sure to visit the rest of the Festive Friday Challenge Design team:
Ann Schach
Beth McCullough
Sharon Hashimoto Burkert
Melanie Hungerford
Helen Jennings
Melva Peters
Jaydee
Diane Evans
Joanne James
Like many families, the James' have a long-standing tradition of family pyjamas at Christmas time. My husband jokes that he has more Christmas PJs than ones he can wear all year around! Here's a Christmas selfie of us sporting ours from last Christmas:
.jpg)
These were actually quite tasteful considering some of the designs we've sported over the years - I guess that's what happens when you have discerning teenagers in the house! Enjoy your day and I'll be back tomorrow with another project. Until then, happy stampin'!
Stampin' Up! Supplies Used: