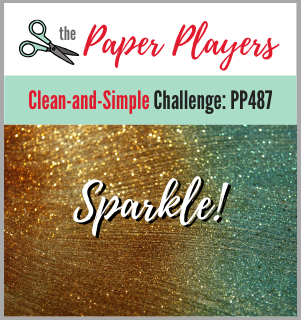
Today it's Sunday and time for this week's new challenge over at The Paper Players! It's the turn of the wonderful Anne Marie to host this week and she has a sparkly clean and simple challenge for you to work with:
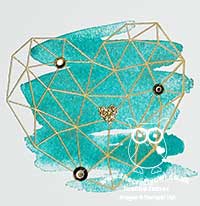
I decided to go back to one of my annual catalogue favourites, Modern Heart, for today's card - take a look:
Here's the low-down on today's card:
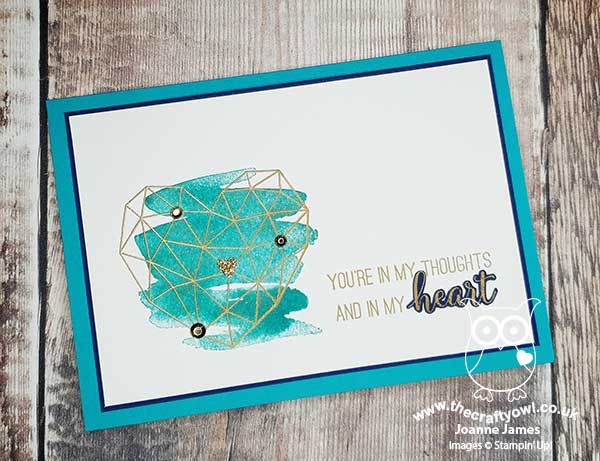
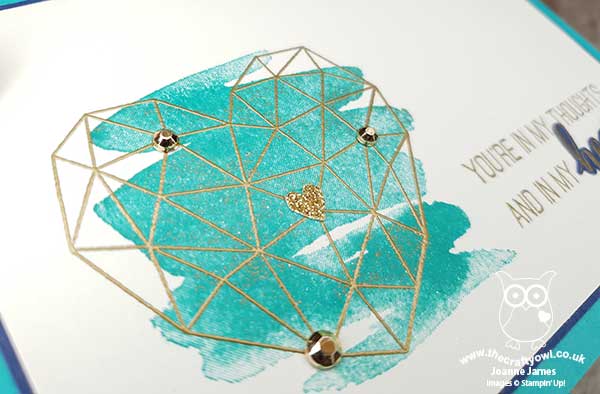
A Touch of Sparkle - So with the emphasis on sparkle for today's card, I started with a base of Shimmery white. Difficult to see in the photos, the whole of the cardfront has a subtle sparkle which is so pretty in real life. I paired this with my modern heart, heat embossed in gold, that I decorated with a trio of gilded gems and a tiny geometrical heart fussy cut from gold glimmer paper.
Clean and Simple - Whilst this week is all about sparkle, it's also 'clean and simple' week. So does today's card meet the guidelines? Minimal layers and embellishments - check. Plenty of open space, aka "white" space - check. Simple and uncluttered - check. Remember to follow this check list if you are going to play along this week!
Hearts of Blue - I decided to use blues for my card colour today; every other time I've used this set it has been with female cards in mind, so I thought it would be nice to create something with a more masculine feel. The unfussy nature of this card suits a more masculine card too - check out the detail on the heart itself:
I added a little fussy cut detail to the sentiment too for an additional pop of navy blue. I'm linking today's card up over at SUO Challenges where they are featuring embossing - this time I'm going with heat embossing.
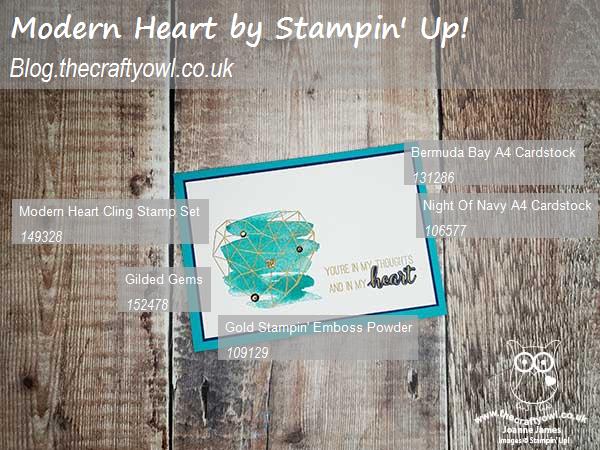
Here is the visual summary of the key products used on today's project for you to pin for easy reference:
You can see all of my Product and 'How To' summaries on my 'How To - Tips and Techniques' Pinterest board in case you've missed any.
Before you reach for your ink and papers, check out what our amazing team has created to inspire you this week:
The Paper Players Design Team
Here's a quick recap of our challenge rules:
1. Create a new paper project
2. Upload your creation to your blog with a link back to us and provide a direct link to the post featuring your challenge submission.
3. Please link your card to no more than four challenges, TOTAL.
4. Have FUN!
You can see all of my 'How To' summaries on my 'How To - Tips and Techniques' Pinterest board in case you've missed any.
Enjoy your day; yesterday was wet and miserable here, so perfect for crafting; I'm hoping today will be brighter and therefore offer more chance to get outside, but either way I'm sure there will be fun to be had in one form or another! I'll be back tomorrow with another project. Until then, happy stampin'!
Stampin' Up! Supplies Used: