Today it's Sunday and time for this week's new challenge over at The Paper Players! It's my turn to host this week and as it's the fifth Sunday of the month we have a tic-tac-toe challenge for you to work with:
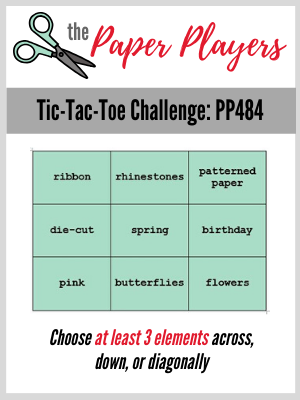

I'm getting used to the idea of a tic-tac-toe board; my starting point tends to be as many options as possible, so I ended up with 3 lines complete: central row - diecut, spring, birthday, and far right column - DSP, birthday, flowers and lastly the diagonal pink, spring, DSP - talk about over-achiever! I used Amy's sketch over at Freshly Made Sketches for my layout (great layout, Amy!) and decided to use one of my favourite new florals for a new purpose - take a look:
Here's the low-down on today's card:
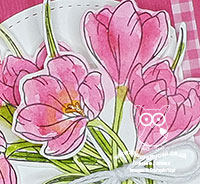
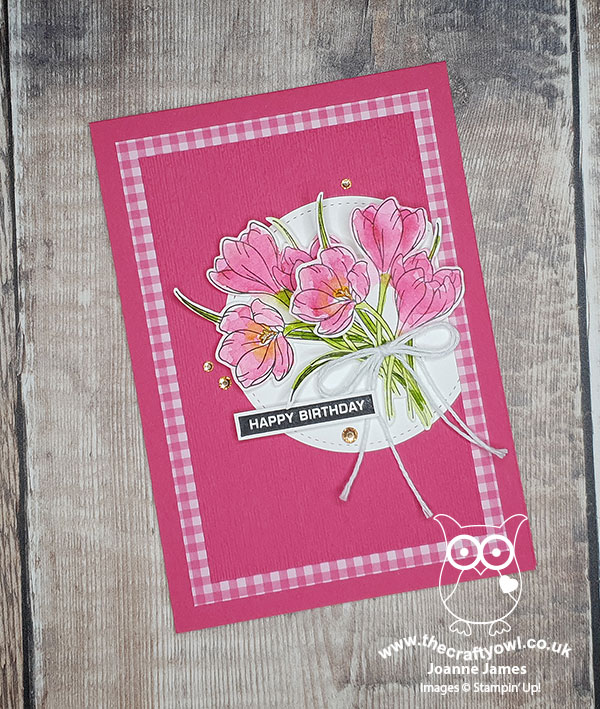
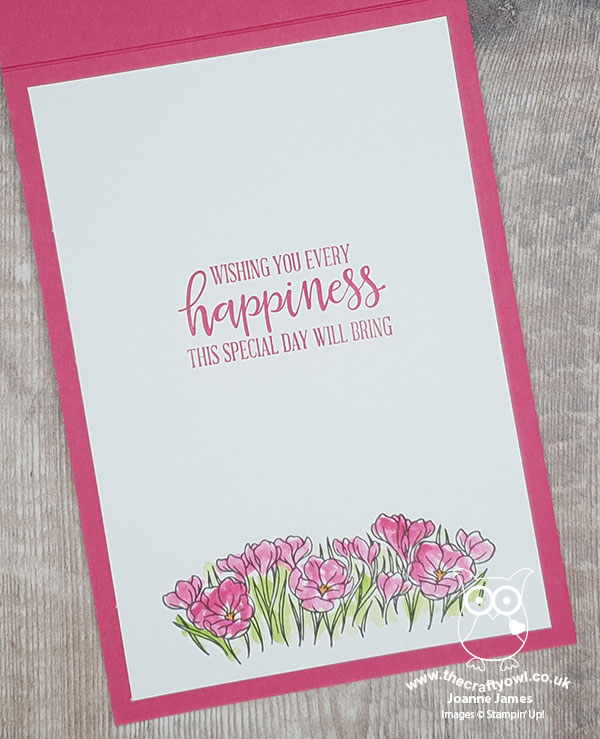
Crocuses Are Not Just For Easter - I love the 'Easter Promise' stamp set and the crocus stamps. They are perfect for spring and I decided that they would make a pretty birthday card too. I chose my favourite pink, Melon Mambo, for today's card - did you know that you can actually get pink crocuses? I didn't, but Google showed me some so as my kids so often say, well it must therefore be true! I coloured and fussy cut a couple of the bunches for the front of my card, then added the row to the inside for a little extra detail:
Label Me Bold - I used the Happy Birthday from 'Label Me Bold' on today's card; plain block sentiments are perfect for something simple where the florals are the main focus.
Pretty In Pink Watercolour - I decided to use a rough watercolour to colour my crocuses. I stamped them in Stazon on watercolour paper and then added loose colour in layers, deliberately not keeping inside the lines (which was hard for the perfectionist in me!) and I just love the finished effect:
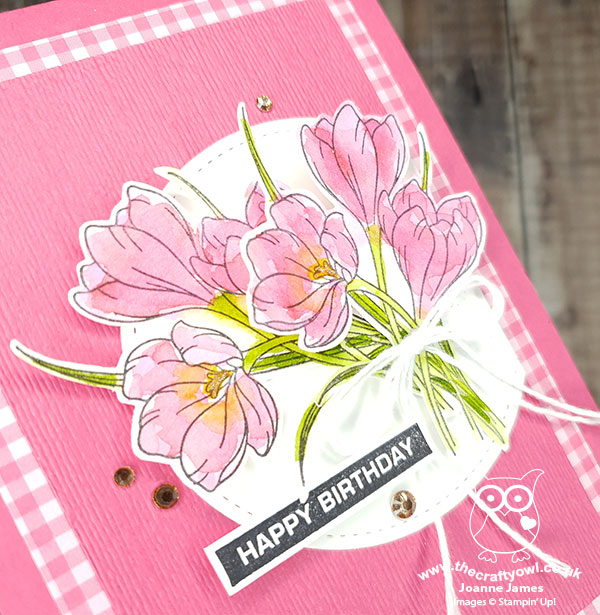
I added a twine bow and some champagne rhinestones to complete my card. I just LOVE this card - do you ever make a card that totally ticks all of your boxes? This is one of mine!
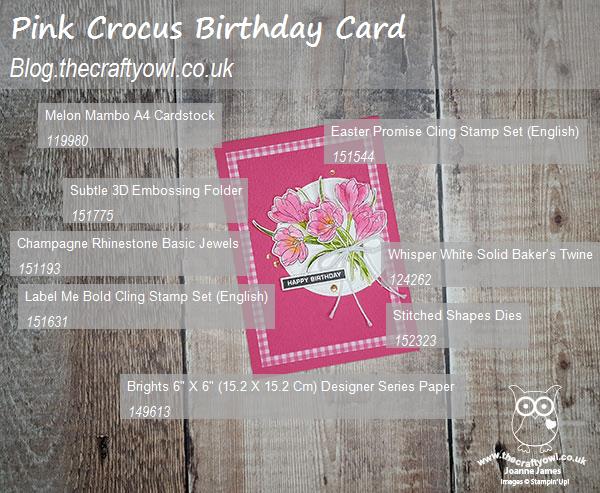
Here is the visual summary of the key products used on today's project for you to pin for easy reference:
You can see all of my Product and 'How To' summaries on my 'How To - Tips and Techniques' Pinterest board in case you've missed any.
Before you reach for your ink and papers, check out what our amazing team has created to inspire you this week:
The Paper Players Design Team
Here's a quick recap of our challenge rules:
1. Create a new paper project
2. Upload your creation to your blog with a link back to us and provide a direct link to the post featuring your challenge submission.
3. Please link your card to no more than four challenges, TOTAL.
4. Have FUN!
You can see all of my 'How To' summaries on my 'How To - Tips and Techniques' Pinterest board in case you've missed any.
Enjoy your day; the clocks went forward overnight so we have an hour less today, although in the grand scheme of things at the moment I'm not sure it will matter that much! We spent some time together yesterday completing a fiendishly tricky quiz that Ben has been set by school, so I think this afternoon it might be time to involve the grandparents in our endeavours! I'll be back tomorrow with another project. Until then, happy stampin'!
Stampin' Up! Supplies Used: