by Joanne James3. August 2014 08:00It's time for this week's challenge over at The Paper Players and Sandy has a theme challenge for us this week that's all about buttons:
You can use any kind of buttons - real, embossed, paper - so for my card I decided to take Sandy's theme quite literally and create a 'Cute as a button' card suitable for a baby girl and featuring a clay button made with Simply Pressed Clay in one of Stampin' Up!'s silicone moulds - here is my card:
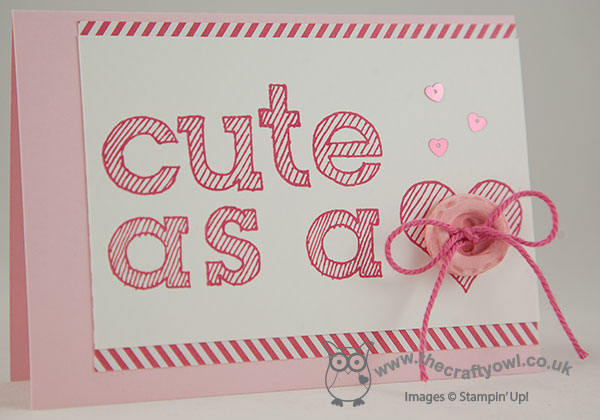
I used a Pink Pirouette card base and matted my Whisper White panel with a piece of Strawberry Slush DSP from the In-Colour stack in the chevron design, although with just enough showing so that it looks like a simple diagonal to echo the lines of the text. On my white panel, I stamped 'cute as a <3' using the new Epic Alphabet set. This set is photopolymer, which makes aligning the letters accurately so easy - with no stamp-a-ma-jig required! I moulded my clay button in the Simply Pressed Clay Mould and allowed it to dry before colouring it with my Pink Pirouette Stampin' Write marker - you can colour your clay before you mould it with reinker or afterwards with ink/markers, it's really up to you. The colour differs slightly depending on the method; personally I like to mould my buttons and embellishments in uncoloured clay a few at a time, then keep the dried pieces in a box to be coloured as required depending on the project. Here's a close up of my button:
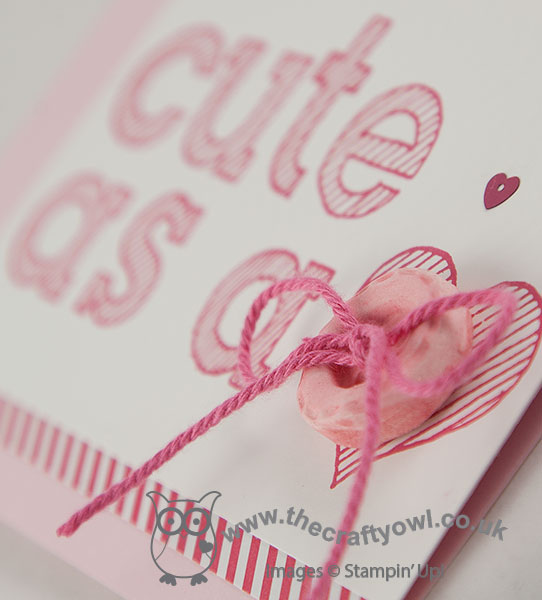
To finish, I pierced two holes in the button with my paper piercer and threaded some Strawberry Slush baker's twine through the holes and tied in a bow and added a scattering of In-Colour heart sequins.
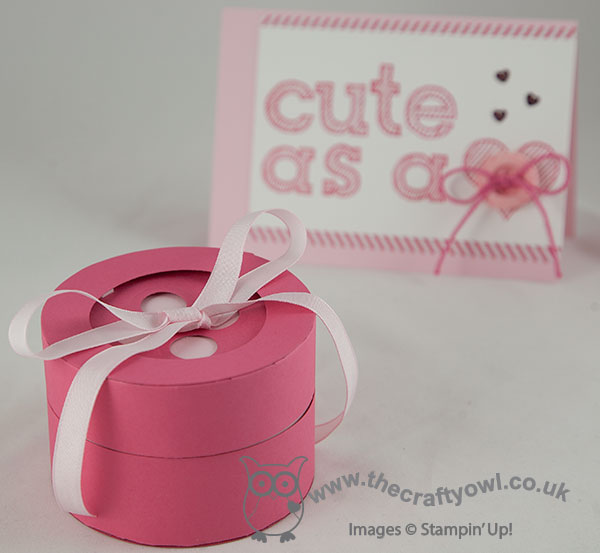
I really love how my card turned out - but I couldn't stop there! I thought it would be fun to create a button gift box to go with it, using my Big Shot and Circles Framelits - here it is:
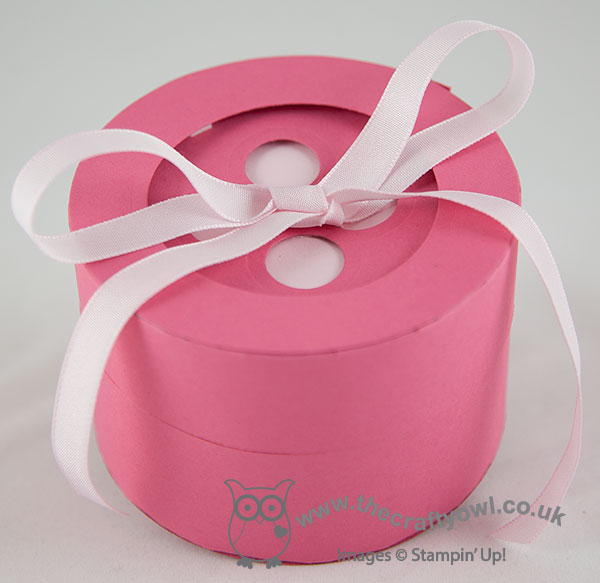
I used Strawberry Slush cardstock and the second largest of the circle framelits for my box, which measure 9.3cm in diameter and 7cm tall. I lined my box with Pink Pirouette cardstock for rigidity and to allow for an edge-to-edge closure. This box is just big enough to fit in a cute onesie, some bibs or a pair of booties - here's a photo of the inside:
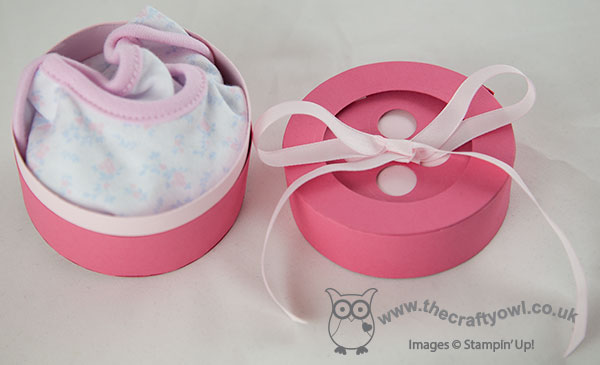
Lastly, I threaded some retired Pink Pirouette ribbon through the button holes and tied in a bow. So there you go - two cute as a button projects, I hope you'll agree! Do pop over to The Paper Players and see what the other talented designers have for you today and I very much hope you'll join us in creating something for this week's challenge.
Back tomorrow with another project; until then, happy stampin'!
Stampin' Up! Supplies Used:
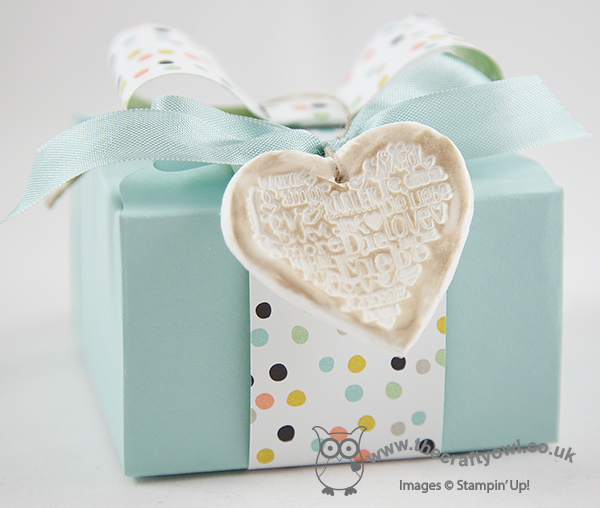
by Joanne James29. January 2014 20:50Today I have a little project to show you that is based on something I made using my Flowerfull Heart stamp at the beginning of January, but because I didn't have a voice I wasn't able to shoot a video to show you how to make it! Now that my beloved Flowerfull Heart stamp is no longer available to purchase, I decided to modify my original design and make it using one of the stamps in the new 'Language of Love' set that features in the Spring-Summer seasonal catalogue. I used Stampin' Up!'s Simply Pressed Clay to make an ornamental gift tag embellishment that you could use to decorate a card or package. Here's one on a box with a bow made out of some of the lovely Sale-A-Bration Sweet Sorbet DSP:
Here's a close-up of the tag, where you can really see the detail of the stamp:
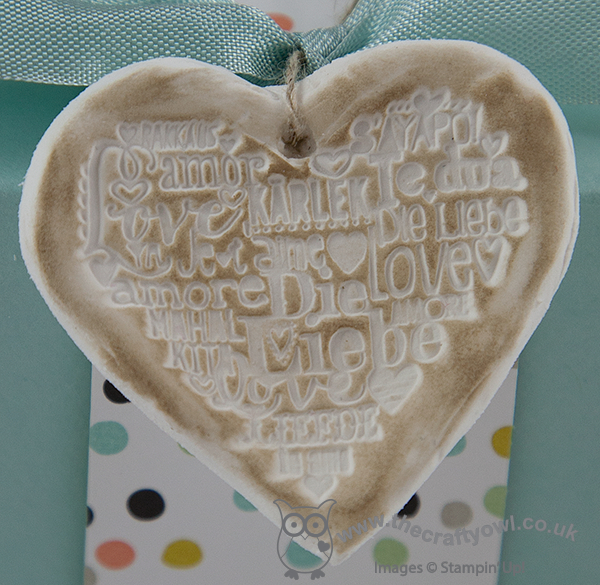
These tags really are quite easy to make, although you need to bear in mind it's a two stage process, as you will need to allow time for the clay to dry before you can colour and finish it. Here's a link to my video tutorial that shows you how it's done - it also includes some larger ornamental hearts made with my Flowerfull Heart (I couldn't resist!) - and some useful hints and tips for working with Simply Pressed Clay:
These tags would look beautiful attached to a wedding gift, or could even be an alternative wedding favour. I hope you found today's video tutorial useful and it inspires you to make interesting things with Stampin' Up!'s Simply Pressed Clay - leave me a comment and let me know what you come up with, or better still share a photo of your work on my Facebook Page!
Back tomorrow with another project; until then, happy stampin'!
Stampin' Up! Supplies Used:
9e5e4fa7-f4d4-4356-ad0b-61ab3a5b9bbc|0|.0|96d5b379-7e1d-4dac-a6ba-1e50db561b04
Tags: 3D Projects, Language of Love, Simply Pressed Clay, Stampin' Up, Stampin' Up Card, Stampin' Up Card ideas, Stampin' Up Supplies, video tutorial, Valentine's, Valentines, Weddings, Shop online
3D Projects | Stamping | Video Tutorials
by Joanne James20. January 2014 20:33Today I have another Flowerfull Heart card to share with you; this time a larger A5 size card that could be used for a wedding, anniversary, birthday or Valentine's for someone special. So here is my card:
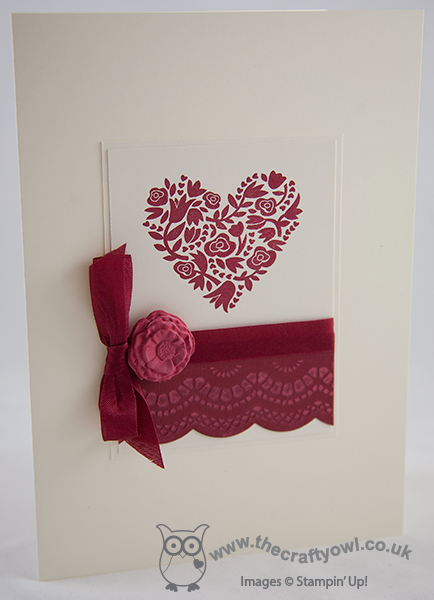
I love this card! It is elegant in its simplicity, yet at the same time packed with detail. Whilst the card has a lot of 'white space' (the actual base card colour is Very Vanilla, just to confuse you!), I created a double-layered centre panel on which I stamped both the Flowerfull Heart in Cherry Cobbler and then edged the bottom with some Cherry Cobbler Core'dinations cardstock, which I embossed then sanded lightly to show the contrasting layer. I covered the join with some Cherry Cobbler seam binding ribbon which I tied in a bow at the side, then lastly finished with a flower made from Stampin' Up!'s Simply Pressed Clay, which I first coloured with Cherry Cobbler reinker before moulding. Here's a close up of the flower:
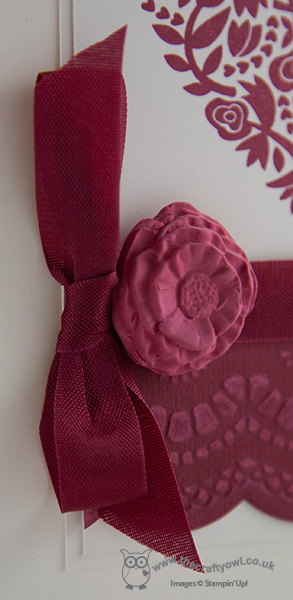
These really are so easy to make: you just press the clay into the mould, pop it out and leave it to dry. you can colour it before or after you put it in the mould, depending on the effect you're after.
A quick post from me today; having barely got rid of my last cold, I now seem to be catching another, so it's a hot drink and early night for me!
Back tomorrow with another project; until then, happy stampin'!
Stampin' Up! Supplies Used: