by Joanne James19. June 2020 12:00
I have another post for you today! I was asked by the lovely Kelly Kent, of mypapercraftjourney.com and one of the talented design team members over at one of my favourite challenge sites, Just Add Ink (read more about that team in today's other post!) to be the guest designer on her Paper Adventures Team Monthly Blog Hop this month and I was delighted to say yes! This month they have a fun kit challenge! We were all asked to come up with a kit containing the following items and then to make a card from them:


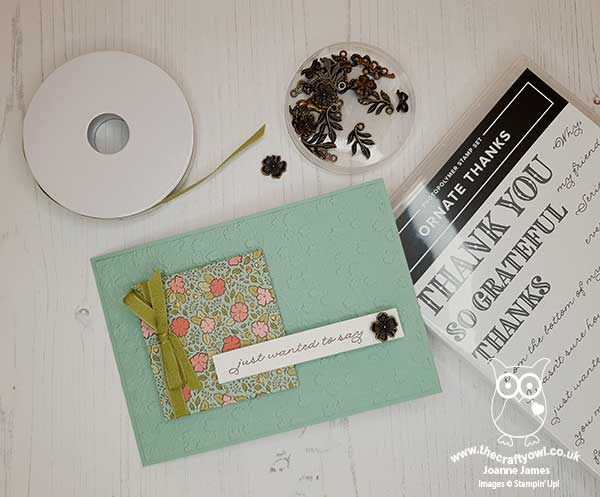
I chose the following items from the Ornate Garden Suite for my kit:
- Ornate Garden Designer Series Paper
- Ornate Floral 3D Embossing Folder for dry embossing
- Old Olive Ribbon from the Ornate Garden Ribbon Combo Pack
- A flower trinket from the (retired) Bird Ballad embellishments
And using the sketch over at Inspire.Create as the basis for my card, this is what I made:
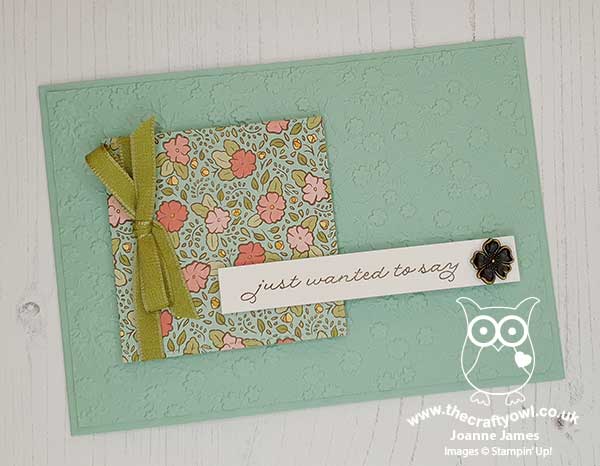
Here's the low-down on today's card:
Ornate Garden - I decided to keep things simple and choose a few co-ordinating products for my kit card. I cut out a piece of the Ornate Garden DSP with my Stitched Shapes Dies and tied my Old Olive Ribbon around it in a bow making this a featur of my card, and chose some co-ordinating Mint Macaron cardstock for my card base.
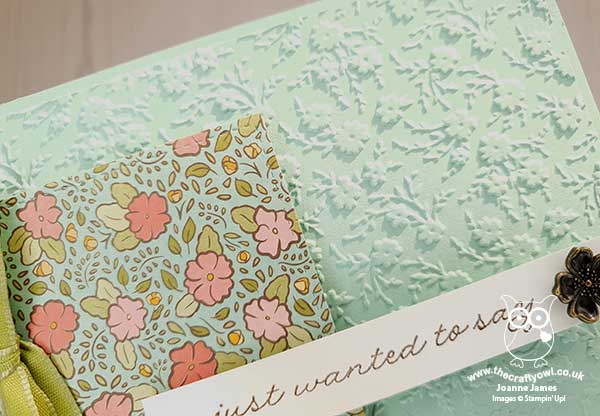
An Embossing Dilemma - I debated between heat embossing my sentiment or dry embossing my background and in the end the dry embossing won - look at the lovely dimension the Ornate Floral 3D embossing folder adds to the base:
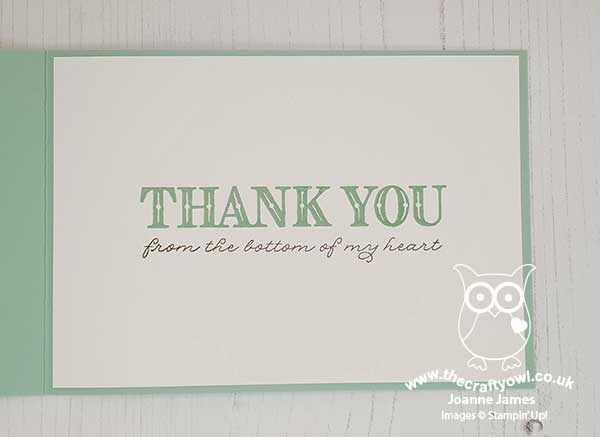
Just To Say ... - I love the numerous combinations of sentiment that can be made using the Ornate Thanks stamp set; I can see the 'just wanted to say' going with so many phrases even those not thanks-related; in this instance I stayed with thanks and used these other stamps to complete the inside of my card:
I added my retired Bird Ballard flower embellishment to the sentiment on the front to complete my card.
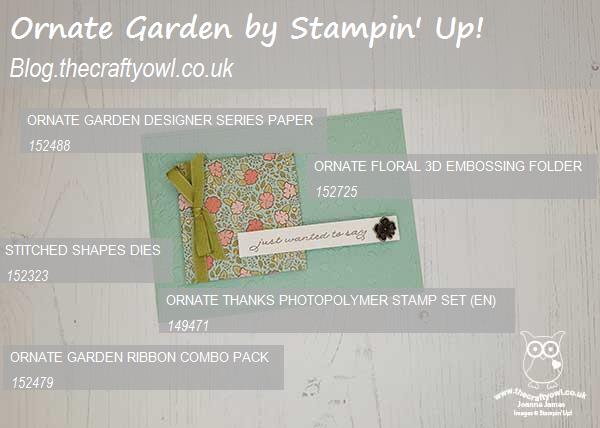
Here is the visual summary of the key products used on today's project for you to pin for easy reference:
You can see all of my 'How To' summaries on my 'How To - Tips and Techniques' Pinterest board in case you've missed any.
Now that you've had a chance to see what I made, why not click here to go to the next stop on the hop and see what the lovely Kelly has made with her kit supplies! Thank you so much to the Paper Adventures team for inviting me to participate in their hop today.
Enjoy your day and I'll be back tomorrow with another project. Until then, happy stampin'!
Stampin' Up! Supplies Used:
d0e82455-3375-4208-99aa-8c3a143f4546|0|.0|96d5b379-7e1d-4dac-a6ba-1e50db561b04
Tags: Ornate Floral 3D Embossing Folder, Ornate Garden, Ornate Thanks, Stitched Shapes Framelits, Stampin' Up, Stampin' Up Card, Stampin' Up Card ideas, Stampin' Up Supplies, Shop online, Shop Stampin' Up online, Shop Stampin' Up! Online
Cards | Shop Online | Shop Stampin' Up! Online | Stamping
by Joanne James19. April 2020 11:00 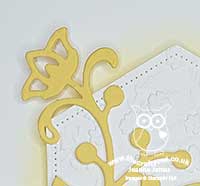
Today I have an extra card for you in addition to my Paper Players Design Team card (you can see that card here) as I'm sharing a card I made yesterday afternoon for the current Global Design Project challenge where they are doing a 'CASE The Designer' with this pretty tulip card by Janneke de Jong:

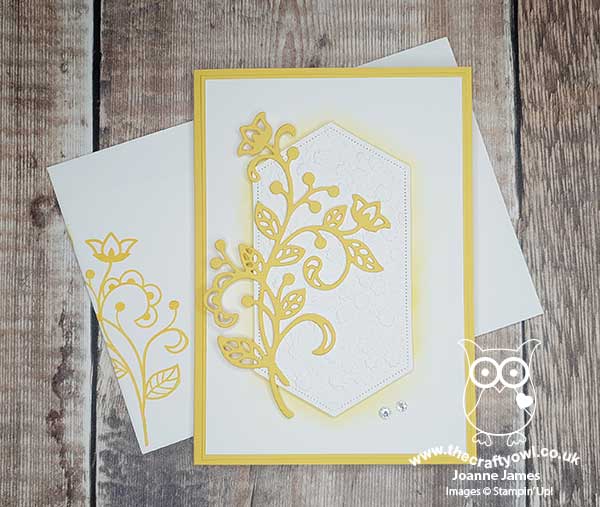
I loved the layout on Janneke's card and wanted to use it as the basis for a CASE'd card - here's what I came up with:
Here's the low-down on today's card:
A Lesson in CASE - There are a number of different definitions in the crafting world for the term 'CASE' and the one that the GDP team uses is 'Copy and Selectively Edit'. So if you look at my card, it has a number of similarities to Janneke's card: yellow and white are the dominant colours, I used the same sketch layout along with a single floral stem and no sentiment. There are a number of differences though too - things I have changed to make this card my own.
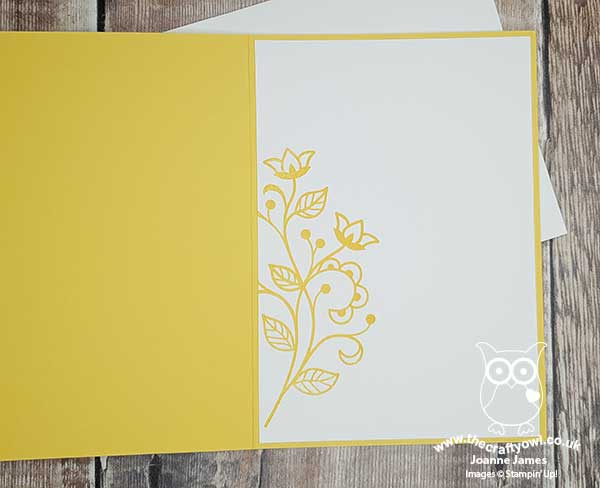
A Yellow Flourish - The first of these is my choice of florals. I went full-on yellow with my card and used the single stemmed floral from the Flourish Dies for my floral. I cut it twice from Daffodil Delight cardstock and glued them together to make a stronger floral as I was using it as my uppermost layer. I used the co-ordinating stampset, Flourishing Phrases, to decorate the envelope and inside of my card too; there are lots of great sentiments in this set so when I've decided what I am going to use this card for, I will add one to the inside if needs be. Here's a quick photo of the inside:
Ornate Florals - I kept the central Stitched Nested Label as per Janneke's original card and the yellow sponging around the edge on the layer beneath - this was probably my favourite thing about this card, I love the effect - and I embossed the white label too. I chose to use the new Ornate Floral 3D embossing folder for my detail - those little flowers compliment any kind of floral I think. Here's a closeup of the detail showing the layering and texture:
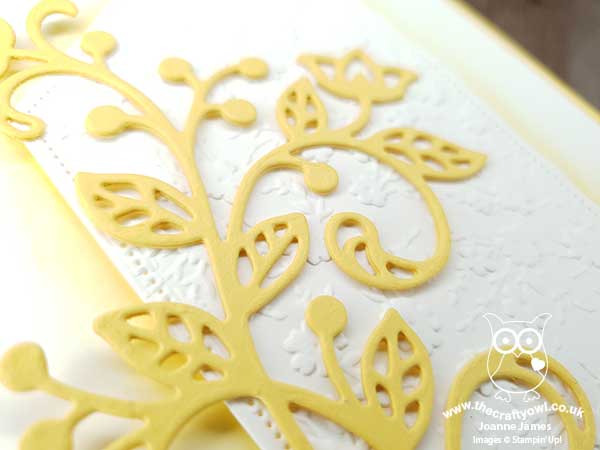
I love yellow, especially on cards and flowers - this is the kind of card that makes me happy!
Here is the visual summary of the key products used on today's project for you to pin for easy reference:
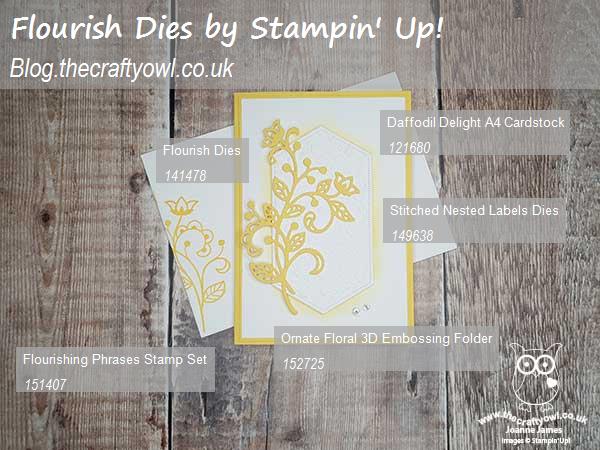
You can see all of my 'How To' summaries on my 'How To - Tips and Techniques' Pinterest board in case you've missed any. I'm also linking this card up with the team over at SUO Challenges where embossing is the theme - this time with dry embossing as my focus.
Enjoy your day and I'll be back tomorrow with another project. Until then, happy stampin'!
Stampin' Up! Supplies Used: