by Joanne James29. June 2021 20:00
Today I managed to get a little extra crafting time so I'm sharing a second card that I made with a couple of challenges in mind:


I couldn't resist those Inspired By brightly coloured dotty flip flops with their daisy embellishments, so I took those elements and paired them with the current Paper Craft Crew sketch and this is what I came up with:
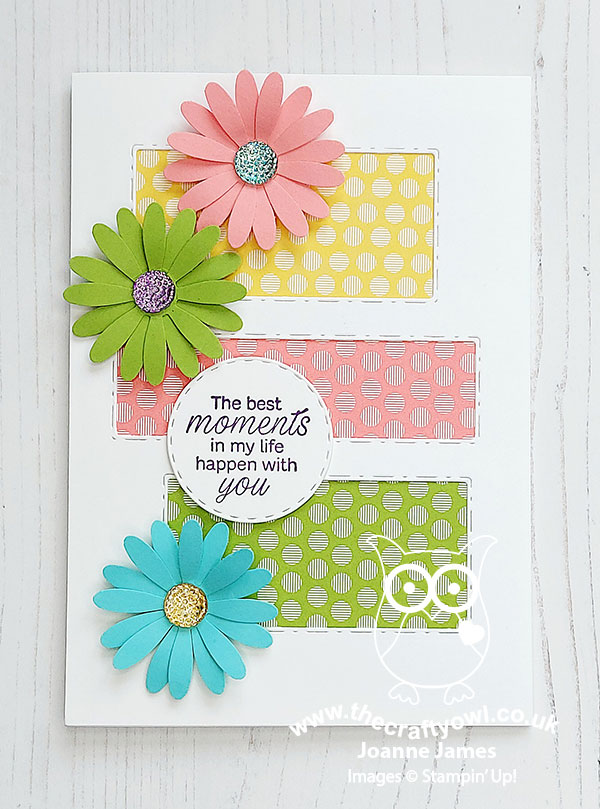
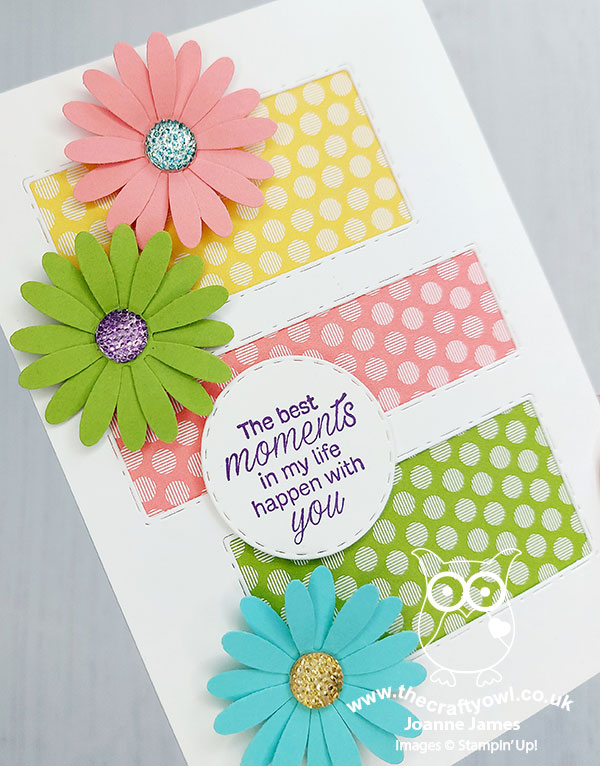
I used the new Picture This Dies to create my trio of apertures, backed them with some retired brights collection DSP and added some coloured daisies centred with some retired gems that I coloured with my Blends markers and added a sentiment from the 'Daisy Lane' stamp set on one of the stitched circles cut out with the other die in the set.
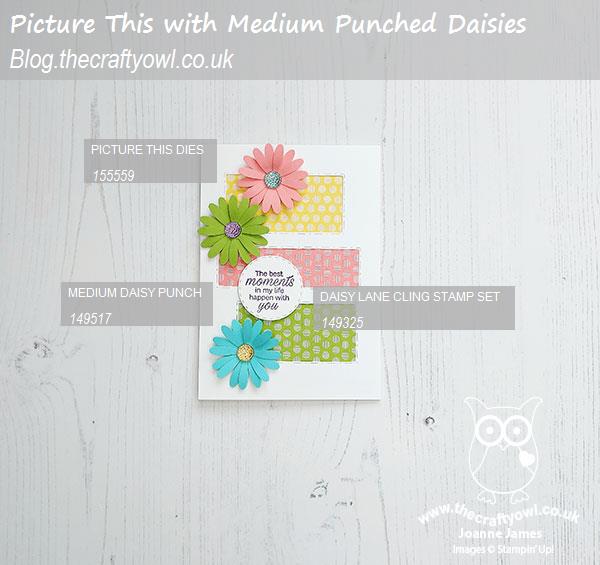
Here is the visual summary of the key products used on today's project for you to pin for easy reference:
You can see all of my 'How To' summaries on my 'How To - Tips and Techniques' Pinterest board in case you've missed any.
Enjoy your evening and I'll be back tomorrow with another post. Until then, happy stampin'!
Stampin' Up! Supplies Used:
by Joanne James29. March 2021 11:30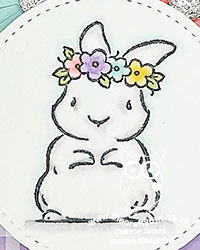
Today I have another card to share that I made using Julee's Mojo Monday layout and those yummy pastels over at The Color Throwdown this week:


I needed a few more Easter cards and those bunny-ear cakes definitely lend themselves to a cute Easter card - take a look:
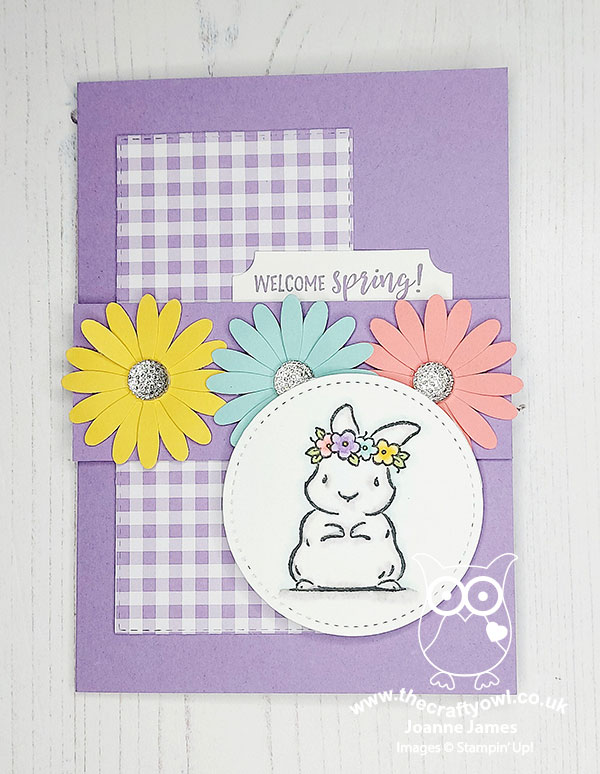
Here's the low-down on today's card:
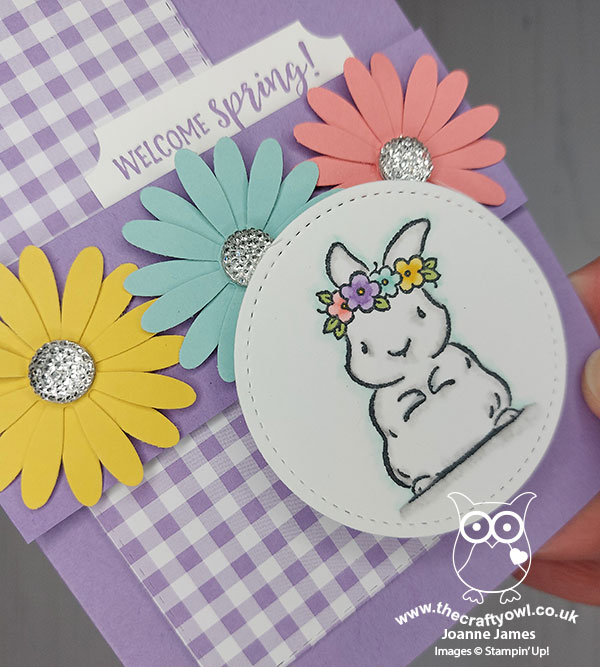
I used Highland Heather for my card base and gingham panel and used the sweet bunny from the 'Springtime Joy' stamp set as the focal point of my card, added some pretty colours to her flowers, then picked up the flower colour and detail in the horizontal border, by adding a trio of flowers made using the medium daisy punch. I finished each with some oversize retired sparkly gems and tucked in my 'Welcome Spring' sentiment that I stamped on an Everyday Label punched piece. I added another sentiment from the set to the inside of my card:
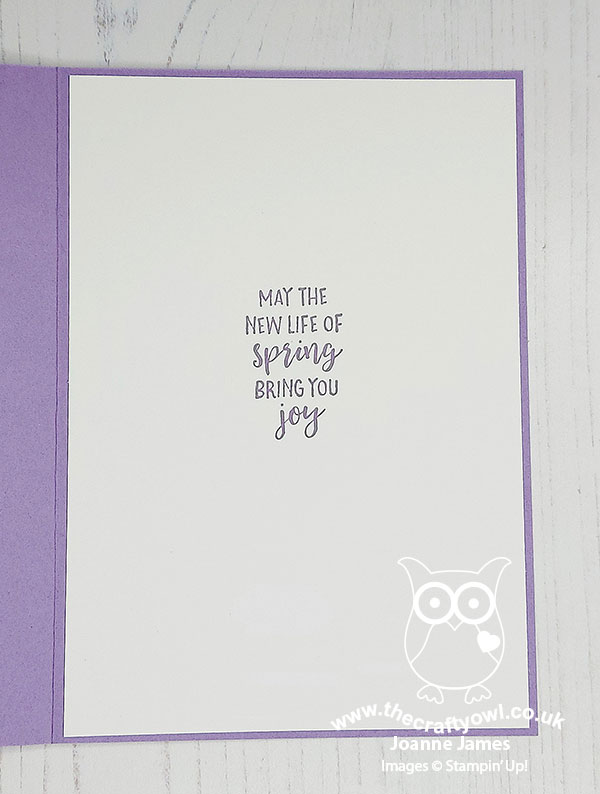
How sweet are those pretty colours? Gorgeous! I love the added sparkle from the gems too!
Here is the visual summary of the key products used on today's project for you to pin for easy reference:
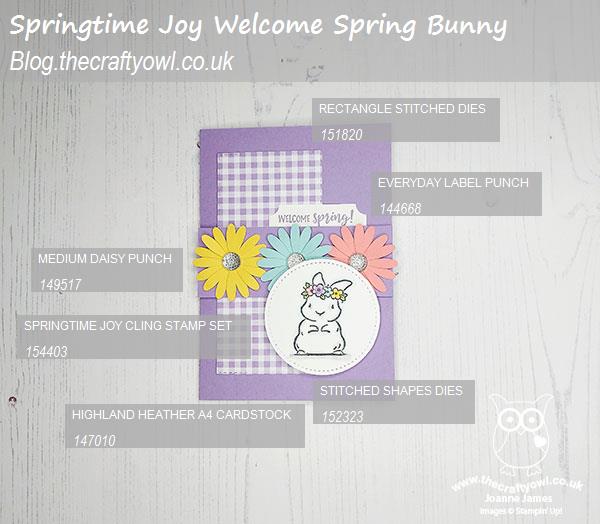
You can see all of my 'How To' summaries on my 'How To - Tips and Techniques' Pinterest board in case you've missed any.
That really is it from me today! Enjoy your day and I'll be back tomorrow with another project for the new challenge over at CAS Colours & Sketches where it's the double this week! Until then, happy stampin'!
Stampin' Up! Supplies Used:
98763239-176b-4a5d-a2d3-134223e7b84f|0|.0|96d5b379-7e1d-4dac-a6ba-1e50db561b04
Tags: Springtime Joy, Rectangle Stitched Framelits Dies, Medium Daisy Punch, Everyday Label Punch, Shop online, Shop Stampin' Up online, Shop Stampin' Up! Online, Stampin' Up, Stampin' Up Card, Stampin' Up Card ideas, Stampin' Up Supplies
Cards | Shop Online | Shop Stampin' Up! Online | Stamping
by Joanne James10. July 2019 20:00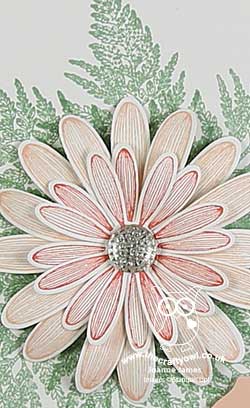
Today I'm sharing another of the cards I designed for my Daisy Lane class earlier this week that is perfect for the current colour challenge over at Hand Stamped Sentiments where they have a pretty subtles colour palette for inspiration:

I wanted to remind my ladies of a technique that I demonstrated to them previously using a template to create a wreath or uniform pattern using their Stamparatus and the Daisy Lane set was perfect for this - take a look at my card:
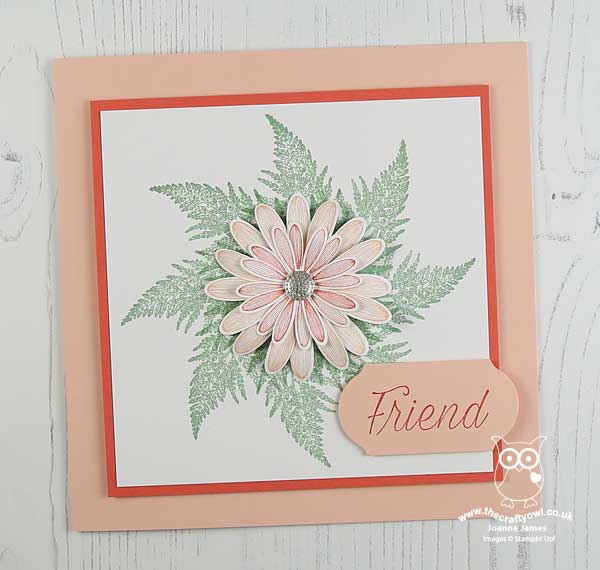
Here's the low-down on today's card:
A Layered Daisy - Today's card features more stamped and punched daisies - this time layered to create a full flower: two large stamped and punched daisies in Petal Pink, with two smaller stamped and punched daisies in Calypso Coral layered on top. Lots of petal curling with a bone folder adds dimension and the appearance of fullness.
A Starburst Fern And A Fun Stamparatus Technique - I wanted to use the fern on this card and it was the perfect size and shape to revise a fun technique using the Stamparatus. We had previously looked at how you can use a template to help you create a symmetrical wreath using leaves and small flowers; this time we used the same template, but instead used it to create an almost flower-shaped starburst of ferns to back our punched daisy. This was perfect for my daisy focal point and a neat way to ring the changes with a square card too.
A Touch of Sparkle - On this card, I finished my daisy with a clear faceted dot for a neutral touch of sparkle.
Here is the visual summary of the key products used on today's project for you to pin for easy reference:
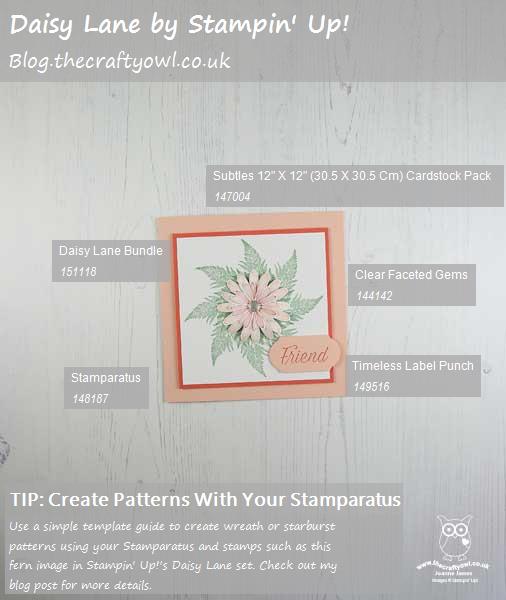
You can see all of my 'How To' summaries on my 'How To - Tips and Techniques' Pinterest board in case you've missed any.
Enjoy your evening and I'll be back tomorrow with another project. Until then, happy stampin'!
Stampin' Up! Supplies Used:
f0b893b6-e37d-4797-8b89-96ae0327727f|0|.0|96d5b379-7e1d-4dac-a6ba-1e50db561b04
Tags: Shop Stampin' Up! Online, Stamping Shop Stampin' Up online, Shop online, Stampin' Up, Stampin' Up Card ideas, Stampin' Up Supplies, Stampin' Up Card, Daisy Lane, Daisy Punch, Medium Daisy Punch, Stamparatus
Cards | Shop Online | Shop Stampin' Up! Online | Stamping