Floral Hearts Dies Inlaid Diecut Technique AYSI268

by Joanne James11. February 2022 13:00

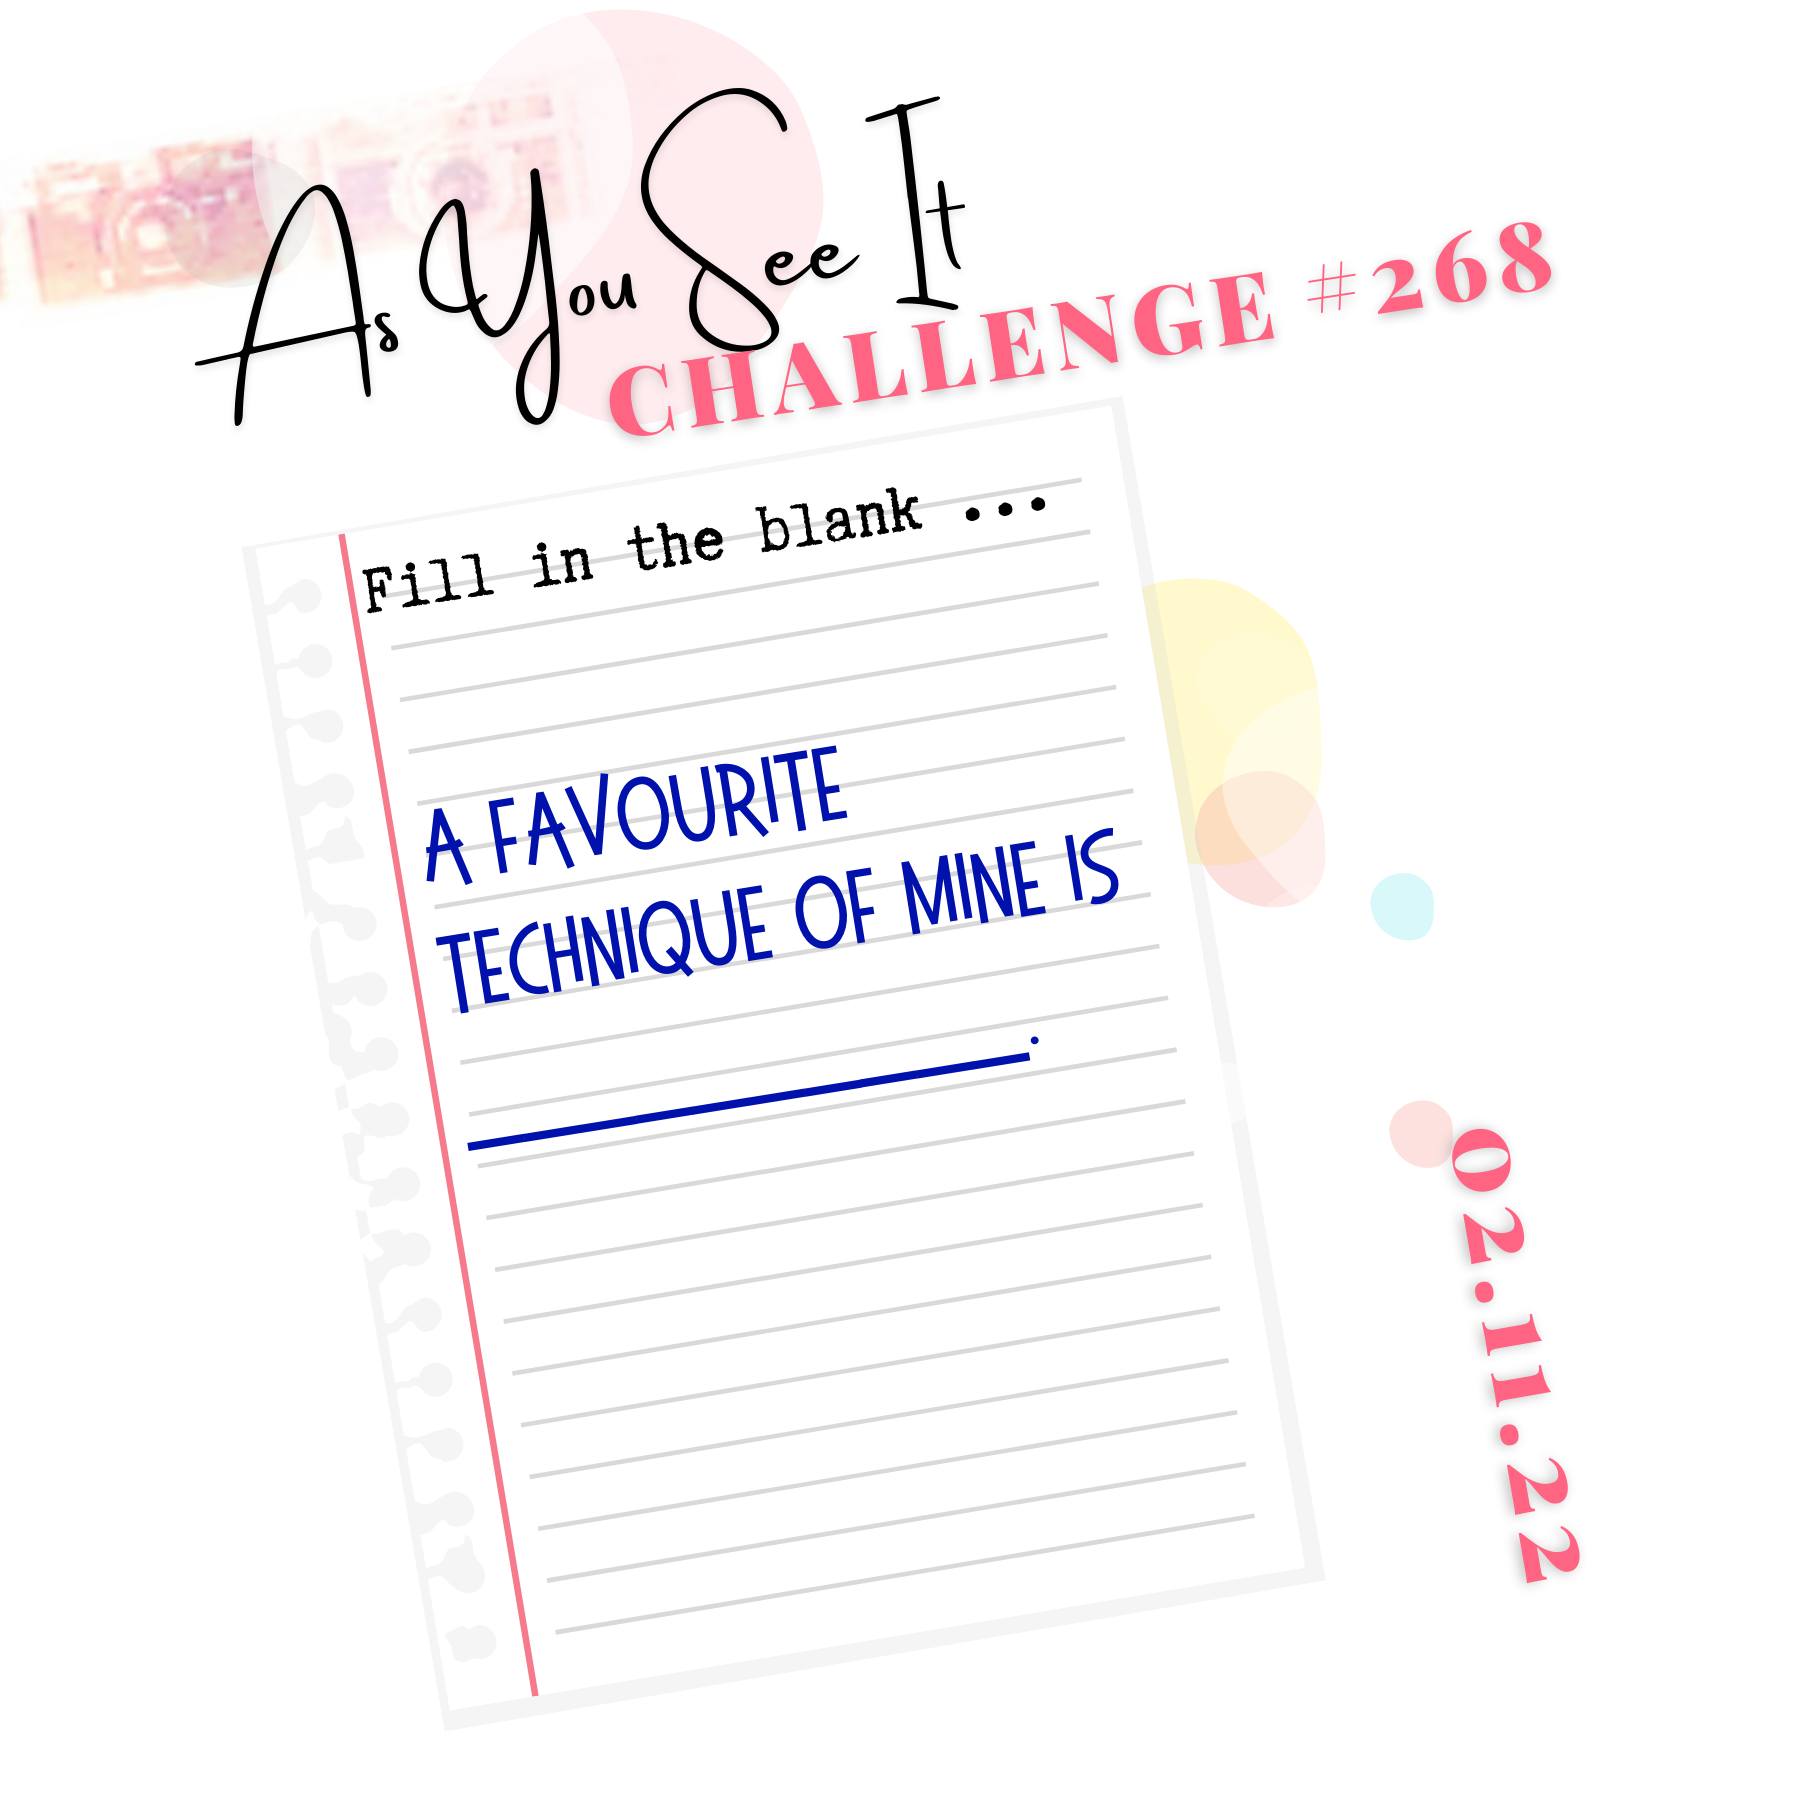
Today I'm sharing my design team card for our new challenge over at As you See It where it's time for a fun 'fill in the blank' challenge:
       

A favourite technique - how fun! I decided to choose inlaid diecut technique as one of my favourite techniques to share with you today and decided to have another crack at the inspiration photo over at The Card Concept, this time with a clean and layered card (you can see my earlier clean and simple entry here in case you missed it). I was totally inspired by the greenery and pink flowers of that beautiful heart and the texture of the white brick wall behind and where better to turn to demonstrate the inlaid diecut technique than my trusty Floral Heart Dies - take a look:
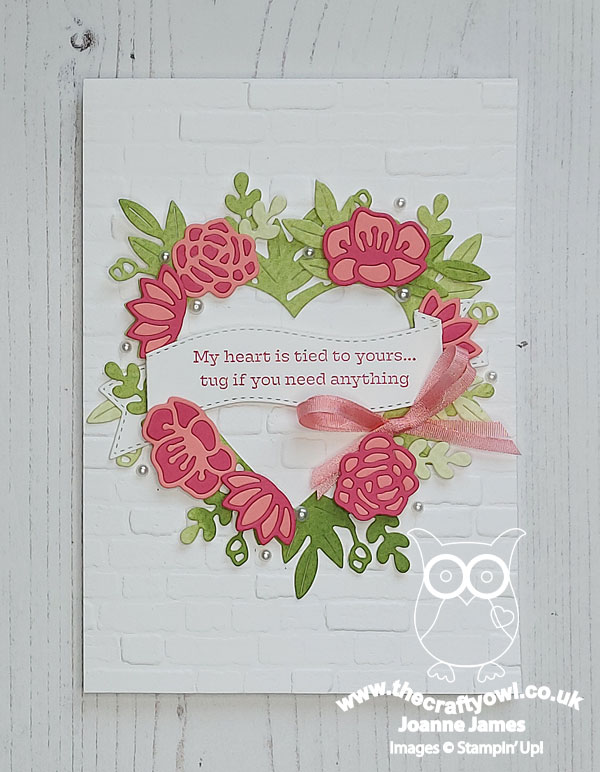
 

 Here's the low-down on today's card:

Floral Hearts Dies and Inlaid Diecuts - I cut out the main heart from a piece of green ink-washed watercolour paper and added some additional pieces of foliage as the basis for my heart wreath, then used the separate flower dies to cut out the flowers in both Melon Mambo and Flirty Flamingo. Before brushing out the pieces from the petals of the flower outlines, I carefully used some Press 'n' Seal to lift the pieces out in the same position. I then adhered the outline pieces to some scrap cardstock, and carefully inlaid the alternative colourway into the outline pieces. This gives a selection of two-tone flowers with all pieces intact. I love to use just the outlines of these flowers, but think they look really pretty with their infills too. This technique is quite fiddly with small pieces, however is really easy when larger diecuts are involved, such as the new Tropical Layers Dies, for example.

Textured Brick - I used the Bricks and Mortar 3D embossing folder to add texture to the base of my card; this is a great way to add detail and interest to plain white cardbase.

My Heart Is Tied To Yours - Finally, in addition to some pearls and a simple double bow, I added a banner with my favourite sentiment from the 'Eden's Garden' stamp set:
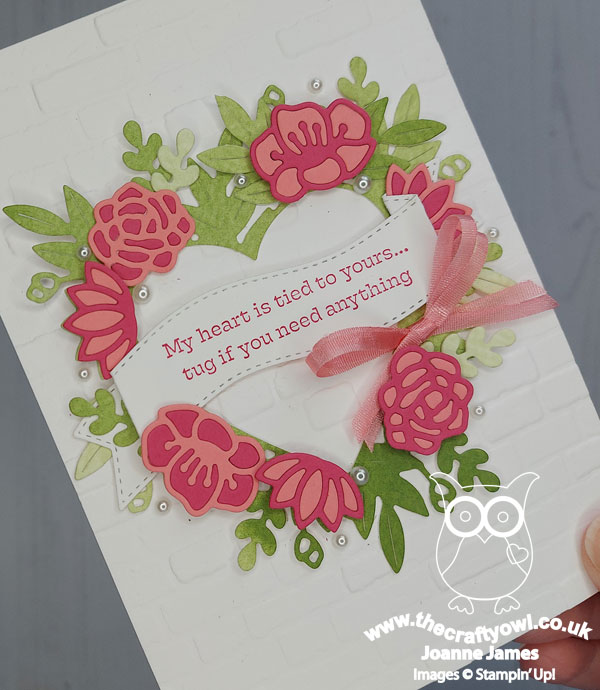
 

Is that not just the nicest greeting someone can see when they open a card? I think so. My card is already in the mail to someone who has been having a tough time lately and I'm hoping when she reads this it will truly warm her heart and let her know I'm thinking of her.

Here is the visual summary of the key products used on today's project for you to pin for easy reference:
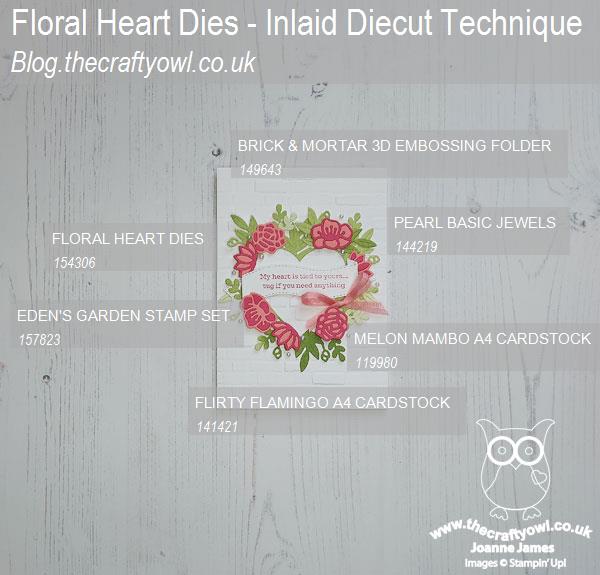
 

You can see all of my 'How To' summaries on my 'How To - Tips and Techniques' Pinterest board in case you've missed any. 

Here's a summary of our challenge rules:

  • Create any card, scrapbooking page, 3D project or packaging project that fits the challenge.
  • Please include the challenge graphic and link back to the challenge in your blog post. Turn off word verification so we can leave you lots of lovely comments. Make sure you link the post not the whole blog to the Linky. Use #AYSIXXX when uploading to a public gallery.
  • If you’re unsure about ‘the rules’, check the details under the Challenge Guidelines tab on the As You See It Challenge homepage.
  • In a Fill in the Blank challenge, complete the sentence in the Challenge Banner with the phrase that is true for you and create your project using the words you used. Tell us what you said in your blog or on your site.
We look forward to seeing your creations in the AYSI gallery.

Enjoy your day and I'll be back tomorrow with another project. Until then, happy stampin'!


Stampin' Up! Supplies Used:
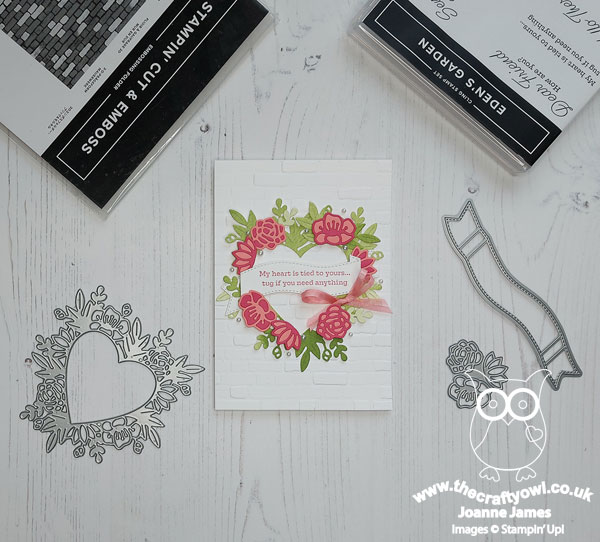
Table built using Product Table Builder by The Crafty Owl - Independent Stampin' Up! Demonstrator.

Ornate Border Dies Inlaid Diecut Thank You Card

by Joanne James17. April 2020 20:18

Yay it's Friday! I feel more than ever the need to start my post with the day of the week just to remind myself - is it me or do they all seem to blur into one these days?! Today I'm sharing a card that I made using this week's Color Throwdown colours: 


I wanted to have a play with my new Ornate Border Dies having seen a lovely stencilled card that my friend LeAnne created with hers. When I saw these colours and the quilt in the photo though I thought they would be nice for a little inlaid diecutting - take a look:


Here's the low-down on today's card:

Ornate Border Dies - The new Ornate Border Dies are part of the early release Ornate Garden Release. I knew I would love these dies as soon as I saw them! I did have a few erroneous cuts before I realised which side the die was cutting the outer edge on, but once I'd worked this out I was fine. I cut the die three times: once in Basic Black for my mat, then again in Smoky Slate and Real Red, and used these latter two to inlay the flowers and leaves into my black panel. 

Take Your Pick - You might think that inlaid diecutting is a tricky business and whilst it does take a little while, there is one tool that can make it really easy: the Take your Pick tool. That end with a little bob of blue tac is super useful for easily picking up tiny pieces and dropping them into the spaces in the die openings. I can highly recommend one - adding adhesive sheets to the back of your cardstock before diecutting helps from a gluing perspective too.

So Sentimental - For my panel I used a piece of retired gingham DSP from Sale-A-Bration last year and I finished my card with a thank you sentiment from the 'So Sentimental' set and cut it out with one of the co-ordinating Stitched So Sweetly Dies. I added a scrap of red ribbon and my card was done!

Here is the visual summary of the key products used on today's project for you to pin for easy reference:


You can see all of my 'How To' summaries on my 'How To - Tips and Techniques' Pinterest board in case you've missed any. 

We took part in a family online quiz yesterday, hosted (virtually, of course!) by some friends of ours with lots of other friends online which was great fun. Determined to continue in a similar vein and do something different again today, I joined an online 'pilates for runners' class, run by the physio that has been treating me for my frozen shoulder rehabilitation. I'm keen to get back to running but am nowhere near fit enough at the moment, plus it's more fun to cycle with the Juniors whilst they are at home. It was tough but I thoroughly enjoyed it - I'm sure my glutes will feel be feeling the effects tomorrow though! What are you doing to make each day a little different to the one that went before? Enjoy your evening and I'll be back tomorrow with another project. Until then, happy stampin'!


Stampin' Up! Supplies Used:

Table built using Product Table Builder by The Crafty Owl - Independent Stampin' Up! Demonstrator.

New Online Exclusives

There are new products available exclusively in the online store from 5 November - check them out here.

Latest Kits!

Stampin Cut and Emboss

The Layered Landscapes Kit and Nature's Paintings Kit are the latest kits in the online store - get yours here!

Shop Online

Access my online shop 24 x 7, 365 days of the year:

Current November hostess code:

9NKXDTTR

Shop Online

Mini Catalogue

BROWSE THE CATALOGUE

'Tis The Season - the new Stampin' Up! Mini Catalogue is here! For more details and to download your copy click here

Scrapbooking

Stampin' Up! has introduced a new range of 12x12" scrapbooking product and kit - the full range is now available to purchase online. To download a copy of the new digital Scrapbooking Catalogue click here.

2024-25 Annual Catalogue

BROWSE THE CATALOGUE

Click on the image to download your copy of the 2024-25 annual catalogue. For a full list of current SU! supplies, go to my online store. If you would like any help or advice, please drop me a line at joanne@thecraftyowl.co.uk or give me a call on 07773 421446 - I'd be happy to help.

Join My Team

It's always a great time to join Stampin’ Up! New team members can get £130 worth of products for only £99 + free business supplies + free shipping + all the fun being a part of Stampin’ Up! Stampin' Up! has something for everyone: join my growing team and benefit from my support to enjoy Stampin' Up! however you choose.

If you're interested, call me for a chat to understand how I can help you realise your goals. Alternatively, if you have already decided to sign up and you just can't wait, please click here for the link to the online form where you can sign up and order your starter kit right away! 

About Me

Hi I'm Joanne and live in Northampton and when I'm not looking after my husband and two beautiful children, am an avid crafter with a passion for all things Stampin' Up!

I must confess that I have never been a big rubber stamper - until I discovered Stampin' Up! that is. I love the fact that I can get such great results with co-ordinating stamps, inks, papers and punches - the possibilities are endless! Join me on my stamping journey as I share the things I love and be inspired to create amazing things yourself!

Follow Me

Monthly Newsletter

Box Builder

Click the button above to use Box Buster to create your custom box design using the Envelope Punch Board!

Kits Collection Now Available!

Stampin Cut and Emboss

The new Kits Collection from Stampin' Up! is now available!

Click here to see the current kits available and order yours online today.

I Design For


Stampin' Up Stuff

This is my personal blog and is not endorsed by Stampin’ Up! I hope you find it a plentiful source of ideas and personal inspiration but please don't copy my designs for contest submission or use for classes, publication or sale without express permission.