by Joanne James26. April 2016 19:00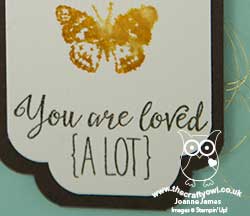
Today I'm sharing the second of my technique class cards with you, featuring the Grateful Bunch stamp set:
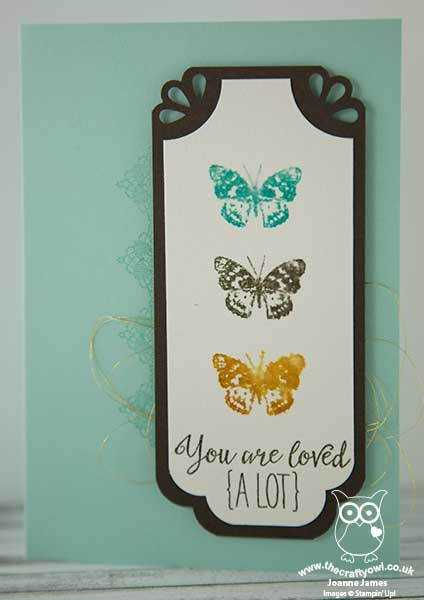
This card features the butterfly and lace panel from the stamp set and was inspired by the sample in the seasonal catalogue. Here's the low-down on today's card:
Two of Three Curvy Corners - I created a layered bookmark-style panel on my card featuring the soon-to-be retired Curvy Corner Trio Punch. This versatile punch adds a beautiful decorative finish to the corners of my panel; in order to allow the top corners to be shown to full effect, I trimmed away the corners of the watercolour layer using my 1 1/4" circle punch.
Watercolour Butterflies - I stamped each of the butterflies in turn, spritzing the inked stamp with a fine mist of water before stamping onto the watercolour paper panel to create the washed watercolour look. The trick is to use a bright colour and not to over-spritz to get a good quality image.
Lovely Lace - I added a Pool Party tone-on-tone lace border to my base card along the edge of my raised panel, along with some metallic gold thread for just a hint of luxe.
Here is the visual summary of the key products used on today's project for you to pin for easy reference:
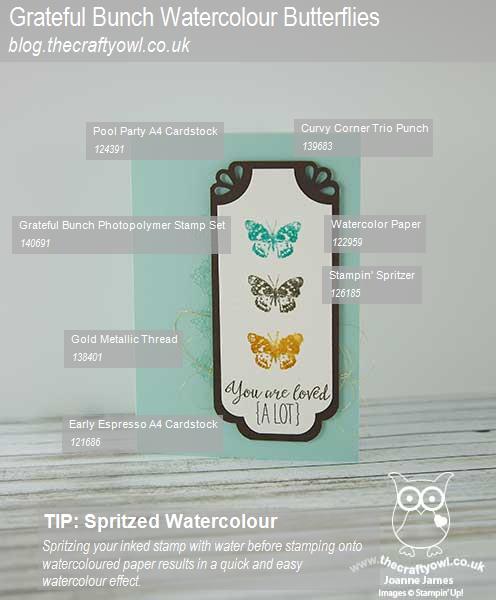
You can see all of my 'How To' summaries on my 'How To - Tips and Techniques' Pinterest board in case you've missed any.
I designed this card with my class ladies in mind, all of whom love the versatility of the Curvy Corner Trio Punch. A couple of them are avid scrapbookers and love that they can 'pretty' their scrapbook pages with it, as well a create fancy inserts and mats and layers for cards.
That's all from me today; I'll be back tomorrow with another project. until then, happy stampin'!
Stampin' Up! Supplies Used:
by Joanne James25. April 2016 21:05
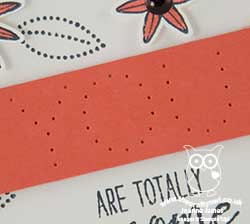
Another Monday, another week! I had the second of this month's technique classes this morning and thought today I would share one of my class cards with you. Today's class featured the Grateful Bunch stamp set and co-ordinating Blossom Bunch Punch and looked at the technique of paper-piercing.
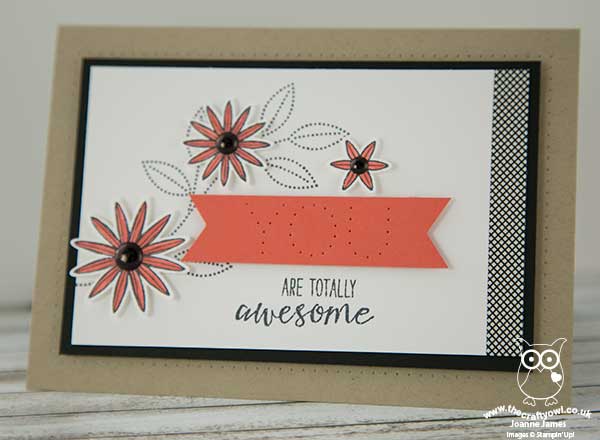
This card was inspired by a similar one that was featured in our recent demonstrator magazine, Stampin' Success, a really useful resource for Stampin' Up! demonstrators. The key features of my card today are as follows:
Paper Piercing - The pointelist style of the leaves in the 'Grateful Bunch' stamp set really compliment the paper-piecing on this card. I used my Updated Essentials paper piercing templates to pierce both a border on my Crumb Cake base layer and also the word 'you' onto my Calypso Coral banner. I then finished my sentiment with a partial stamp of one of the sentiments in the stamp set (omitting the 'you').
Ways With Washi - Washi tape can be used in oh so many ways! Here I added a strip of Everyday Chic Designer Washi Tape to the edge of my white layer for added visual interest.
Black Perfect Accents - I stamped my trio of flowers in Memento Black ink on Whisper White cardstock, coloured them in with my Calypso Coral marker and finished them with a trio of Perfect Accents, coloured black with my Sharpie for the perfect shiny centre.
I just love the clean, modern feel of these stamps and the co-ordinating punch makes cutting out these flowers a cinch. Even better, this is one of the great value bundles in the current seasonal catalogue - a saving of 15% if you buy both items together. The good news is that both of these products is carrying over to the new annual catalogue - the bad news is that they will not be available as a bundle, so buy now to take advantage of this saving. The ladies in my class today love this card, although found their first foray into paper piercing more challenging than they had first thought.
Here is the visual summary of the key products used on today's project for you to pin for easy reference:
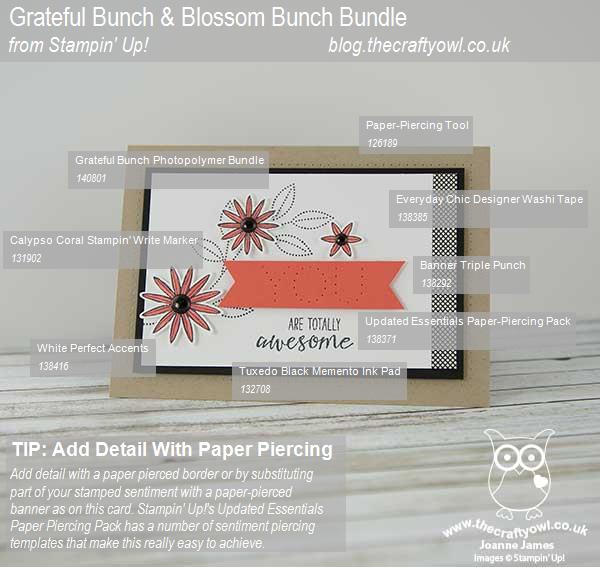
You can see all of my 'How To' summaries on my 'How To - Tips and Techniques' Pinterest board in case you've missed any.
Back tomorrow with another project; until then, happy stampin'!
Stampin' Up! Supplies Used: