by Joanne James5. August 2014 19:54Well, it's been a little colder here in the UK today and we've had a fair amount of rain, which has kept us largely indoors for most of the day, but we made the most of it with some early morning baking (chocolate chip muffins - yum!), an indoor picnic and a pleasant few hours catching up with friends so all in all not a bad Tuesday.
Today I thought I would share another 3D project with you - a cute little owl gift box made using the Fry Box Bigz L Die that we made at our last team training session. Check out this cute little fella:
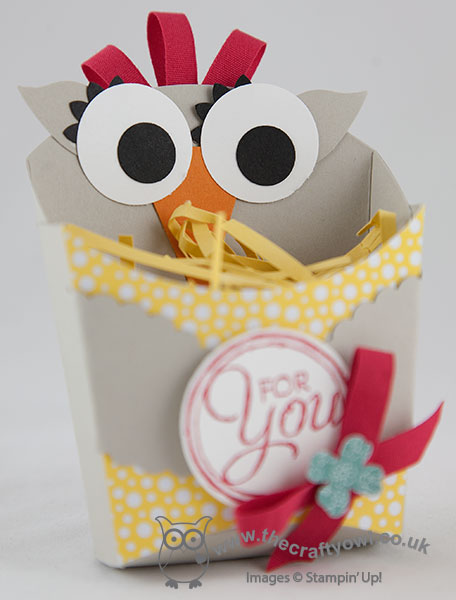
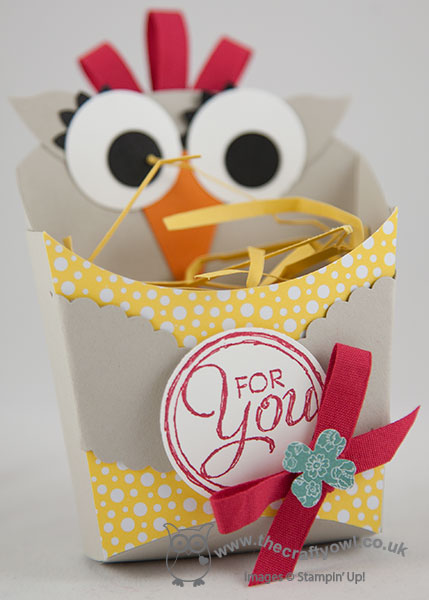
As 'The Crafty Owl', I was always going to like this cheeky chap, but the die itself has so many dress-up possibilities! The owl was so easy to make: the front of the box was covered with a piece of All Abloom DSP, then some black and white circles punched with the 1/2" and 1" circle punches, black eyelashes using the largest flower from the Boho Blossoms punch, ears from the Bird Builder punch and a Pumpkin Pie triangle nose from the Petite Pennants Builder punch then some Sahara Sand Scallop Ovals for wings. Some 1/4" red cotton ribbon was used to create a little plume of feathers and to tie a bow to adorn the 'For You' stamped greeting from the Chalk Talk stamp set, which was finally finished with a punched flower. Some filling was cut from yellow cardstock using the fringe scissors to support the box contents.
These fry boxes are the perfect size for a little gift or a few chocolates - look out for lots more variations on this in future posts.
Back tomorrow with the new weekly deals and my Design Team card for this week's challenge over at Colour Me...!
Until then, happy stampin'!
Stampin' Up! Supplies Used:
20e4e93b-5cc9-4ed2-824e-6c82962164c9|0|.0|96d5b379-7e1d-4dac-a6ba-1e50db561b04
Tags: 3D Projects, boxes, Fry Box Bigz L Die, Chalk Talk, circle punch, Itty Bitty Accents Punch Pack, Scallop Oval Punch, Boho Blossoms, bird builder punch, Petite Pennants Builder, All Abloom, Fringe Scissors, Shop online, Stampin' Up, Stampin' Up Supplies
3D Projects | Boxes
by Joanne James31. May 2014 10:41A really quick post from me today as I have a very busy work day ahead, but a bonus project for you too today - read on! I made today's card a couple of weeks ago for one of Rebecca's friends who was celebrating her 9th birthday. It got me thinking - at 9 years old, suddenly some girls are less about cute and desperate to 'grow up', so I needed to make a card that was girly but not too 'cutesie' (I think that's a word!). Birthday Basics DSP is always my 'go to' paper for cards like this - here's my card:
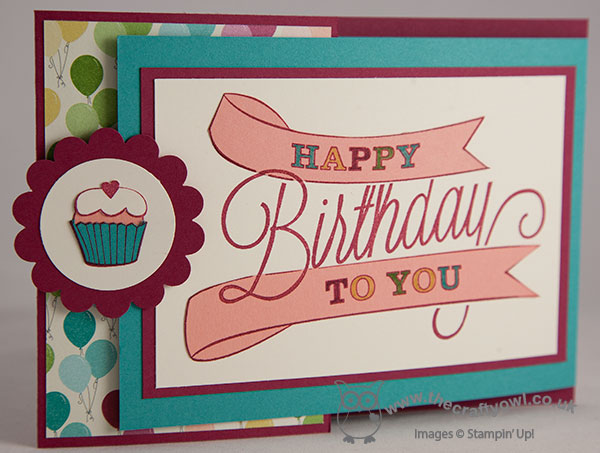
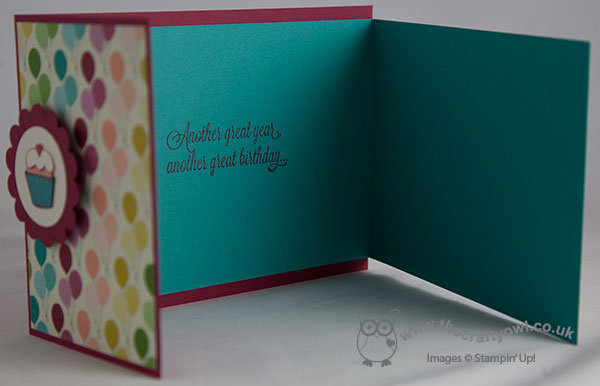
I went for a 'fun fold' card featuring the Another Great Year stamp set. I stamped the main stamp onto Very Vanilla then stamped it again onto a sheet of Crisp Cantaloupe and coloured the words with markers before adhering to the vanilla layer. I then created a fun scalloped circle closure to hold the card shut, with a co-ordinating paper-pieced cupcake taking centre stage, which I adhered with a dimensional onto the panel featuring colourful birthday balloons:
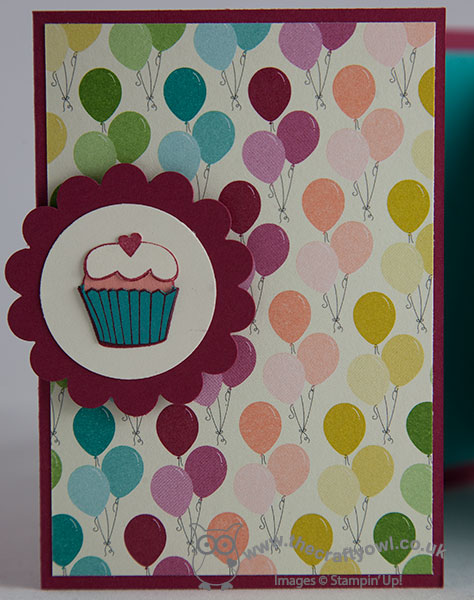
Doesn't that cupcake look delicious? Below you can see how I created the card base from two pieces of cardstock, along with my stamped sentiment inside:
Another reason for my paper choice was that the gift was a gift voucher to spend at a local cycling store for accessories for a new bicycle, and the Birthday Basics paper has the perfect design for a themed gift card holder, made using my Envelope Punch Board:
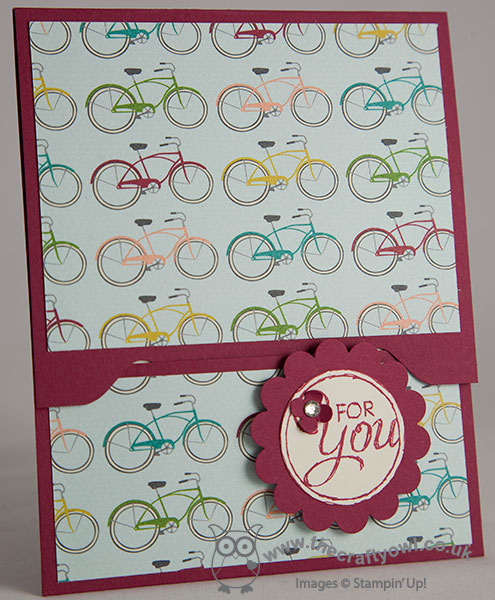
I've made these gift voucher holders before (you can find instructions on a previous post here) - the colours mean that both items look great together. Today's card uses lots of retiring colours and products, so if you need to stock up on any you should hop over to my online store by clicking on the links below - the Itty Bitty Punches that I used to create the little flower on the gift card holder above have already sold out!!
Right, must dash - I need to link today's post up with the current SUO Challenge of 'Something Yummy' - if I'm quick I might just make it! back tomorrow with another project, until then happy stampin'!
Stampin' Up Supplies Used:
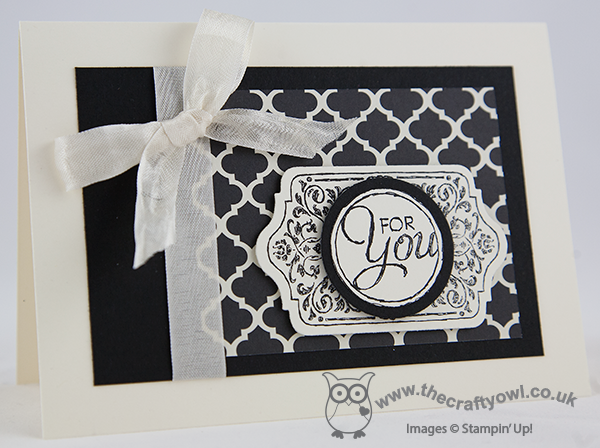
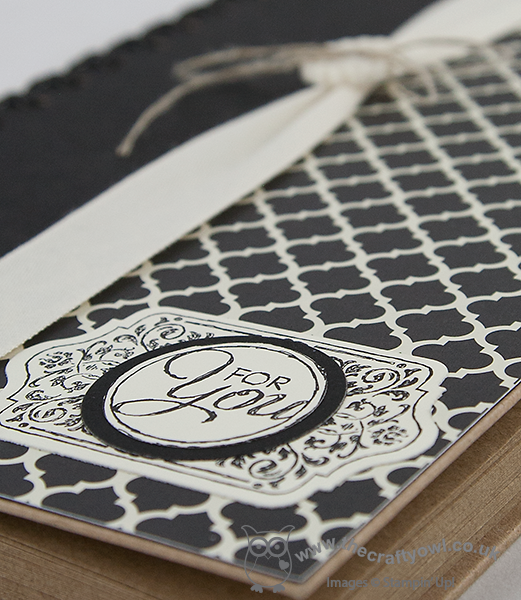
by Joanne James15. November 2013 21:03No blog post yesterday as I spent the day preparing swaps for convention next week and went out last night for a pre-Christmas get-together with some of the ladies from my monthly card classes. We had a great time - they really are such fun! Today I'm sharing with you the card and notebook that I made to welcome Kim, the most recent member of my team. I decided to use the Modern Medley designer series paper as the basis for my set, which is something of a departure for me as I don't usually work in just black and white (or in this case, vanilla). So here's my set:
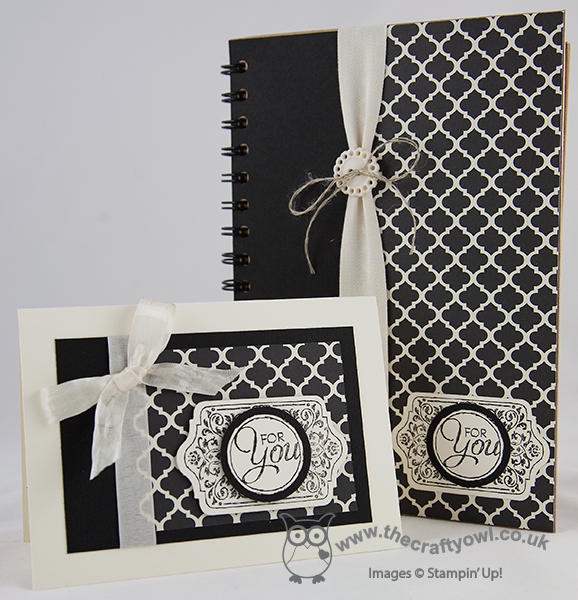
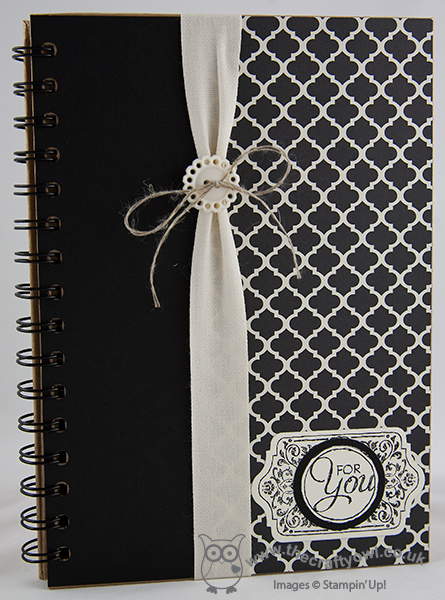
I used a couple of the stamps in the Chalk Talk set as the focal point and kept the design simple with just some ribbon and button accents. here's a close up of the book cover:
And here's the co-ordinating card, with seam binding ribbon and bow, rather than naturals ribbon:
I really like this set, even with the absence of colour - nice for a change! More importantly, Kim liked it too, which is really the main thing. Welcome gifts are just one of the many benefits of joining my team; if you are reading this and would like to know more about how to become a Stampin' Up! demonstrator and all the benefits that becoming a member of my team has to offer, then email me at joanne@thecraftyowl.co.uk or contact me on 07773 421446 for an informal chat today.
Back tomorrow with a great project and easy to follow video tutorial; until then, happy stampin'!
Stampin' Up! Supplies Used:
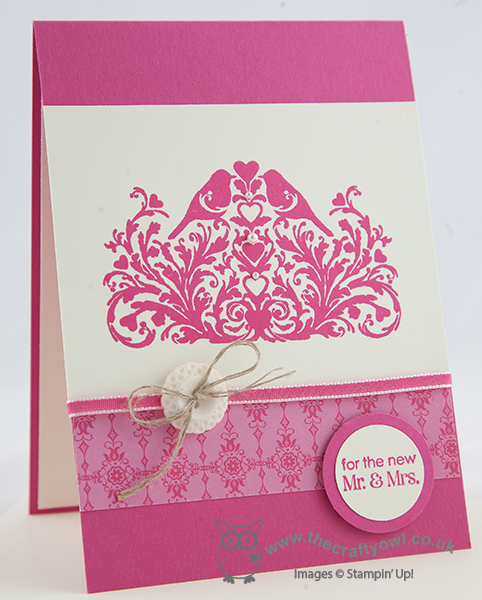
by Joanne James2. October 2013 21:06A quick post from me today to share a wedding card and gift box I made for my friends and neighbours, Annette and Jason, who got married at the weekend. The theme of the wedding was bright pink and the gerbera was a feature flower, both in the bridal and bridesmaids bouquets and on the invitations and wedding favours. Having made the wedding invitations (I will share these in a future post - I have 'mislaid' the photographs I took on completion!), I decided to make a wedding card that was pink but not flower-themed, but I did design a gift box that complemented the overall décor to house their gift.
Here is the card, using the lovely 'From This Day Forward' stamp, inspired by a similar card by Monica Gale here:
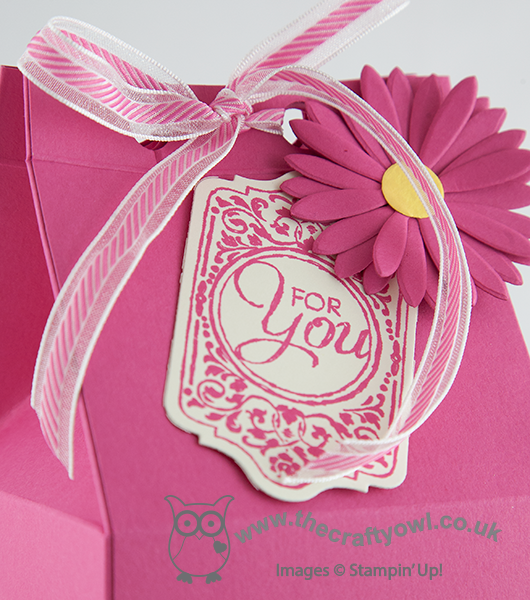
I also created a gift box with a belly band with a gerbera design, that echoed the design of the wedding stationery and favours. My box was inspired by this mini version by Sam MacDonald of Pootles Paparcraft here, and although whilst the shape is the same, the overall dimensions are considerably larger! here is my full size version:

Very large, with a 9cm x 9cm square base, and very pink, but more sturdy than a gift bag and much more personal. I finished it off with some retired Melon Mambo organza ribbon (currently available to purchase on the Clearance Rack!) and a die-cut flower with co-ordinating Chalk Talk gift label. here's a close up of the detail:
The sun shone and the wedding day was perfect - what more can you ask for? Congratulations to the new Mr & Mrs Harrison - wishing you a happy future together.
Back tomorrow with another project and the detail behind the 2 week £25 sign up offer that begins on October 7th; until then, happy stampin'!
Stampin' Up Supplies Used (for the card only):


db51ab79-74bb-4cf0-a77c-ccfe6124d66d|0|.0|96d5b379-7e1d-4dac-a6ba-1e50db561b04
Tags: 3D Projects, boxes, Chalk Talk, Magnetic Platform, Big Shot, Shop online, Stampin' Up, Stampin' Up Card, Stampin' Up Card ideas, Stampin' Up Supplies, Weddings, From This Day Forward
3D Projects | Boxes | Cards | Stamping
by Joanne James14. September 2013 21:09Last week it was my mother-in-law's birthday and today I'm sharing the birthday card I made for her, using my Chalk Talk set for the first time:
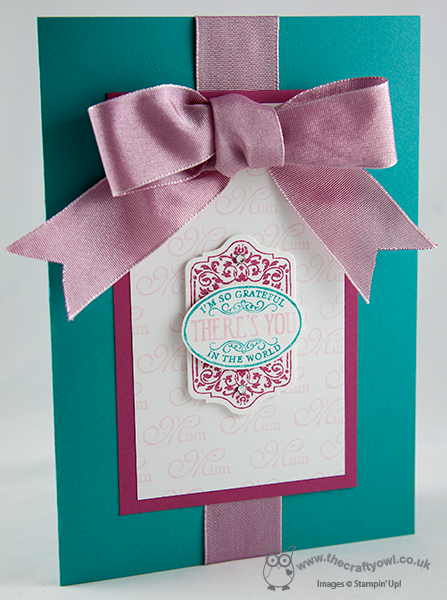
I had some of the lovely pink wide ribbon left over from the Spring-Summer Seasonal Catalogue earlier in the year and I wanted this to be a real feature of this card, so the actual stamping is understated. I really love the sentiment on this Chalk Talk stamp and for someone who is such an integral part of our family, it was especially appropriate for this card. Also, did you notice the background paper - wondering where I got this from? Well, I made it myself using the 'Mum' stamp from the retired 'For My Family' stamp set. I'm really pleased with how it turned out - and I didn't even use a stamp-a-ma-jig to line it up! I love the colour combo too - I'm really into Bermuda Bay at the moment and I think it works really well with the pinks in this card.
Back tomorrow with another card; until then, happy stampin'!
Stampin' Up Supplies:
Stamps: Chalk Talk, For My Family (retired)
Cardstock: Whisper White, Rose Red, Bermuda Bay
Ink/Stampin' Write Markers: Pink Pirouette, Rose Red, Bermuda Bay
Tools: Chalk Talk Framelits, Extra Large Oval Punch, Big Shot, Magnetic Platform
Finishing Touches: 1 1/4" Two Tone Ribbon (retired), Basics Rhinestones
by Joanne James28. July 2013 19:50After all the excitement of yesterday's pop-up card, today I'm sharing another of the projects I made at my recent quarterly training. The new annual catalogue has some great new packaging options; today's project is a great way to dress up one of the bags from the 'Tag a Bag Gift Bag' kits for a quick gift:
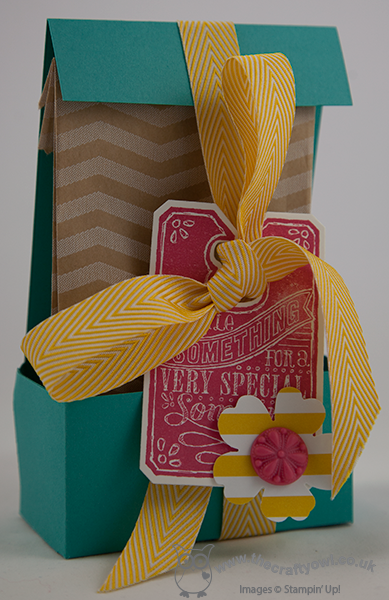
A simple outer open fronted box adds some structure and the addition of a bright Chalk Talk gift tag, with a flower punched from one of the tags in the gift bag kit, finished with a Strawberry Slush embellishment and a showy bow of Crushed Curry Chevron Ribbon; a simple bag is turned into something truly gift-worthy with little effort. Great for a small thank you or hostess gift.
Back tomorrow with another project featuring the Tag-a-Bags; until then, happy stampin'!
Stampin' Up Supplies:
Stamps: Chalk Talk
Cardstock: Bermuda Bay, Whisper White
Ink/Stampin' Write Markers: Strawberry Slush
Tools: Chalk Talk, Pansy Punch
Finishing Touches: Tag A Bag Gift Bag, Tag A Bag Accessory Kit, Crushed Curry 3/4" Chevron Ribbon, Strawberry Slush, In Colour Boutique Details