by Joanne James20. November 2023 14:53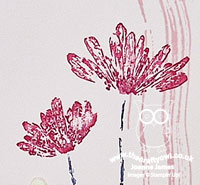
Today I'm squeaking in a quick post before I head out on the school run to share a super quick card I made using Linda's layout over at Freshly Made Sketches this week:

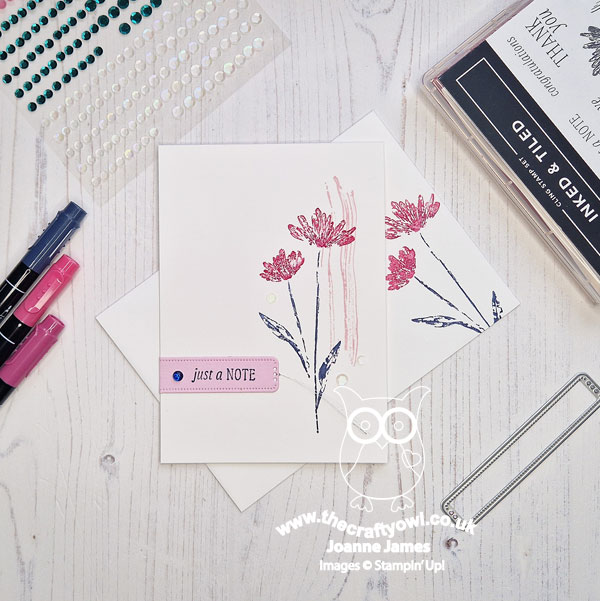
I spent absolutely ages considering what I was going to do with those two long, thin columns and none of my layered ideas were working out, so in the end I went super simple and decided to make a very clean and simple notecard using the 'Inked & Tiled stamp set - take a look:
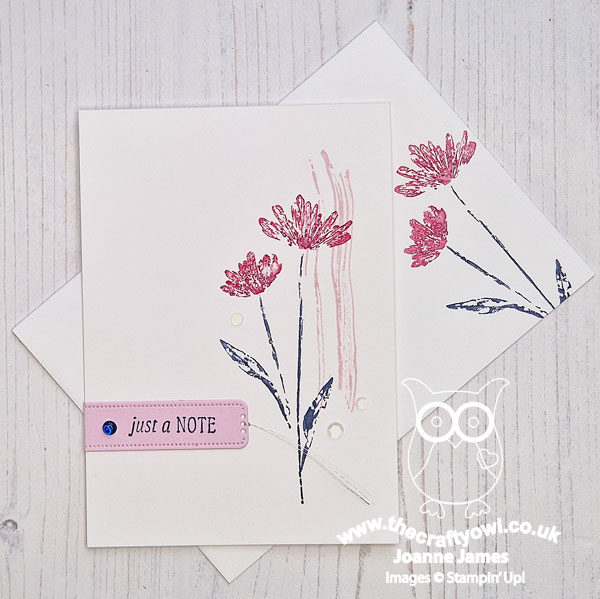
Here's the low-down on today's card:
I used the stamps to represent the layers and inked them using my Stampin' Write markers, which enabled me to easily stamp the flower petals and stem in one go, and achieve a slight variegated look to the petals my adding in a little Berry Burst to my Melon Mambo:
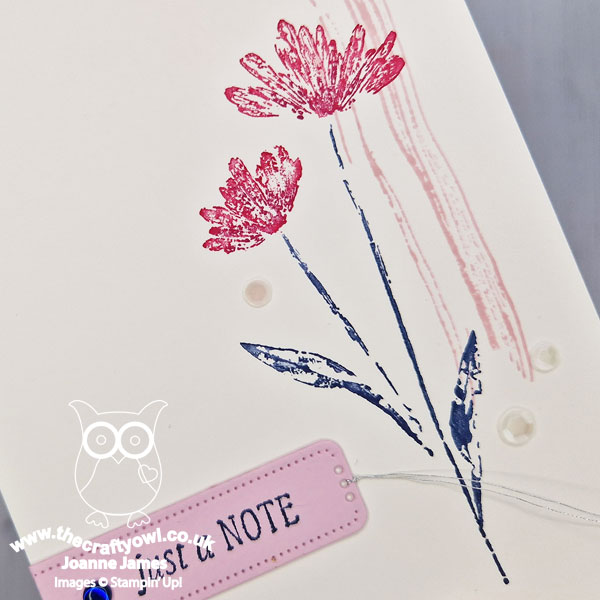
An unconventional colour scheme, especially when you add in the navy stem and leaves, but I rather like it. I added a few white opaque sequins and picked up the Bubble Bath colour of my background 'squiggle' for my label, although in hindsight I think I might have made this white too. Do you ever use your Stampin' Write markers to ink your rubber stamps in this way? It really is so easy and is great if you are short on ink pads too - The 'Inked & Tiled' stamp set is perfect for #SimpleStamping. And so quick - I even had time to repeat the flower on the front of my envelope too :-)
Here is the visual summary of the key products used on today's project for you to pin for easy reference:
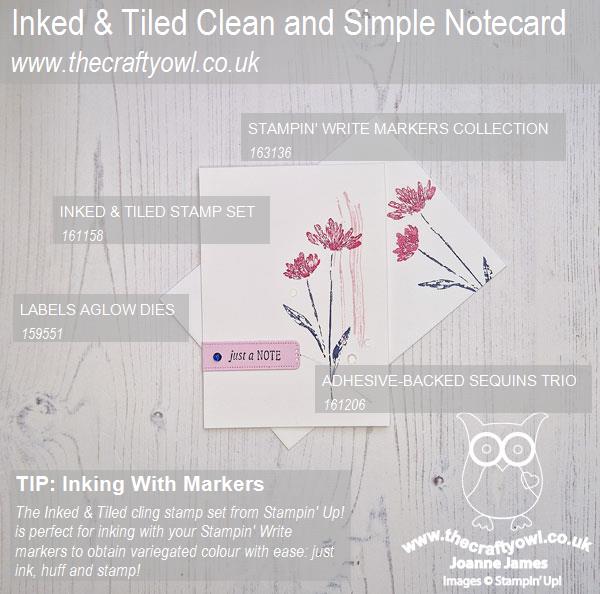
You can see all of my 'How To' summaries on my 'How To - Tips and Techniques' Pinterest board in case you've missed any.
I'm off on the school run; I'll be back with another post later as I've news of this year's Last Chance Discount Lists to share. Until then, happy stampin'!
Stampin' Up! Supplies Used:
