Another busy week in the James household with little time for crafting - too busy having holiday fun with the Juniors and putting everything back into my fabulous new kitchen which is pretty much finished at last! I Today it's Sunday and time for this week's new challenge over at The Paper Players - yay! It's the turn of my awesome friend Claire to host this week and she has my favourite, a sketch challenge, for you to work with:
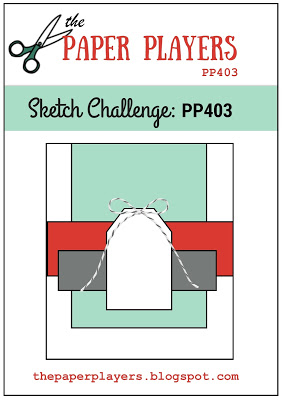

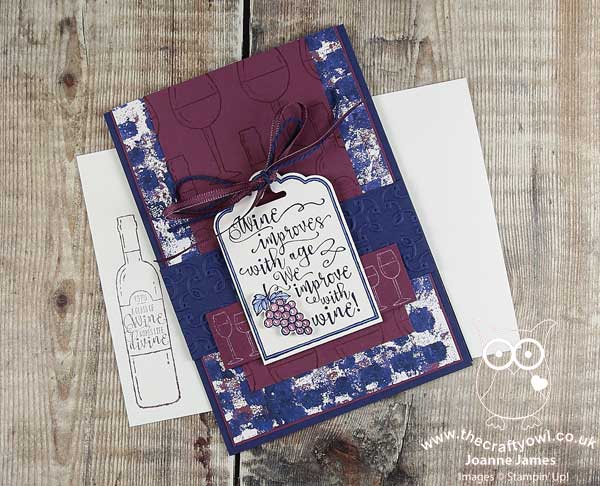
A card with a tag - I haven't made one of those in a while! I decided that the sketch layers lent themselves to a card using the Half Full stamp set which I haven't yet used for a non-Christmas card, along with a little DSP too - take a look:
Here's the low-down on today's card:
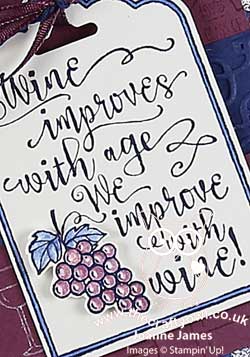
Half Full And An Old Faithful - My starting point for today's card was the tag and I decided to use the ready-to-stamp one that comes with the half Full stamp set. This makes the tag element really easy to create, with the sentiment, decoration and border all laid out. Not only that, it perfectly co-ordinates with one of my most-used punches, the fabulous Scalloped Tag Topper Punch, which makes tag creation a breeze. I fussy-cut the bunch of grapes for extra interest and also used the single glass and bottle stamps to create a tone-on-tone background panel and to decorate the inside of my card and the envelope, whilst I stamped the row of glasses in white kraft ink to create a contrasting border too. I am quite partial to a glass of red (or white!) so this set is perfect for cards for my wine-loving friends and also to quickly dress-up a bottle to say thank you to a party hostess, for example.
Tranquil Textures Colour Combo - I often use colour combinations straight from Stampin' Up!'s designer series papers as the basis for my cards and today as I looked for something with a non-descript pattern that would compliment my various stamped layers and tag I decided upon this Night of Navy, Whisper White and Fresh Fig combination from the Tranquil Textures pack. Here is the colour combo for you to save should you wish to use it as inspiration for your future projects too:
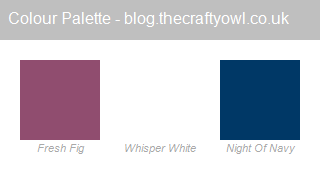
Whilst this pack is designed to co-ordinate with the Tranquil Textures Suite, which has an under-the-sea theme, I wasn't constrained by this. The pack has lots of interesting textured designs that can be used in many other ways too. This is my 'twist' for the challenge over at Just Add Ink this week, although it is a little more tenuous than some of those that the JAI design team have come up with - check them out to see which items they have used in a different way on their projects. Don't forget these papers are available for just 3 more days as part of the current 'buy 3, get 1 free' DSP offer that is running this month; if you missed the details, you can read all about it here.
A Trellis Textured Border - The final element to my card was some actual texture, courtesy of the Garden Trellis Textured Impressions Embossing Folder on the navy border panel. It creates just enough interest to differentiate and separate the layers, without detracting from the stamped images.
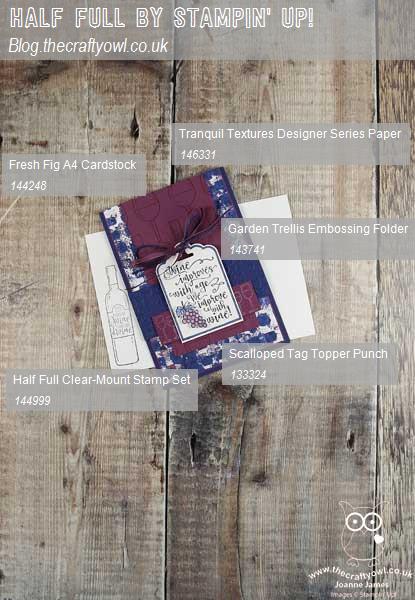
Here is the visual summary of the key products used on today's project for you to pin for easy reference:
You can see all of my Product and 'How To' summaries on my 'How To - Tips and Techniques' Pinterest board in case you've missed any.
Before you reach for your ink and papers, check out what our amazing team has created to inspire you this week:
The Paper Players Design Team
Here's a quick recap of our challenge rules:
1. Create a new paper project
2. Upload your creation to your blog with a link back to us and provide a direct link to the post featuring your challenge submission.
3. Please link your card to no more than four challenges, TOTAL.
4. Have FUN!
You can see all of my 'How To' summaries on my 'How To - Tips and Techniques' Pinterest board in case you've missed any.
Enjoy your day; I will be spending mine in London at the Vitality Hockey Women's World Cup with the rest of the James family, as we have tickets to watch the India v USA and England v Ireland matches that are taking place this afternoon. I'm hoping we will escape the thunderstorms and it will stay dry for us and the players, although I'm sure they will appreciate the slightly cooler temps that we have been having this week.
I'll be back tomorrow with another project. Until then, happy stampin'!
Stampin' Up! Supplies Used: