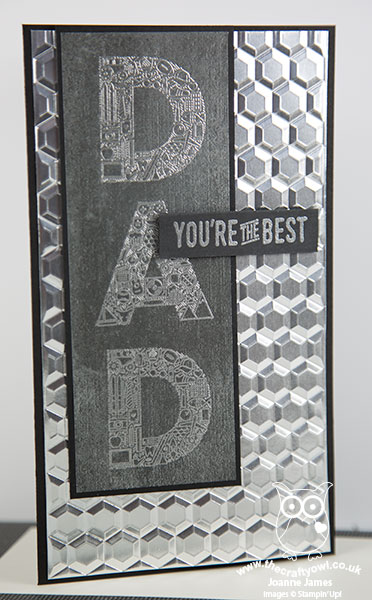
Happy Monday everyone! A nice early post from me to start the week with a card for this week's challenge over at Freshly Made Sketches:

I needed to get cracking on some Father's Day cards and this sketch gave me the perfect opportunity:

Here's the low-down on today's card:
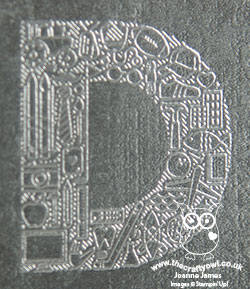
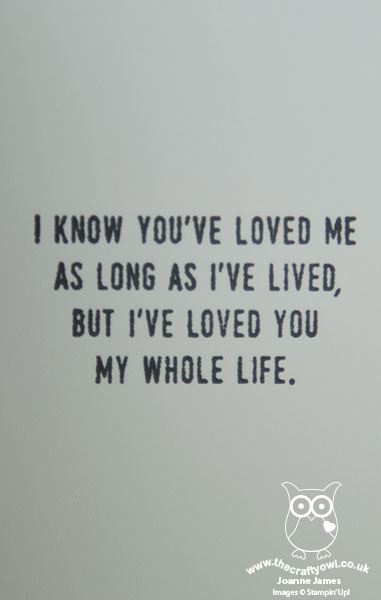
Urban District - The vertical panel was perfect to showcase the DAD letters of the Urban District stamp set. These letters are such fun and include so many fun images in relation to hobbies and past-times that Dads everywhere will be able to relate to. I stamped the letters in Versamark onto a piece of Urban Underground Specialty Designer Series Paper and heat embossed them in silver. This set also includes two of the best sentiments for a Dad card that I think I've ever seen (you know how much I love a good sentiment!) and I stamped this one inside my card:

Dynamic Hexagons - I decided to go for a textured foil background for the front of my card and ran a piece of silver foil in the Hexagons Dynamic Textured Impressions Embossing Folder through the Big Shot to give me a super shiny, amazing dimensional impression onto my cardstock. This card is larger than usual (it measures 8" by 4 1/4" finished size). Whilst my foil panel is the width of the embossing folder, it is also longer. Extending the embossed panel is really straightforward: all you need to do is emboss the length of the folder, then rotate the foil mat through 180 degrees and reposition the foil in the embossing folder, matching up the section already embossed with the pre-embossed pattern.
An Expert Envelope - An oversized card calls for an oversized envelope; this one is beyond the printed sizes on the Envelope Punch Board though. The answer? Why, my trusty Envelope Expert tool of course! Envelope Expert allows you to specify your desired envelope dimensions, in either cm or inches, and it will then tell you what size paper you need and where to punch and score. I used a co-ordinating piece of Urban Underground paper for my envelope, Along with my Envelope Punch Board. If you don't have an Envelope Punch Board, I can't recommend you purchase one highly enough - they are so useful! Don't forget my Envelope Expert tool can be found on my website here and is free for you to use too, so don't be shy - make any size card you like and use Envelope Expert to produce an envelope to fit.
I do like this modern, masculine set and will be disappointed to see it retire, along with Nailed It, at the end of this month.
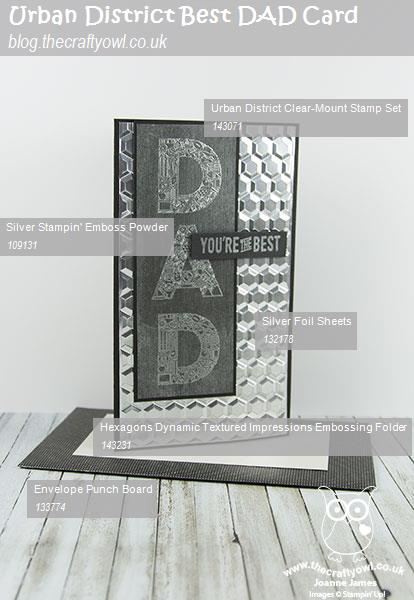
Here is the visual summary of the key products used on today's project for you to pin for easy reference:

You can see all of my 'How To' summaries on my 'How To - Tips and Techniques' Pinterest board in case you've missed any.
Enjoy your day and I'll be back tomorrow with another project. Until then, happy stampin'!
Stampin' Up! Supplies Used: