Inked and Tiled Clean and Simple Notecard FMS612

by Joanne James20. November 2023 14:53

Today I'm squeaking in a quick post before I head out on the school run to share a super quick card I made using Linda's layout over at Freshly Made Sketches this week:

I spent absolutely ages considering what I was going to do with those two long, thin columns and none of my layered ideas were working out, so in the end I went super simple and decided to make a very clean and simple notecard using the 'Inked & Tiled stamp set - take a look:


Here's the low-down on today's card:

I used the stamps to represent the layers and inked them using my Stampin' Write markers, which enabled me to easily stamp the flower petals and stem in one go, and achieve a slight variegated look to the petals my adding in a little Berry Burst to my Melon Mambo:


An unconventional colour scheme, especially when you add in the navy stem and leaves, but I rather like it. I added a few white opaque sequins and picked up the Bubble Bath colour of my background 'squiggle' for my label, although in hindsight I think I might have made this white too. Do you ever use your Stampin' Write markers to ink your rubber stamps in this way? It really is so easy and is great if you are short on ink pads too - The 'Inked & Tiled' stamp set is perfect for #SimpleStamping. And so quick - I even had time to repeat the flower on the front of my envelope too :-)

Here is the visual summary of the key products used on today's project for you to pin for easy reference:


You can see all of my 'How To' summaries on my 'How To - Tips and Techniques' Pinterest board in case you've missed any. 

I'm off on the school run; I'll be back with another post later as I've news of this year's Last Chance Discount Lists to share. Until then, happy stampin'!


Stampin' Up! Supplies Used:

Table built using Product Table Builder by The Crafty Owl - Independent Stampin' Up! Demonstrator.

Lovely You Stitched Heart Triangle Panel Card

by Joanne James10. July 2020 20:47

Today I'm sharing a card that started out with the colour palette over at CAS Colours and Sketches and Lee Ann's sketch this week over at Freshly Made Sketches:


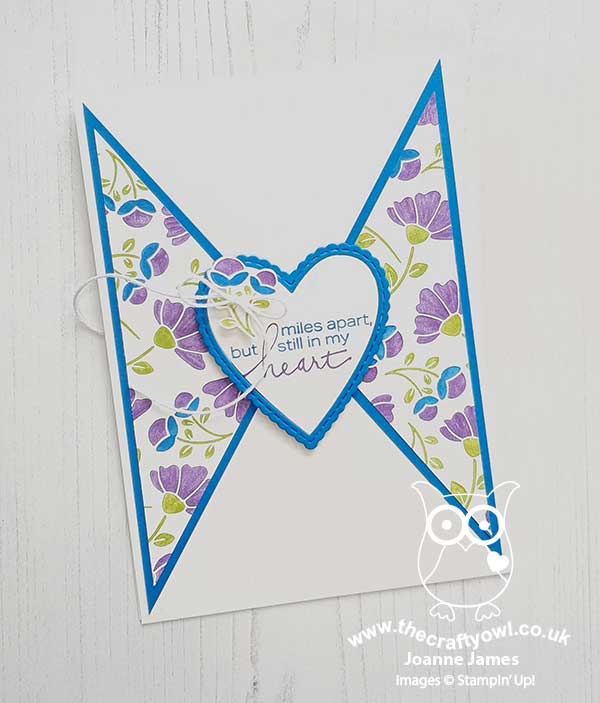
I ended up creating a sheet of my own DSP too so will also be linking up over at the new-to-me challenge The Spot too. Here's my card: 
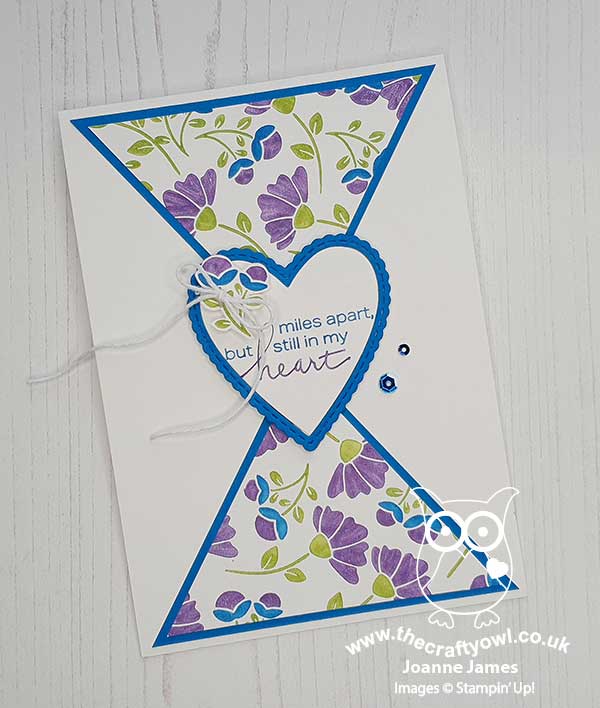
Here's the low-down on today's card:

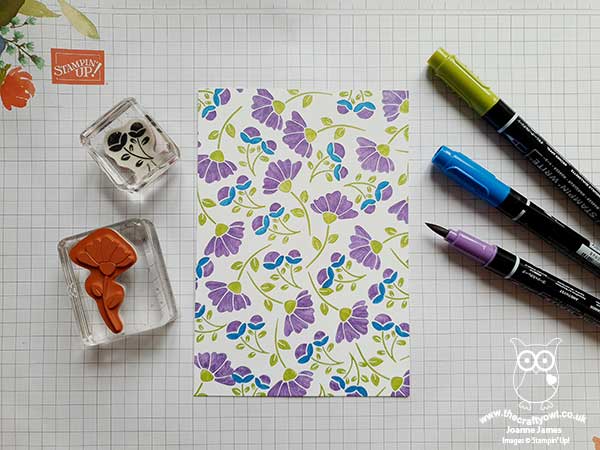
Lovely You DSP - I was immediately drawn to the CAS Colours and Sketches colour palette this week as I'm a big fan of Brights and whilst Pacific Point was one of the three ink pads that I first purchased when I was new to Stampin' Up! so many years ago, it's a colour I don't often use these days. I would never have chosen this trio of colours to work with, but I absolutely love the vibrant, bright combination and will definitely use it again. I held an online class featuring the 'Lovely you' stamp set earlier this week and as is my 'new normal' since my move to online classes, I always host a number of additional demonstration sessions in between classes for anyone to attend that use the same set and highlight other ways it can be used. In our class we created a DSP using one colour per stamp then created a one sheet wonder set of cards, by cutting our DSP in a certain way to give various panels. I wanted to show that these stamps would also be great as multi-coloured images using Stampin' Write markers to colour each of the parts of the flowers on each stamp with a different colour. I shared a sample I made earlier in the week using this technique for a single flower (if you missed it you can see that card that I posted earlier this week here) and knew that these more intense colours would work to great effect and work for the same idea of creating your own piece of patterned paper. Here's my finished paper before I cut it into sections:
 

Stampin' Write Markers Two Ways - In addition to inking the individual flower elements, I also used my Stampin' Write markers to ink my sentiment easily using two different colours, highlighting the word 'heart' in Gorgeous Grape - this is so much easier to do with a marker than with ink pads.  

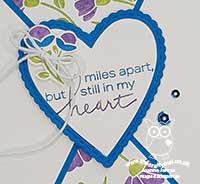
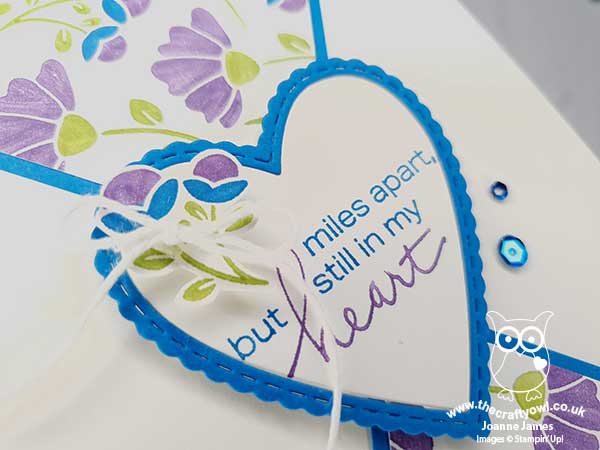
A Stitched Heart - I decided this sentiment would work perfectly in a heart shape, so created an outlined heart using my Stitched Be Mine dies. I need to shorten my sentiment to fit it into my heart, so inked it twice in stages and stamped it in such a way that it would both fit into the heart shape and accommodate a fussy cut flower for decoration - you can see the detail below:
 

Finally I added a couple of blue sequins and a white twine bow to complete the decoration on my card. 

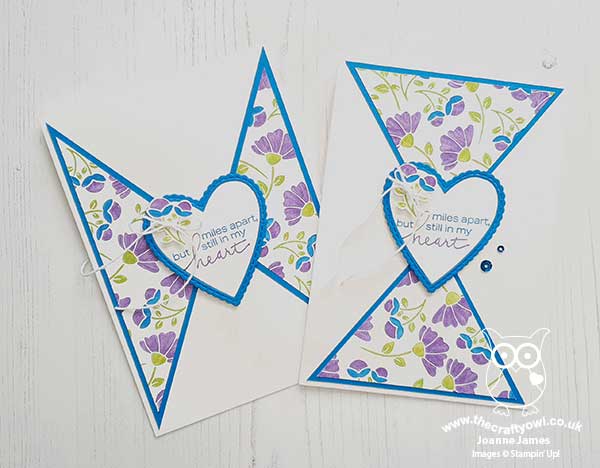
I actually made two cards, since once that rectangle was cut into triangles I had another 2 opposing triangles and didn't want to let them go to waste so made a second card too with an identical centrepiece:
 

Here are both cards together:
 

I finished these cards and love them - they are so me!! Here is the visual summary of the key products used on today's project for you to pin for easy reference:
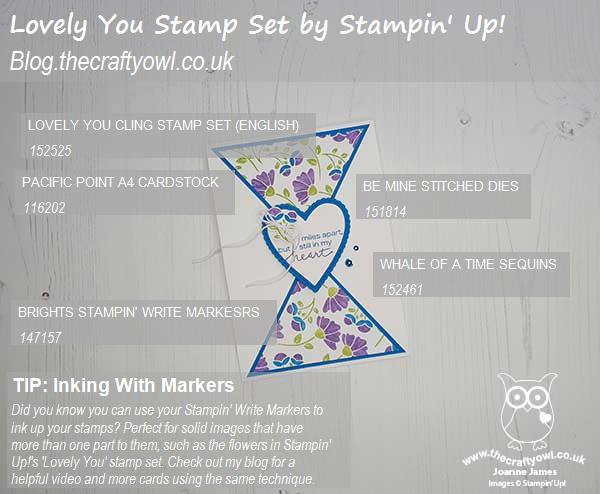
 

You can see all of my 'How To' summaries on my 'How To - Tips and Techniques' Pinterest board in case you've missed any. 

Lastly, I've been experimenting with some video lately and I did make a little time lapse video (no audio - that proved a little too challenging for my technical skills!) that shows how I put my card together:

Do you find this kind of thing useful? I'd be really interested to know whether this is the kind of thing you would like to see more of. 

Enjoy your day - the sun is shining here - finally! - so I may do some gardening, combined with a little cooking later on. I'll be back tomorrow with another project. Until then, happy stampin'!


Stampin' Up! Supplies Used:

Table built using Product Table Builder by The Crafty Owl - Independent Stampin' Up! Demonstrator.

New Online Exclusives

There are new products available exclusively in the online store from 5 November - check them out here.

Latest Kits!

Stampin Cut and Emboss

The Layered Landscapes Kit and Nature's Paintings Kit are the latest kits in the online store - get yours here!

Shop Online

Access my online shop 24 x 7, 365 days of the year:

Current November hostess code:

9NKXDTTR

Shop Online

Mini Catalogue

BROWSE THE CATALOGUE

'Tis The Season - the new Stampin' Up! Mini Catalogue is here! For more details and to download your copy click here

Scrapbooking

Stampin' Up! has introduced a new range of 12x12" scrapbooking product and kit - the full range is now available to purchase online. To download a copy of the new digital Scrapbooking Catalogue click here.

2024-25 Annual Catalogue

BROWSE THE CATALOGUE

Click on the image to download your copy of the 2024-25 annual catalogue. For a full list of current SU! supplies, go to my online store. If you would like any help or advice, please drop me a line at joanne@thecraftyowl.co.uk or give me a call on 07773 421446 - I'd be happy to help.

Join My Team

It's always a great time to join Stampin’ Up! New team members can get £130 worth of products for only £99 + free business supplies + free shipping + all the fun being a part of Stampin’ Up! Stampin' Up! has something for everyone: join my growing team and benefit from my support to enjoy Stampin' Up! however you choose.

If you're interested, call me for a chat to understand how I can help you realise your goals. Alternatively, if you have already decided to sign up and you just can't wait, please click here for the link to the online form where you can sign up and order your starter kit right away! 

About Me

Hi I'm Joanne and live in Northampton and when I'm not looking after my husband and two beautiful children, am an avid crafter with a passion for all things Stampin' Up!

I must confess that I have never been a big rubber stamper - until I discovered Stampin' Up! that is. I love the fact that I can get such great results with co-ordinating stamps, inks, papers and punches - the possibilities are endless! Join me on my stamping journey as I share the things I love and be inspired to create amazing things yourself!

Follow Me

Monthly Newsletter

Box Builder

Click the button above to use Box Buster to create your custom box design using the Envelope Punch Board!

Kits Collection Now Available!

Stampin Cut and Emboss

The new Kits Collection from Stampin' Up! is now available!

Click here to see the current kits available and order yours online today.

I Design For


Stampin' Up Stuff

This is my personal blog and is not endorsed by Stampin’ Up! I hope you find it a plentiful source of ideas and personal inspiration but please don't copy my designs for contest submission or use for classes, publication or sale without express permission.