by Joanne James26. April 2017 20:13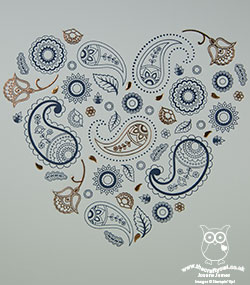
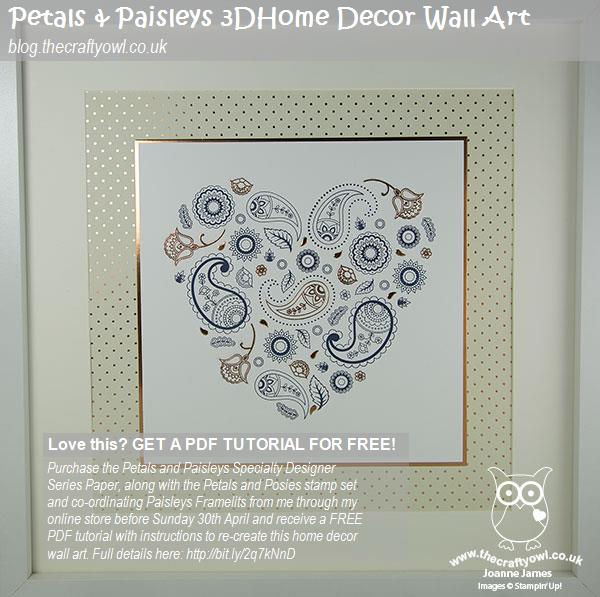
Today I'm sharing a project that I made in an all-day class last November, but didn't share at the time on my blog. Do you remember the 3D home decor piece featuring the Paisleys and Posies stamp set and co-ordinating Paisleys Framelits that featured on page 46 of the Autumn-Winter seasonal catalogue? Here's a reminder:
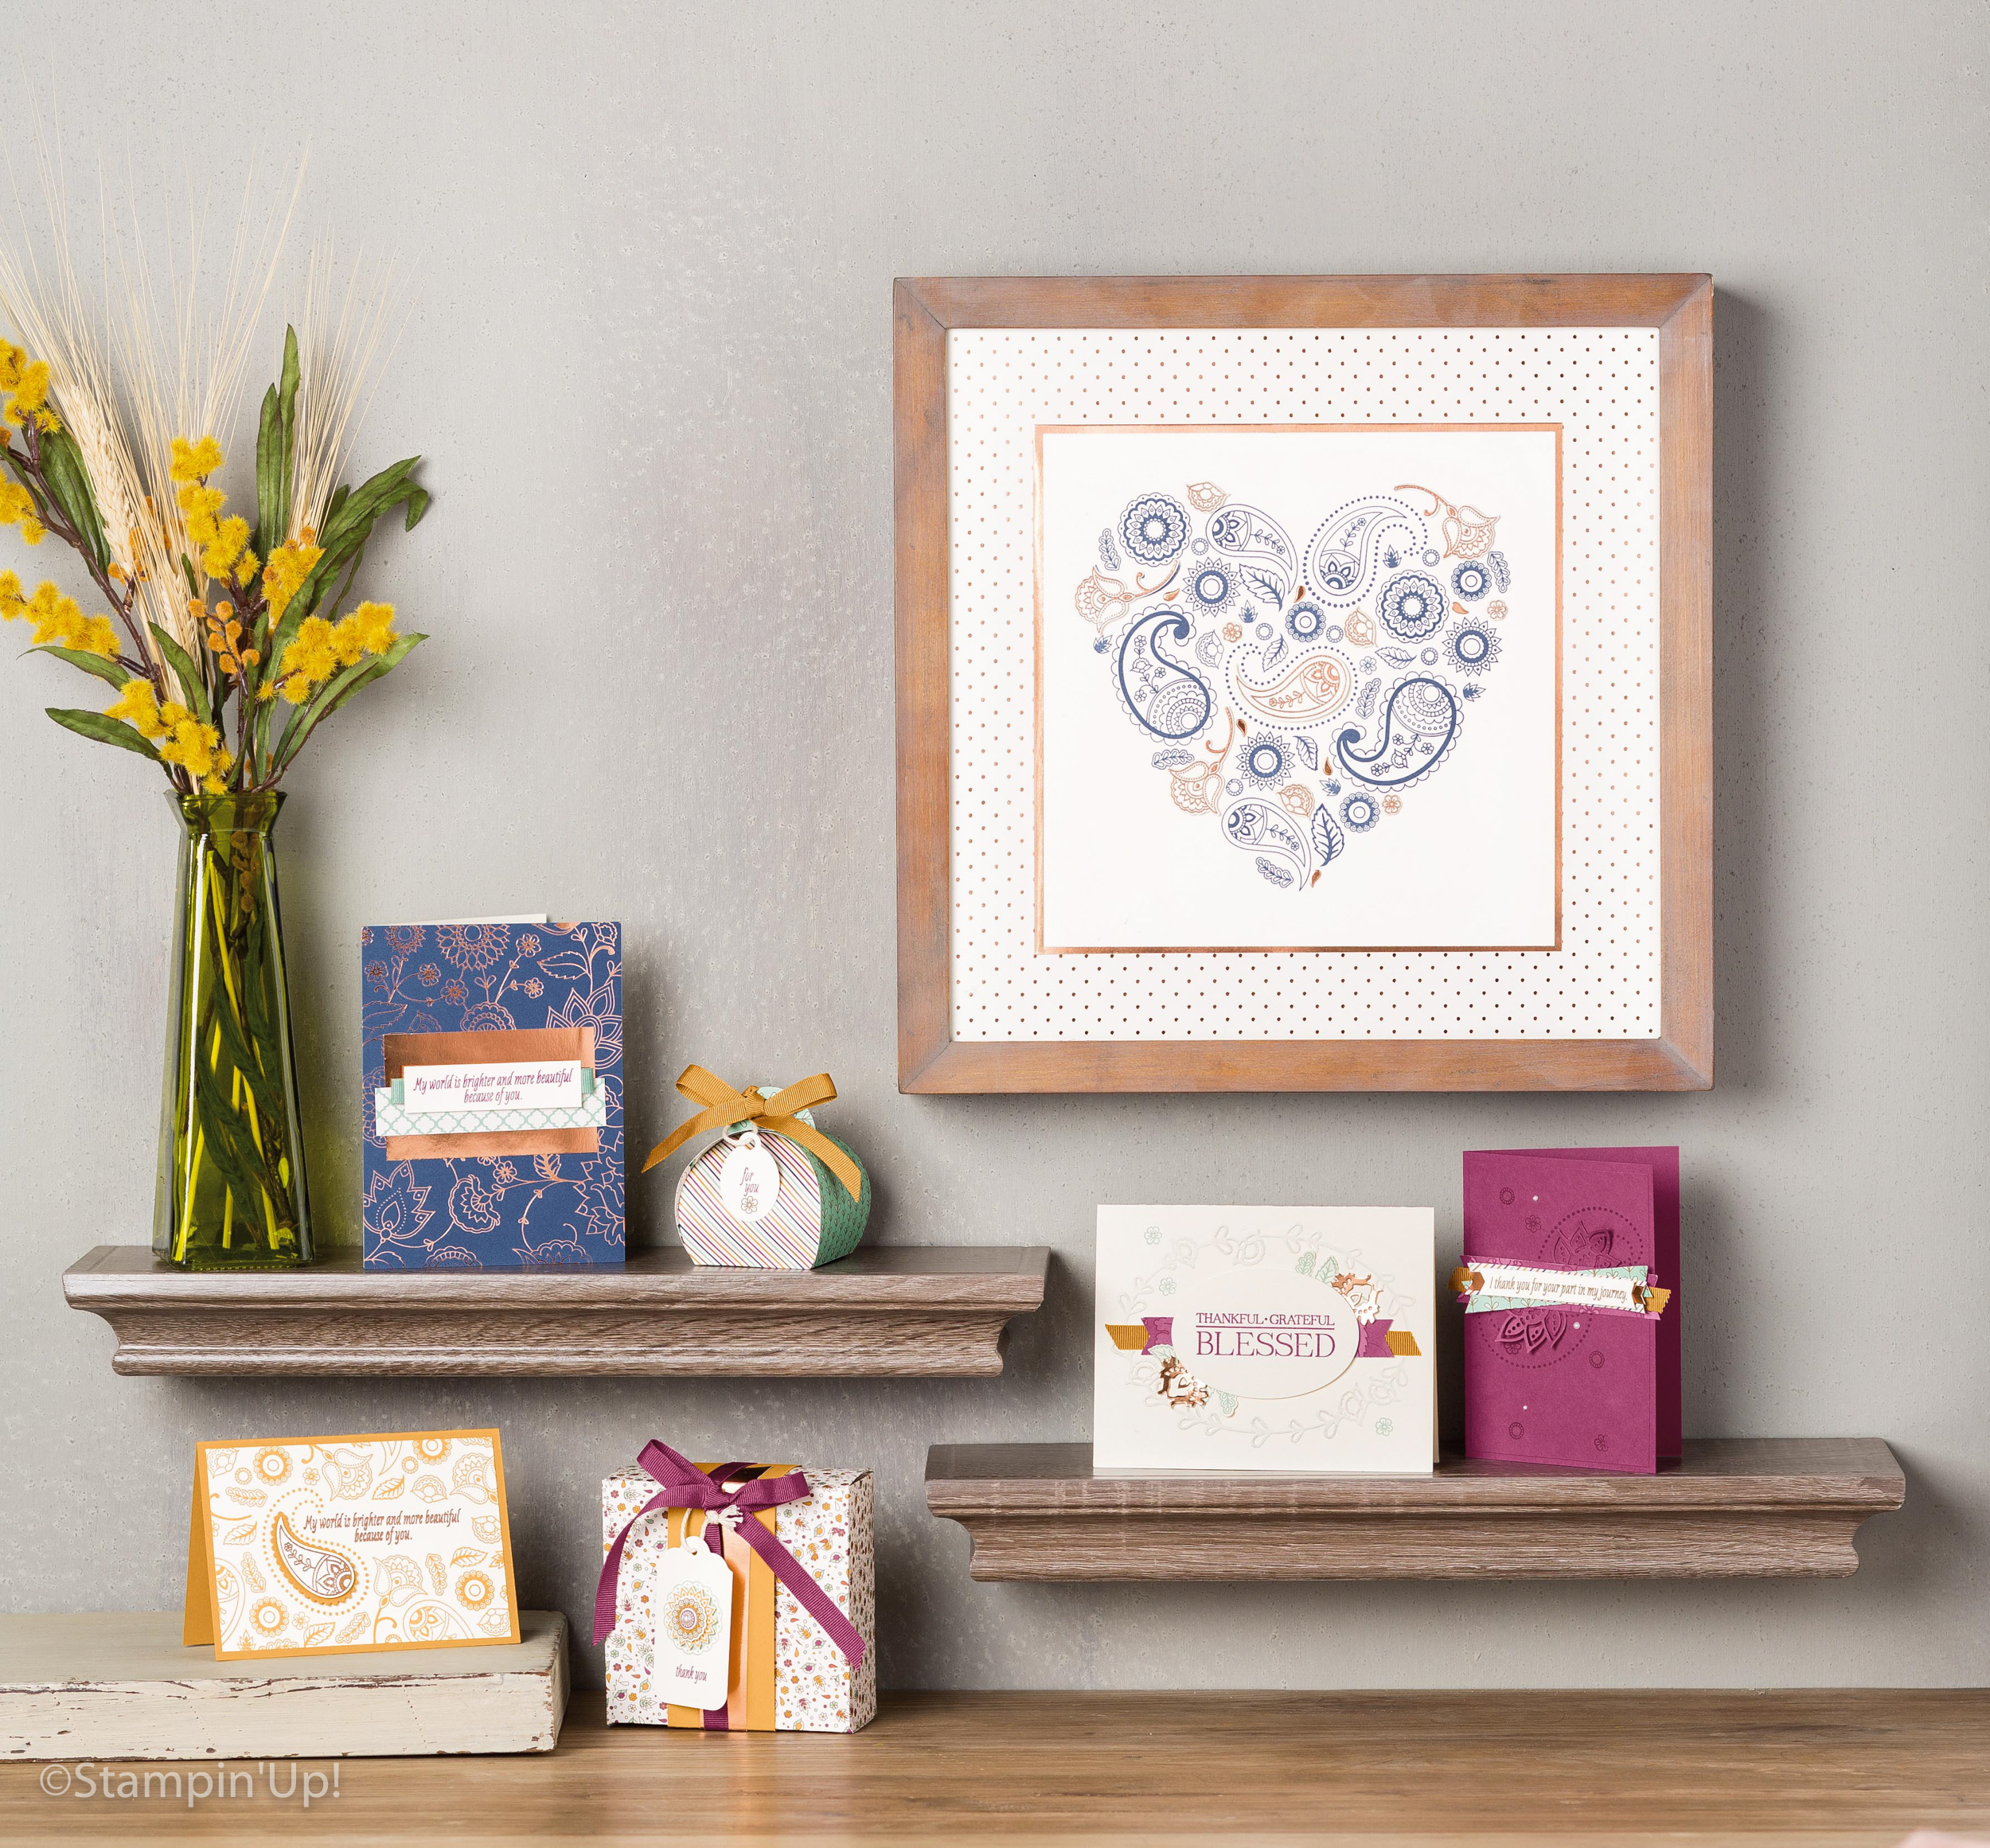
I thought this was a lovely and unusual piece of wall art, so decided to use it as the basis for an all-day class where the ladies attending would each make their own version of this project and also stamp a stack of cards using the remaining papers in the Petals & Paisleys Specialty Designer Series Paper pack, which they each received in their kits.
Here's my finished framed piece - I originally framed it in white, but have since had it professionally framed in a beautiful copper-coloured wood frame similar to the one in the catalogue, which has much greater impact:
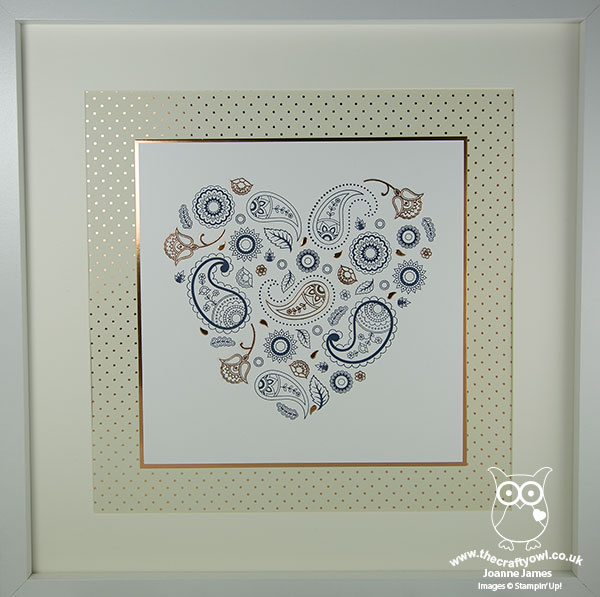
I like this piece so much it is now hanging on the wall in my dining room. The photo above really doesn't do it justice - just look at the lovely shine on the foil and embossed copper against the navy:
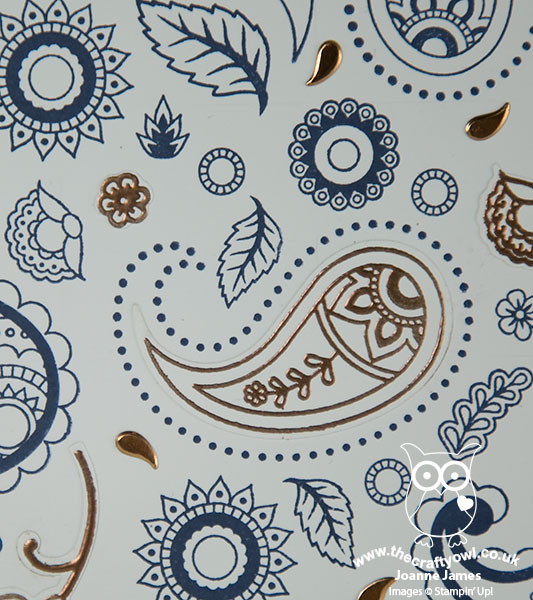
So very pretty! The finished piece measures 12" x 12" unmounted and unframed. The Petals and Posies stamp set and co-ordinating Paisleys Framelits were carried over and are still available, however the paper was discontinued. Good news though: I decided to share this project today because those lovely Petals and Paisleys Specialty Designer Series Papers are now available again on the Clearance Rack for only £4.70 per pack - bargain!
I ALSO HAVE A SPECIAL OFFER FOR YOU - A FREE PDF TUTORIAL!
For everyone who purchases the Petals and Paisleys Specialty Designer Series Papers on the Clearance Rack along with the Petals and Posies stamp set and co-ordinating Paisleys Framelits from me through my online store before the end of this month (Sunday 30th April) using the current hostess code Y2MKPTP6, I will send you a copy of my PDF tutorial for the above home decor wall art project, containing full written and photo step-by-step instructions FOR FREE, so that you can recreate it too! Instructions will be emailed separately following purchase - please ensure you include your email address and check the box that allows you to be contacted by me as your demonstrator following your purchase to send them on to you.
The links below will take you to my online store to enable you to purchase all of the supplies you need. I'll be back tomorrow with another project and more Stampin' Up! news. Until then, happy stampin'!
Stampin' Up! Supplies Used:
425967bd-848e-4aa5-a948-e72abd7abec0|0|.0|96d5b379-7e1d-4dac-a6ba-1e50db561b04
Tags: Paisleys Framelits, Paisleys and Posies, Petals and Paisleys, 3D Projects, Home Décor, Wall Art, Stampin' Up Supplies, Stampin' Up, Shop Stampin' Up online, Shop Stampin' Up! Online, Shop online, Clearance Rack, Classes
3D Projects | Promotions | Shop Online | Shop Stampin' Up! Online | Stamping
by Joanne James10. November 2016 08:05
Today it's time for a new challenge over at Create With Connie and Mary and this week we have a colour combination for you:
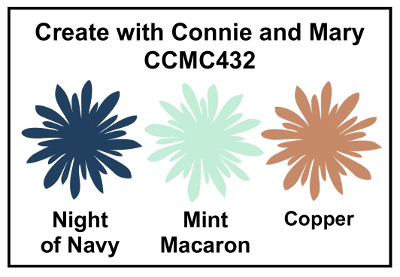
I was immediately drawn to the Petals and Paisleys Specialty Designer Series Paper as all of these colours can be found in this pack. I ended up only using a small piece of it though - here's my card:
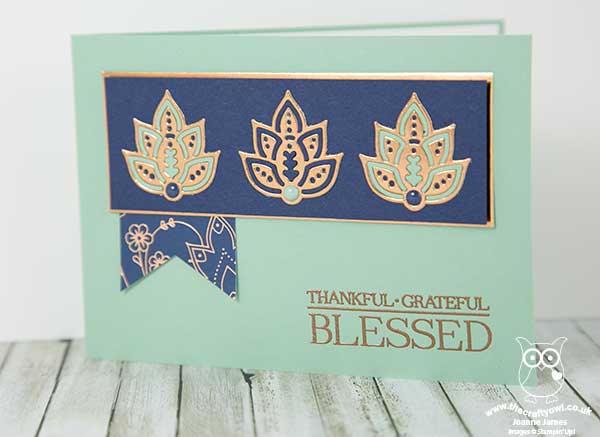
Here's the low-down on today's card:
Copper Specialty Banner - I chose to use a piece of my favourite paper, the beautifully navy with copper-embossed pattern for the banner accent on my card. So pretty!
All About Copper - There are so many copper elements to my card: the foil die cuts and mat, the designer series paper and the copper-embossed sentiment - they all go together beautifully and I love them!
A Paper-Pieced Trio - I die cut my shapes - not sure whether they are supposed to be leaves, feathers or fans...answers on a postcard! - and having die cut two in Mint Macaron and another in Night of Navy, I carefully paper-pieced the outer elements and in-filled the pattern. This is fiddly with such small pieces, but worth the effort I think. I then finished each shape with an enamel dot.
Here is the visual summary of the key products used on today's project for you to pin for easy reference:
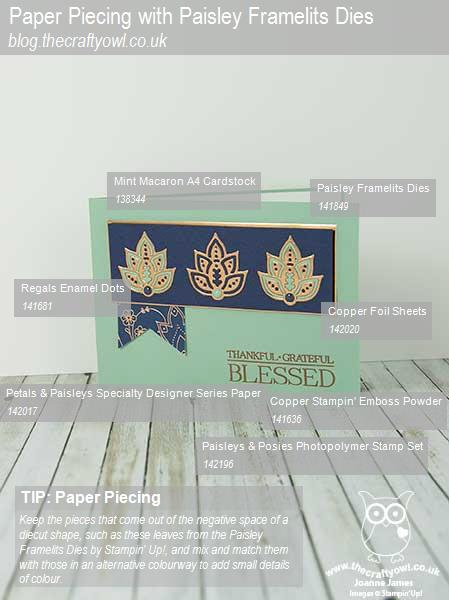
I love the simple design of today's card, with the small details adding real interest.
You can see all of my 'How To' summaries on my 'How To - Tips and Techniques' Pinterest board in case you've missed any.
Do visit the other Design Team members to see what they did with this week's colours; there's lots of inspiration over on their blogs too!
Enjoy your day and I'll be back tomorrow with another project. Until then, happy stampin'!
Stampin' Up! Supplies Used: