by Joanne James23. February 2017 07:00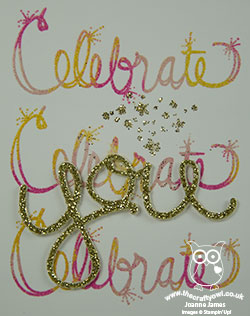
Today I'm sharing a congratulations card that I made for one of the hard-working members of my team who has been achieving great things during Sale-A-Bration - take a look:
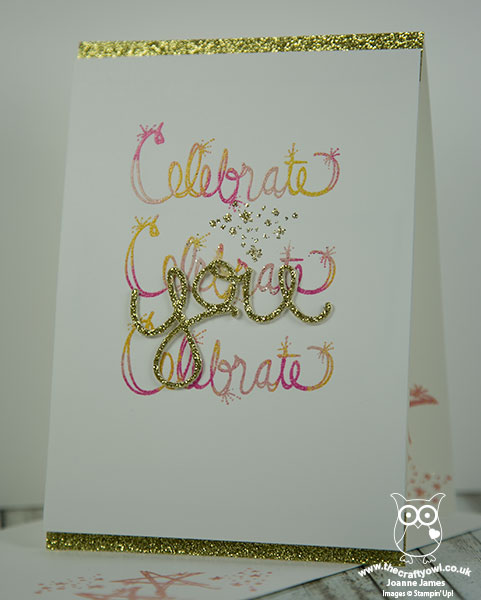
Here's the low-down on today's card:
A Sparkly Celebration - I took the 'Celebrate' stamp in the 'Love Sparkles' stamp set and decided to create a multi-coloured embossed background to echo the idea of sparklers and fireworks. I used a selection of (retired) coloured embossing powders - Melon Mambo,Blushing Bride and Crushed Curry - but you could equally ink your stamp with the same colour inks and a sponge dauber, then heat emboss with clear embossing powder.
Going For Gold - I added a stacked gold glimmer 'you', diecut with my Hello You Thinlits, a couple of strips of gold glimmer top and bottom and a starburst of gold glitter stars to add to the celebratory feel.
Be A Hoot Too - My team of demonstrators, known as The Hoots, range from happy hobbyists to full-time business builders - everyone is welcome and they are all united by a love of crafting and more specifically, a love of crafting with Stampin' Up! products. If you have ever considered joining Stampin' Up!, whether to get a discount on your hobby supplies or because you want to run your own successful direct sales company (or somewhere in between), Sale-A-Bration is one of the best times of the year to do so. During Sale-A-Bration, your starter kit is extra special as not only do you get your choice of £130/175 Euros worth of product for £99/129 Euros, but you get to choose an additional 2 stamp sets FOR FREE - that could be worth as much as an extra £93/126 Euros. There are so many ways in which you can benefit from being a Stampin' Up! demonstrator - please do give me a call on 07773 421446 or email me if you'd like to discuss further.
Here is the visual summary of the key products used on today's project for you to pin for easy reference:
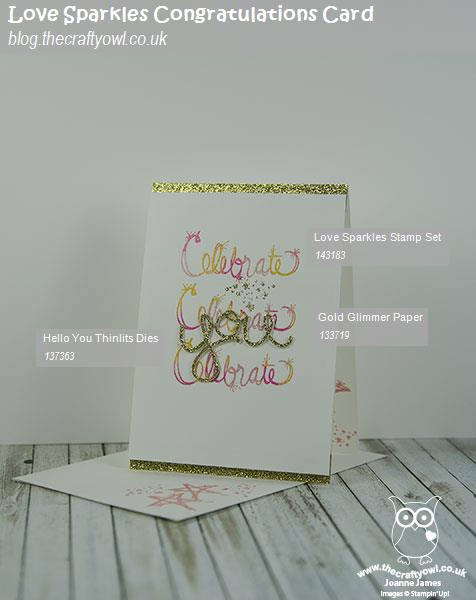
You can see all of my 'How To' summaries on my 'How To - Tips and Techniques' Pinterest board in case you've missed any.
Congratulations Helen and I hope you liked your colourful card!
Enjoy your day and I'll be back tomorrow with another project. Until then, happy stampin'!
Stampin' Up! Supplies Used:
by Joanne James21. February 2017 07:00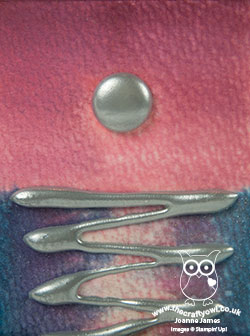
Today I'm sharing a card for the current challenge over at As You See It - so happy to see these fabulous ladies back up and running and thank you for choosing me for the Featured Artist spot last week with this card!

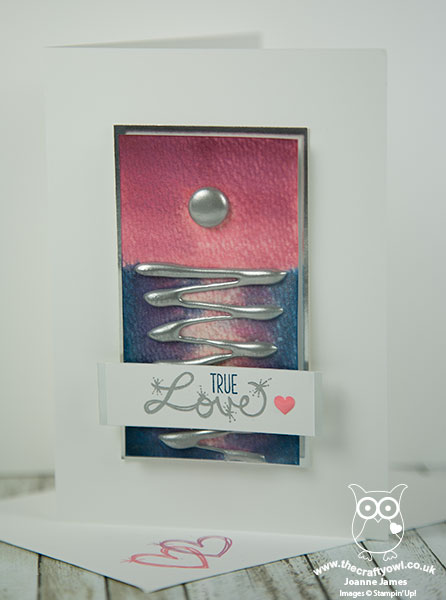
My second colour challenge this week - a rare thing! I find with colours as my starting point it takes me longer to come up with an idea (so glad that AYSI is on a two week challenge schedule now, it gives my ideas time to percolate!) I had so much fun making my card for Nance's challenge over at The Paper Players a couple of weeks ago (you can see that card here) and received such a lot of interested comments about the technique that I used - hot glue embossing - I thought I would make another card using the same idea but this time inspired by the AYSI challenge photo, I created a moonscape over the water - take a look:
Here's the low-down on today's card:
A Fun Technique - I used the same layout and technique as for my previous card here, but this time embossed my hot glue in silver with a moon in my pinky-purple twilight sky. I then blended the pink and purple with the Dapper Denim blue for the water and reflection below the horizon using my re-inkers and aquapainter. I added a liberal does of Clear Wink of Stella to the sea to finish - this adds a wonderful sparkle that is difficult to see in the photo, but trust me, it's there!
Love Sparkles - The colours of this card I thought lent themselves to a more romantic card, so I decided to use the sparkly 'Love' sentiment from the Love Sparkles stamp set and turn this into an anniversary card for my husband since it was our 18th wedding anniversary yesterday. I'm not sure my husband was as impressed with my handiwork, but then I think he sees so many of my cards theses days he just takes it all in his stride!
All Heart - I added a tiny pink enamel heart shape to finish my card in keeping with my theme and also stamped the inside of the card and the envelope to co-ordinate.
Here is the visual summary of the key products used on today's project for you to pin for easy reference:
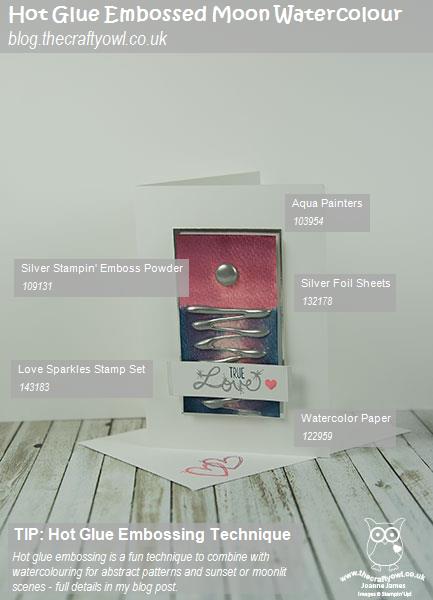
You can see all of my 'How To' summaries on my 'How To - Tips and Techniques' Pinterest board in case you've missed any.
So what do you think - does the card say 'romance' to you? I'd love to hear your comments and thoughts below.
Enjoy your day and I'll be back tomorrow with another project. Until then, happy stampin'!
Stampin' Up! Supplies Used: