by Joanne James28. July 2014 18:51I know, I know - we re experiencing some of the hottest weather we've had in the UK for ages and I'm making Christmas cards with snowflakes on!!! My new seasonal catalogue arrived with the postman on Saturday (it doesn't go live until the beginning of September, but as a demonstrator we receive them early so that we can pre-order items to plan classes and make samples to share with you (one of the many perks of being a demonstrator) and so for the last couple of days I have well and truly had Christmas on the brain! When I saw this week's sketch over at Freshly Made Sketches I decided festive was the order of the day - here's the sketch:
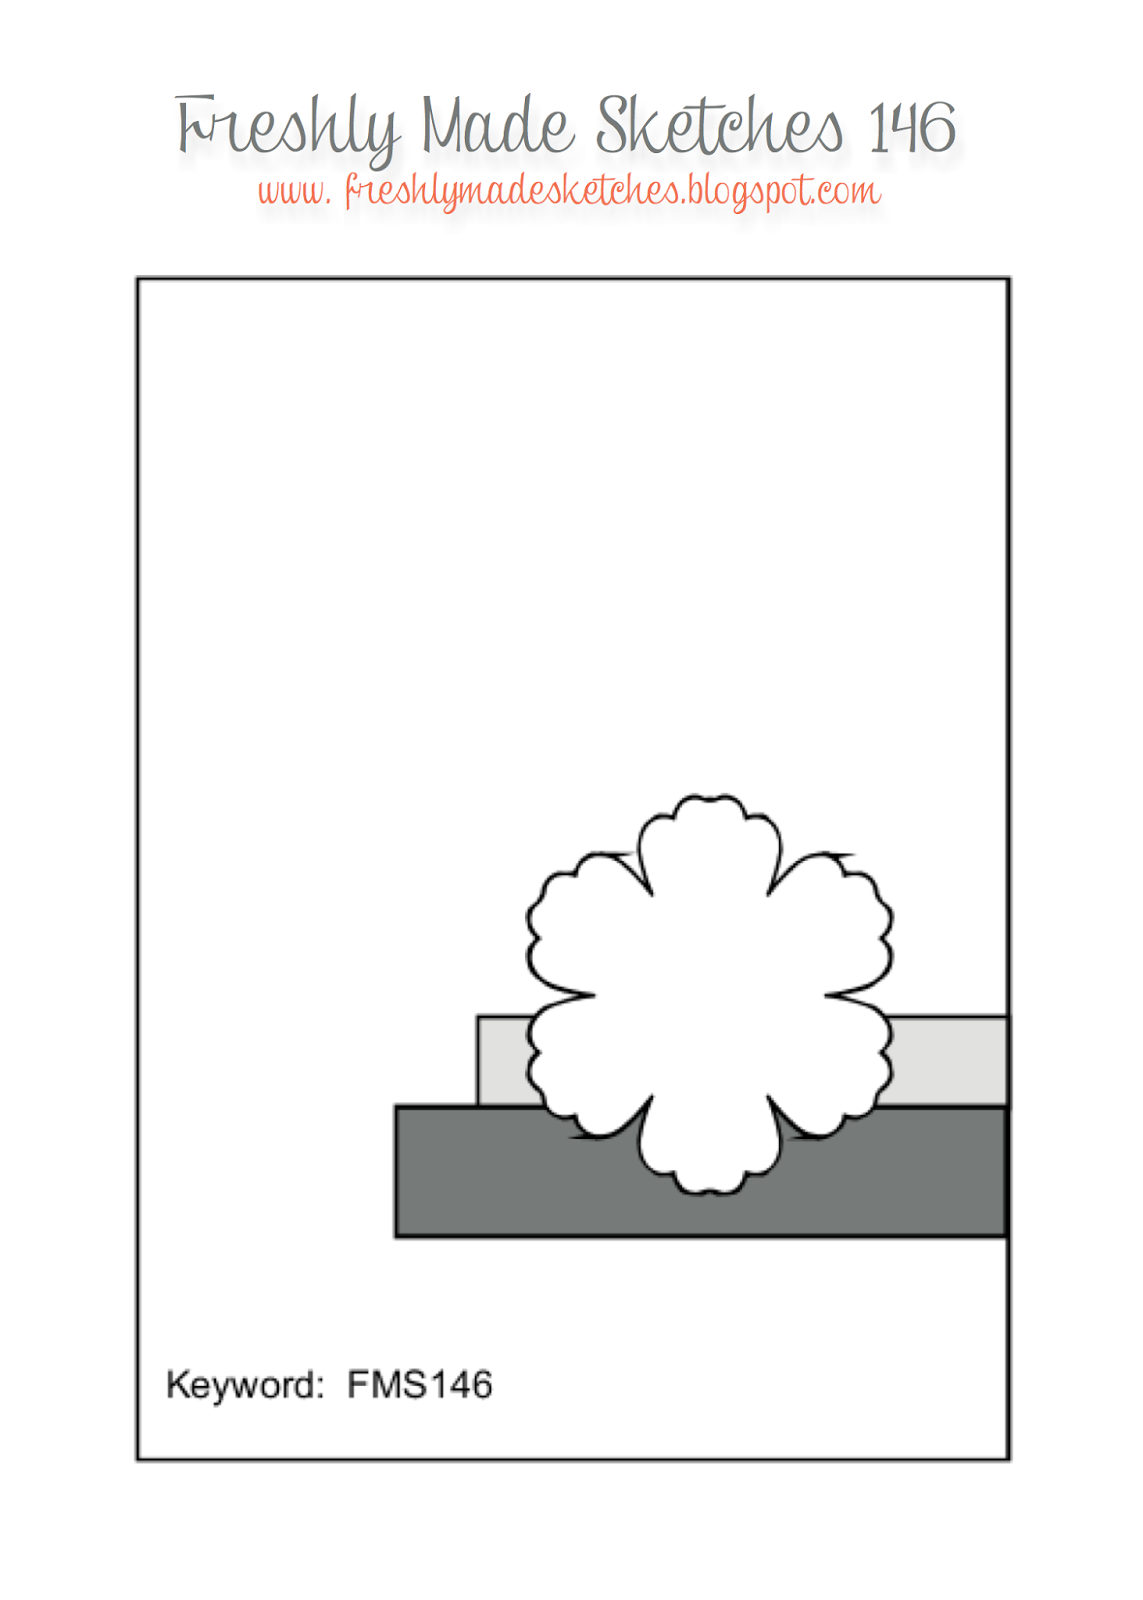
And here's my card:
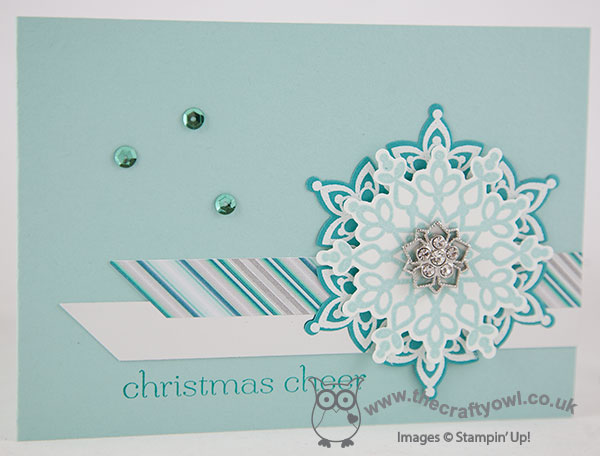
I changed the orientation of my card as I wanted to use two of the embossed layered snowflakes stamped with the Festive Flurry stamp set and cut out with the coordinating framelits and needed it to be wider rather than taller. I cut my banners out of silver foil sheet and a scrap of last year's Winter Frost DSP that I found in my box, along with a retired snowflake embellishment. I added a few of the current in-colour sequins in Coastal Cabana to add a little more sparkle and finished with a vintage sentiment (from the 'Sweet Essentials' set).
You still have another month and a bit to wait until the launch of the new seasonal catalogue, however if you're the kind of person who likes to get organised and wants to start making Christmas cards now, the Festive Flurry stamps and Framelits are on the Holiday Carryover List and, along with a number of other seasonal items, are still available to purchase until 27th August. You can find the full list of items in the 'Holiday Carryover' section on the right hand side of my blog page, or by clicking here.
That's all from me today - no more Christmas cards I promise - well, at least not this week. Once my pre-order arrives next week, I might not be able to stop myself from sharing a few 'sneak peeks' of festive loveliness!
Back tomorrow with another card; until then, happy stampin'!
Stampin' Up! Supplies Used:
a0a43734-b506-4367-b703-b05cd76d4926|0|.0|96d5b379-7e1d-4dac-a6ba-1e50db561b04
Tags: Big Shot, Christmas, Festive Flurry, Festive Flurry Framelits, Winter Frost, Frosted Finish Embellishments, Sweet Essentials, Stampin' Up Supplies, Stampin' Up Card ideas, Stampin' Up Card, Stampin' Up, Shop online
Cards | Stamping
by Joanne James22. December 2013 21:17Well it's been another busy few days here in the James household with a trip to the movies on Friday, a fun trip iceskating yesterday and swimming, grocery shopping and a pre-Christmas festive family get-together this evening. The big day is almost upon us, but I finally managed to get some photographs taken today in between all my last minute Christmas preparations and today would like to share some of my quick but attractive festive packaging ideas for stocking-fillers and small gifts. Here's the first one - a simple pouch made using the envelope punch board:
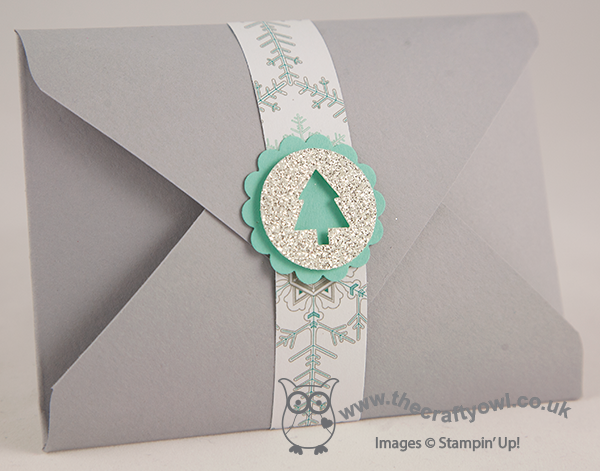
I made lots of these in various colours to tie in with the Winter Frost DSP stack to package some little gifts for the lovely ladies who have attended my classes over the past year (I can't tell you what's inside though - it's not Christmas Day yet ;-)! )
The second of my projects is a little stocking filler I made for my daughter - a pair of hairclips decorated with Frosted Finishes Embellishments and packaged in a cute little triangular carton that I made using a sheet of the Winter Frost DSP stack:
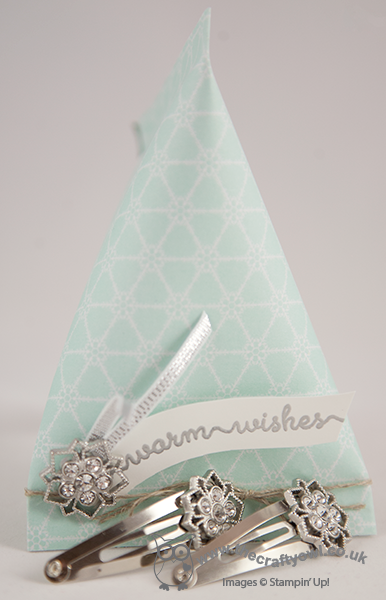
I embossed the 'warm wishes' sentiment from the 'Snow Day' stamp set using silver embossing powder and it added a real feel of luxury to the finished packaging. For the clips, I simply adhered a Frosted Finishes Embellishments using Crystal Effects to a couple of standard hair clips.
My last packaging idea that I'm going to share today is one of the lovely little muslin bags, which I stamped with the 'Love and Joy' single stamp and decorated with another Frosted Finishes embellishment, a ribbon tie and a little Dazzling Diamonds for some extra sparkle:
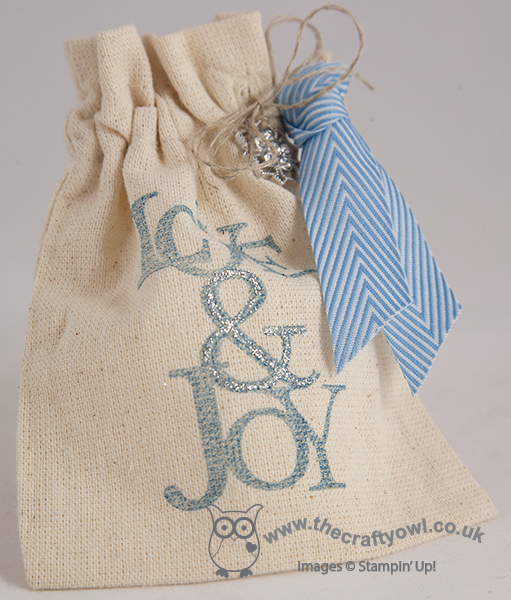
These bags are a great size and perfect for a little sweet treat or a small gift such as nail polish or some candles, or maybe a miniature bottle of a favourite tipple, a pack of playing cards or a micro torch for a more masculine gift.
So some easy ideas to make those little gifts extra special.
I have a date with a very large ironing basket tomorrow evening (the exciting life I lead!), but all being well will be back with another post as I've a few more Christmas-themed things to share and am running out of time in which to do it.
Until then, happy stampin'!
Stampin' Up! Supplies Used:
f179dbd2-3545-4e46-b6c7-8b9de0c424f5|0|.0|96d5b379-7e1d-4dac-a6ba-1e50db561b04
Tags: 3D Projects, Christmas, Snow Day, Love and Joy, Frosted Finish Embellishments, Envelope Punch Board, Merry Minis, circle punch, scallop circle punch, Shop online, Stampin' Up, Stampin' Up Card, Stampin' Up Supplies, Stampin' Up Card ideas
3D Projects | Stamping
by Joanne James8. December 2013 16:00Another weekend of James family busy, busy. Yesterday: hairdressers, mad science parties and swimming gala on top of the usual homework and household chores. Today: swimming lessons, family lunch and decorating the house ready for Christmas. Finally I'm able to share today's post with a cute project: this adorable angel Christmas tree ornament made using the Stampin' Up! Gift Bow Bigz Die:
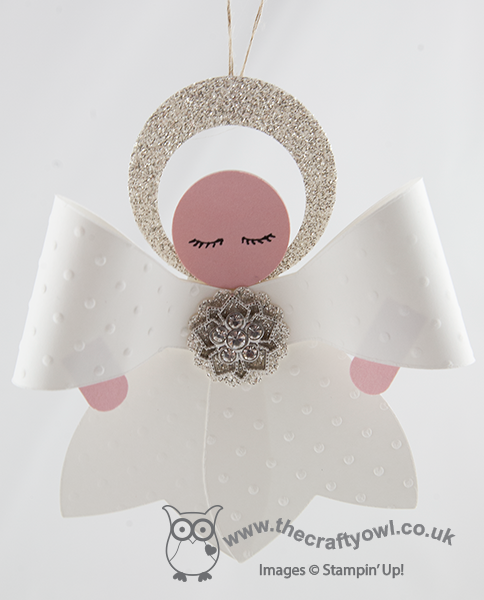
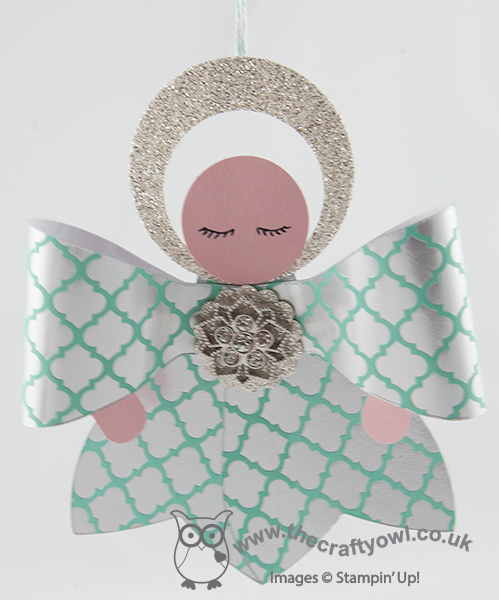
I've seen a few different examples of these angels on the internet; the first one I saw was on Tanya Bell's blog here which also included a great tip for getting even eyes. I'm not sure where the original idea came from, but as they are all a little different I thought I would share with you my version; I've been making lots of these to decorate the house this year and love that I can use my Gift Bow Die for so many more things than making bows. I made a video tutorial for you to show how I put these together; here it is:
The supplies and equipment you need to make an angel are listed below and the key measurements for the cardstock to make the main part which is the angel dress body are:
2 pieces cardstock: 10.5cm x 5cm
1 piece cardstock: 1.5cm x 8cm
These card sizes enable you to get three angels out of one sheet of A4 cardstock. Come back tomorrow for another project using the Gift Bow Bigz Die; until then, happy stampin'!
Stampin' Up! Supplies Used:
6dd3e7f4-e0fe-4cd0-b37d-78b3eb9e9c0a|0|.0|96d5b379-7e1d-4dac-a6ba-1e50db561b04
Tags: 3D Projects, Christmas, Gift Bow Bigz L Die, circle punch, Itty Bitty Punches, Perfect Polka Dots Embossing Folder, Shop online, Stampin' Up, Stampin' Up Card, Stampin' Up Supplies, Frosted Finish Embellishments
3D Projects | Punch Art | Video Tutorials