by Joanne James14. August 2015 09:00Today I'm sharing the birthday card I made for Ben to celebrate his 8th birthday. Basketball and football are his two sporting passions and lately he has been football mad. He also has a belief that pop-up cards are the best; whilst this isn't quite a pop-up, it does have a fun flip element with the Circle Thinlit card base - here's my card:
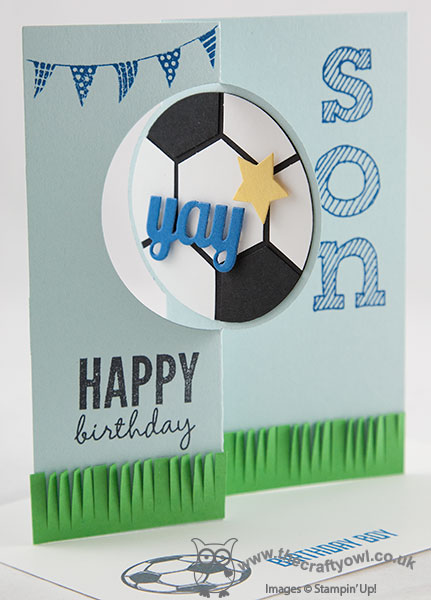
I used Soft Sky for my base and built my football out of a 2 1/2" circle punch and black and white hexagons and decorated my card with some grass cut with my fringe scissors and a bunting banner and greeting from Celebrate today, complete with personalisation using the Epic Alphabet set.
This card actually came together surprisingly quickly and Ben loved it - I'd forgotten quite how much fun a circle thinlit card could be! Here is a picture of the birthday boy blowing out the candles on his amazing birthday cake, made by one of my extended family, the super-talented Helen Vowles:
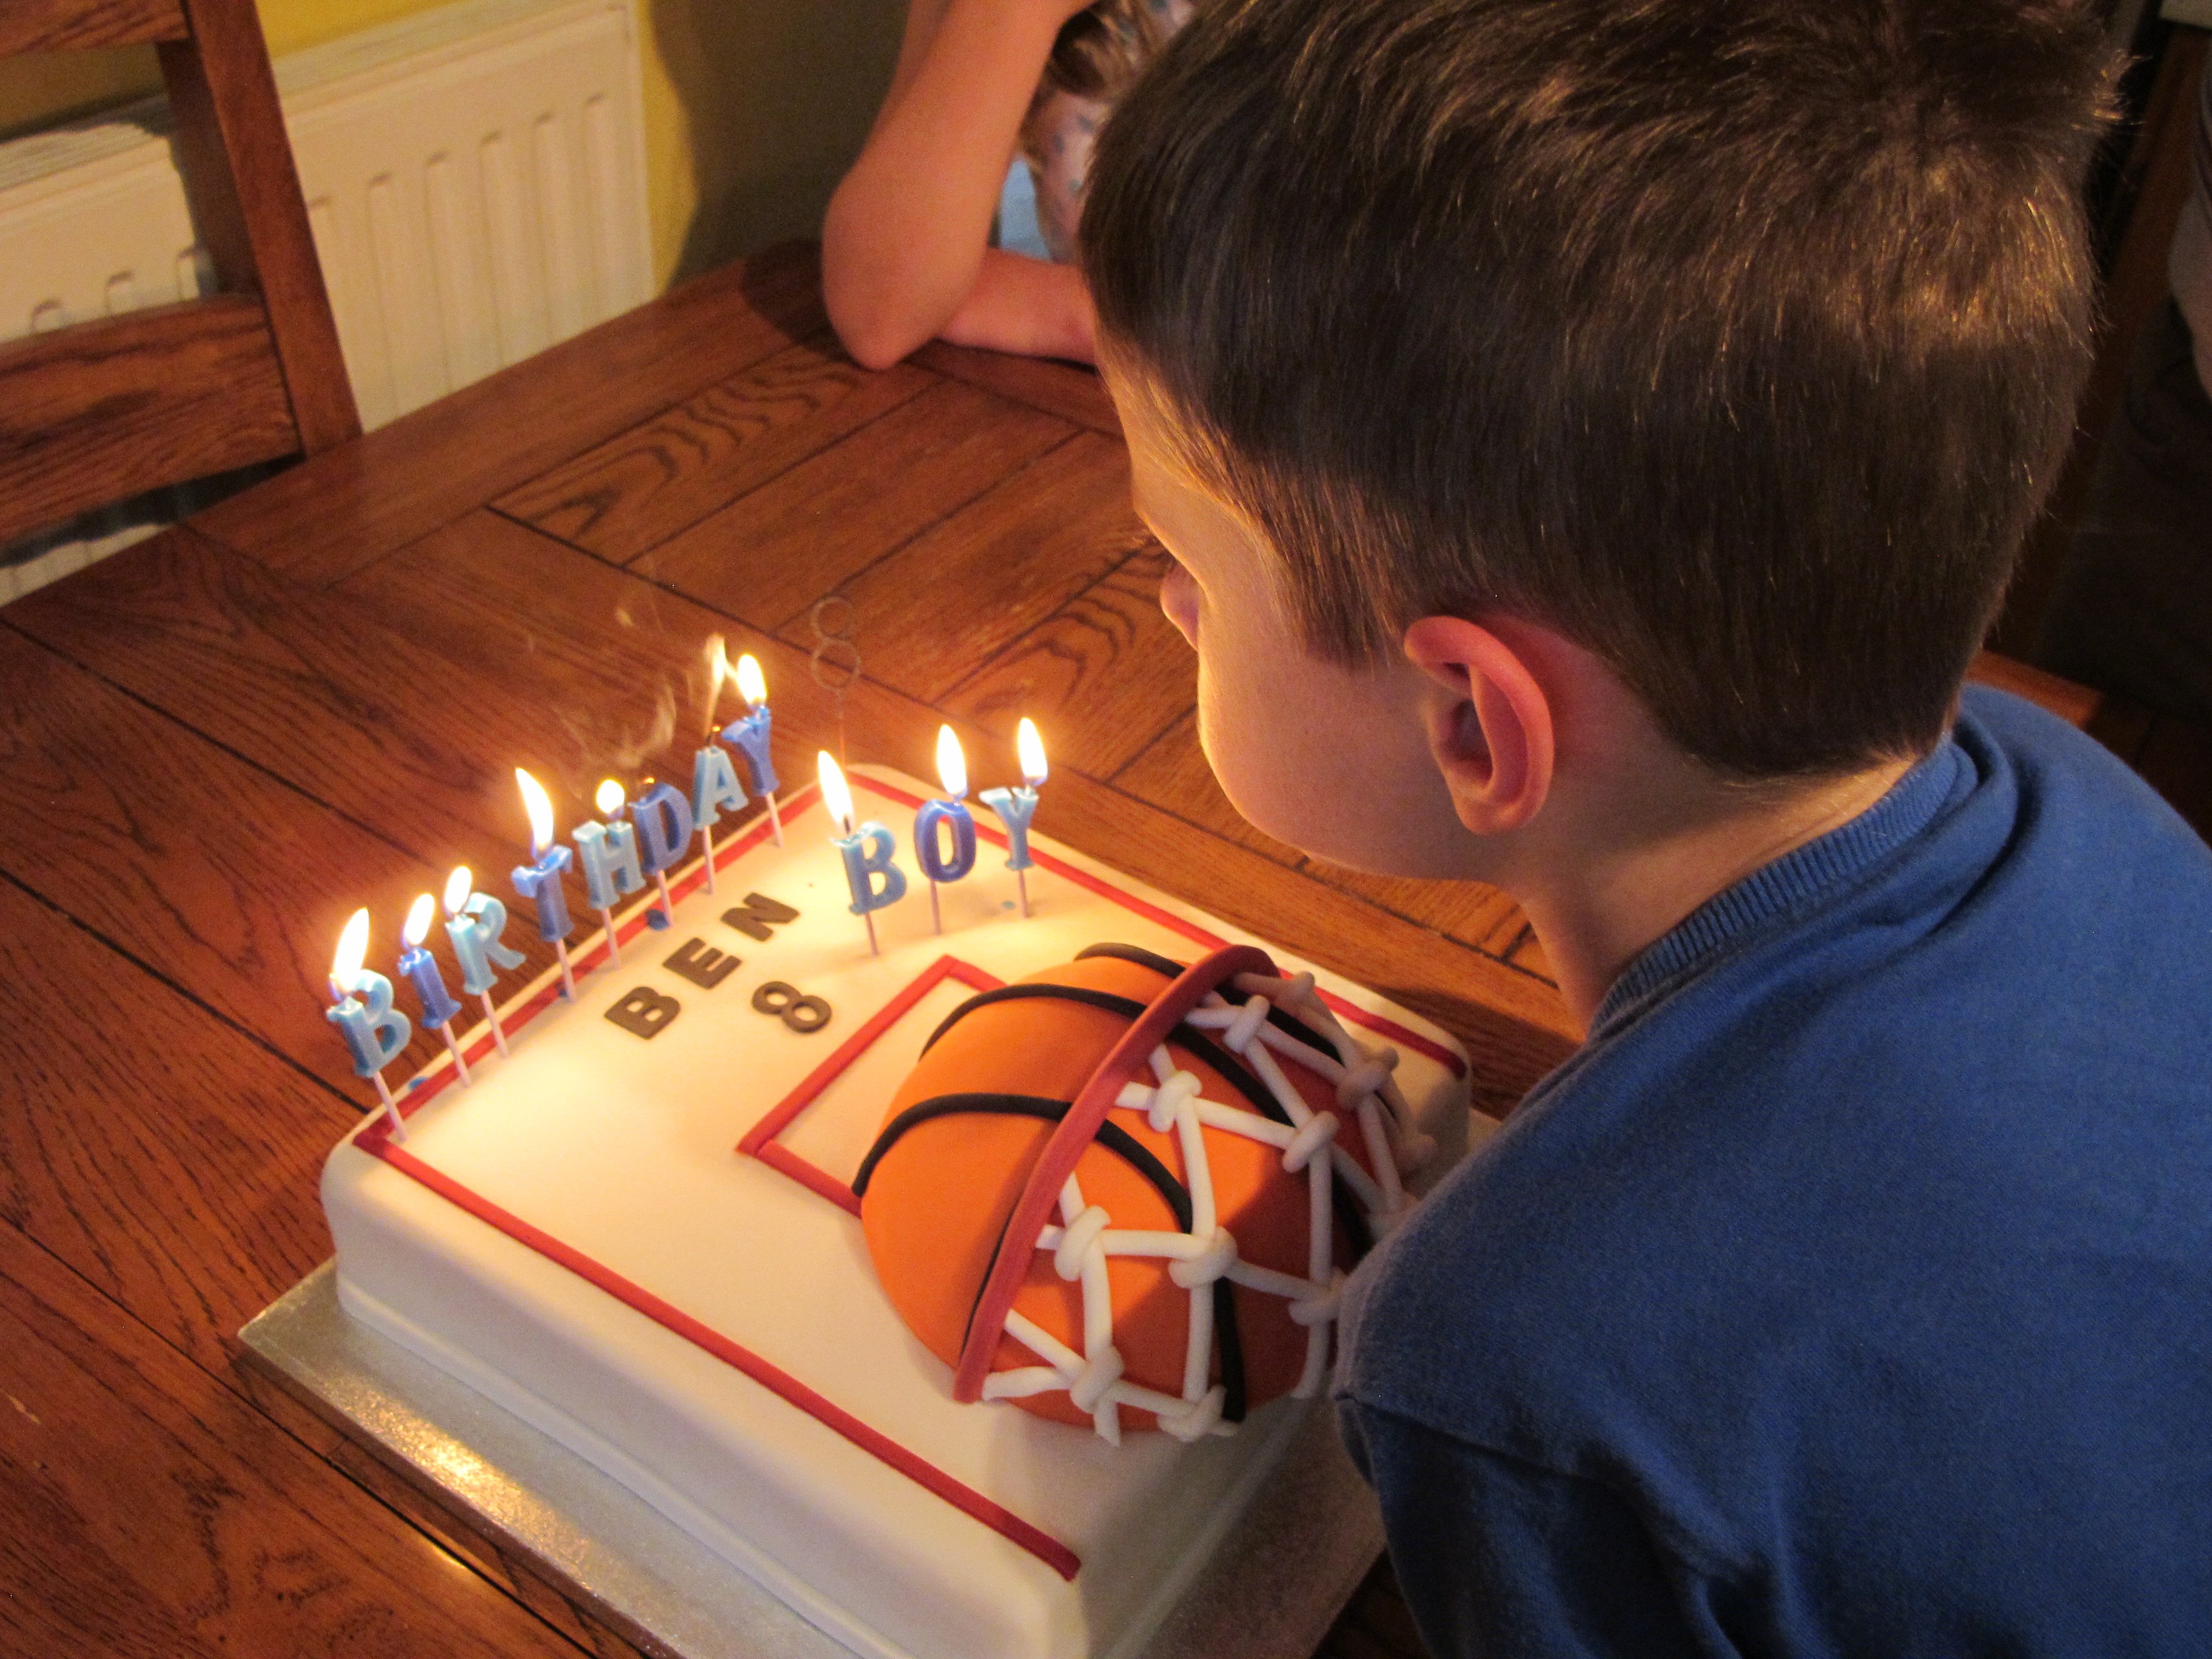
Ben declared his basketball cake the best ever and was mighty impressed. If you live in Northampton I would urge you to check out Helen's Facebook page here - she really does make the most amazing cakes! Here's another photograph of him in the garden trying out his new goalie gloves (don't look too closely at my lawn, it really doesn't appreciate being used as a football pitch!):
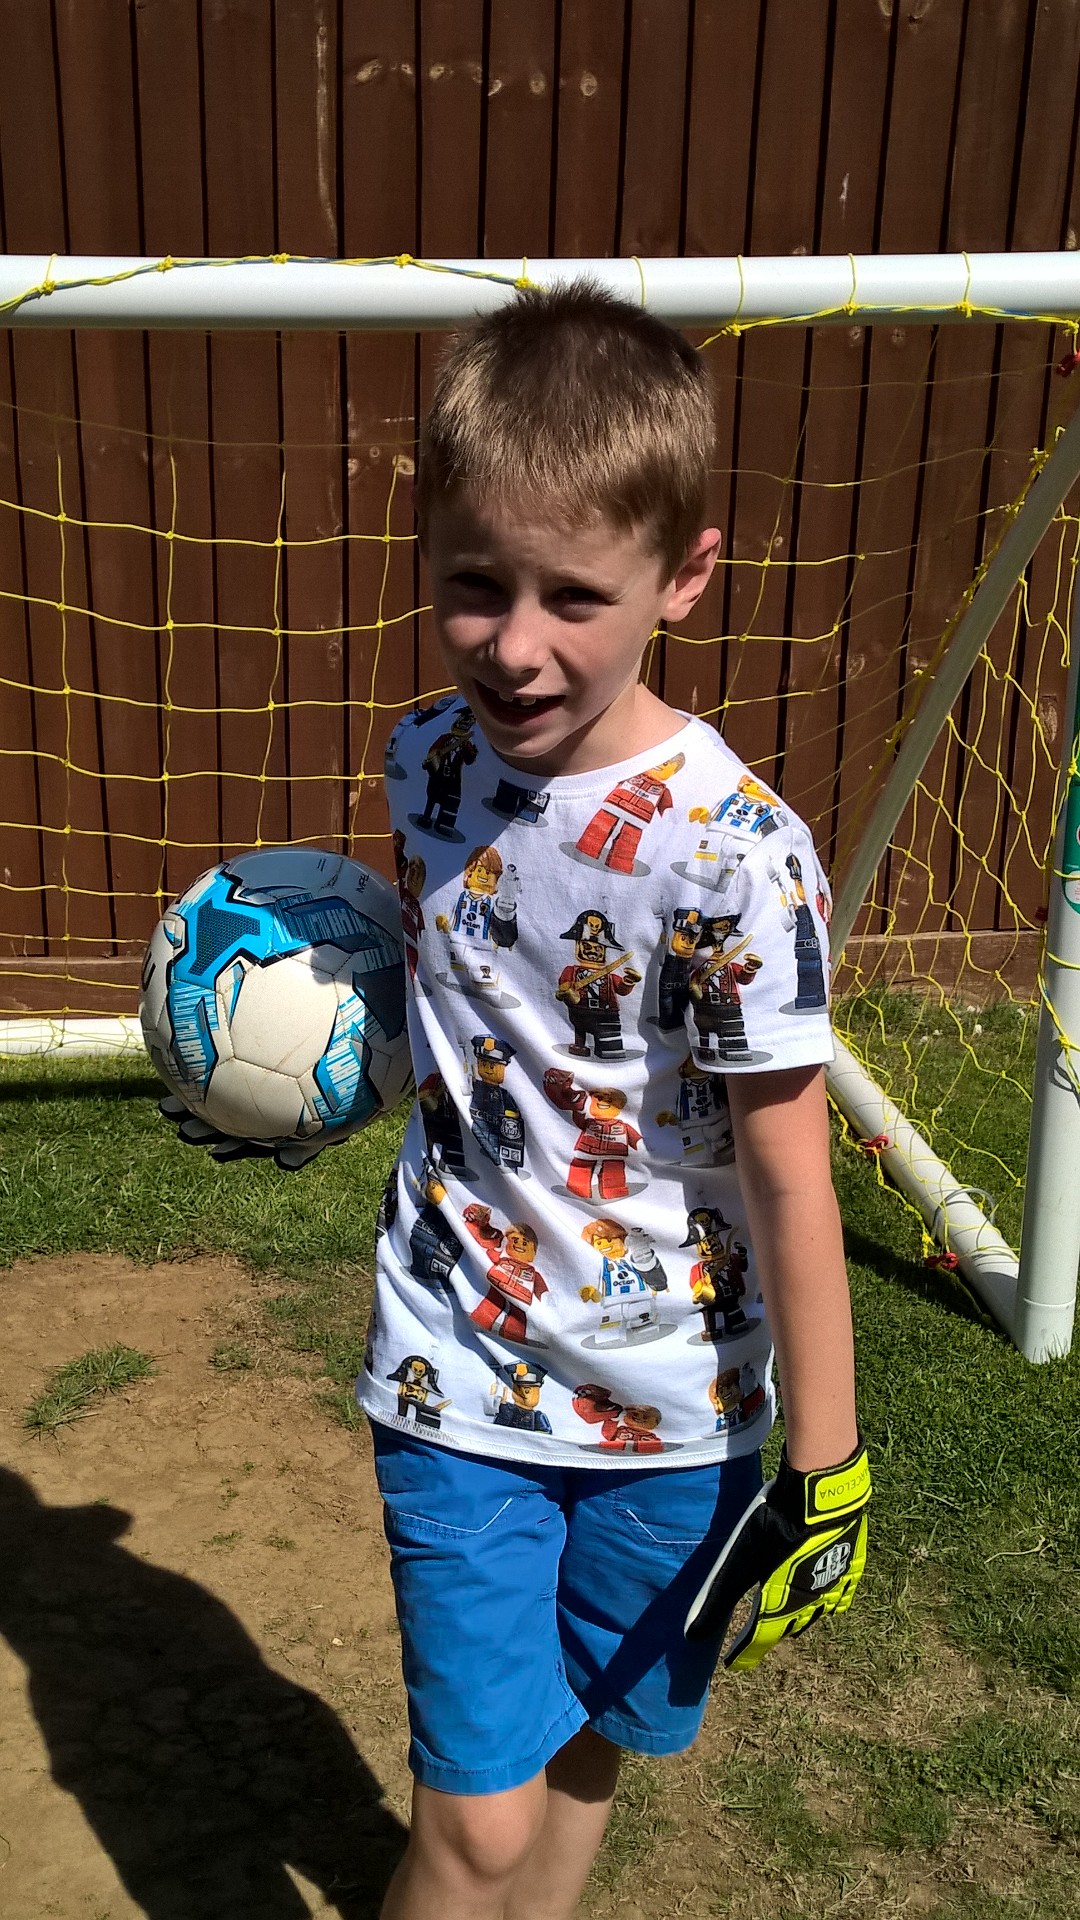
8 years old - my, where did those years go??!
That's all from me today; back tomorrow with another project - a Christmas card, no less! Until then, happy stampin'!
Stampin' Up! Supplies Used:
ea2df5b3-4cc4-4ac2-9302-712baa21967b|0|.0|96d5b379-7e1d-4dac-a6ba-1e50db561b04
Tags: Circle Thinlit Card, Epic Alphabet, Big Shot, Celebrate Today, Fringe Scissors, Hexagon Punch, circle punch, Shop online, Shop Stampin' Up online, Stampin' Up, Stampin' Up Card, Stampin' Up Card ideas, Stampin' Up Supplies
Cards | Stamping
by Joanne James3. August 2014 08:00It's time for this week's challenge over at The Paper Players and Sandy has a theme challenge for us this week that's all about buttons:
You can use any kind of buttons - real, embossed, paper - so for my card I decided to take Sandy's theme quite literally and create a 'Cute as a button' card suitable for a baby girl and featuring a clay button made with Simply Pressed Clay in one of Stampin' Up!'s silicone moulds - here is my card:
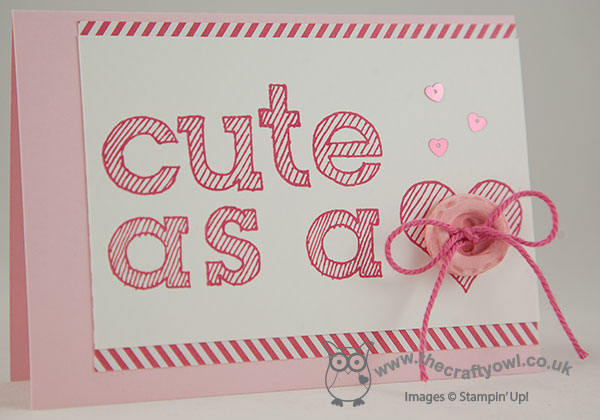
I used a Pink Pirouette card base and matted my Whisper White panel with a piece of Strawberry Slush DSP from the In-Colour stack in the chevron design, although with just enough showing so that it looks like a simple diagonal to echo the lines of the text. On my white panel, I stamped 'cute as a <3' using the new Epic Alphabet set. This set is photopolymer, which makes aligning the letters accurately so easy - with no stamp-a-ma-jig required! I moulded my clay button in the Simply Pressed Clay Mould and allowed it to dry before colouring it with my Pink Pirouette Stampin' Write marker - you can colour your clay before you mould it with reinker or afterwards with ink/markers, it's really up to you. The colour differs slightly depending on the method; personally I like to mould my buttons and embellishments in uncoloured clay a few at a time, then keep the dried pieces in a box to be coloured as required depending on the project. Here's a close up of my button:
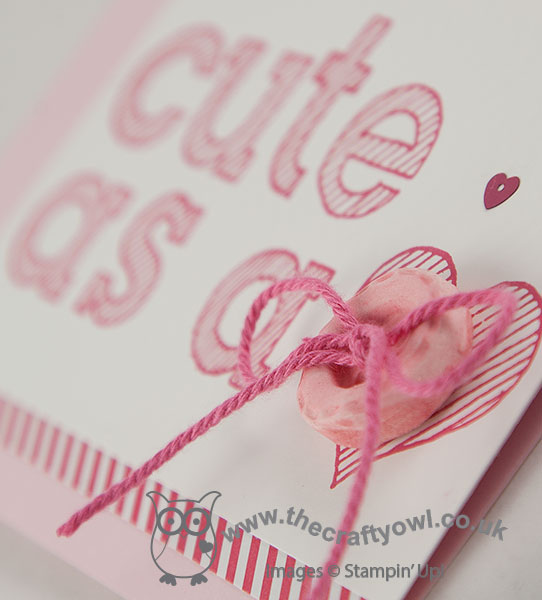
To finish, I pierced two holes in the button with my paper piercer and threaded some Strawberry Slush baker's twine through the holes and tied in a bow and added a scattering of In-Colour heart sequins.
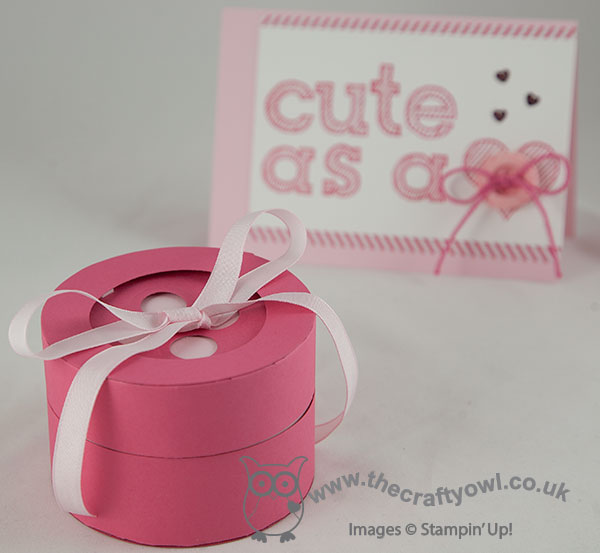
I really love how my card turned out - but I couldn't stop there! I thought it would be fun to create a button gift box to go with it, using my Big Shot and Circles Framelits - here it is:
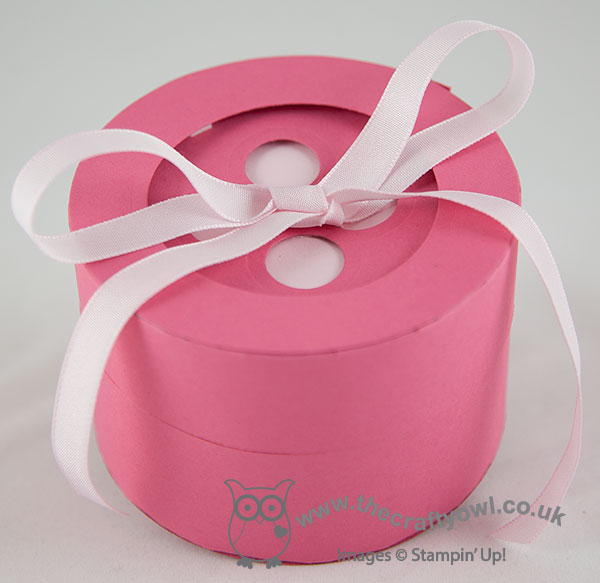
I used Strawberry Slush cardstock and the second largest of the circle framelits for my box, which measure 9.3cm in diameter and 7cm tall. I lined my box with Pink Pirouette cardstock for rigidity and to allow for an edge-to-edge closure. This box is just big enough to fit in a cute onesie, some bibs or a pair of booties - here's a photo of the inside:
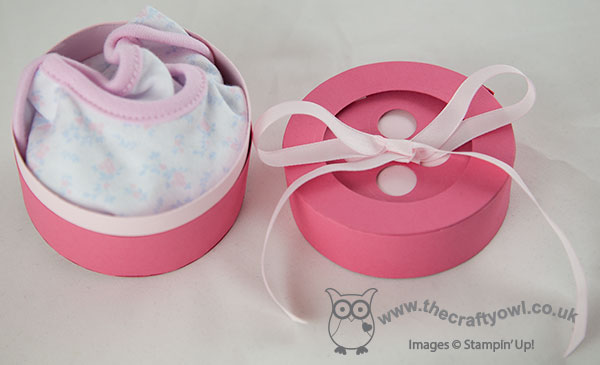
Lastly, I threaded some retired Pink Pirouette ribbon through the button holes and tied in a bow. So there you go - two cute as a button projects, I hope you'll agree! Do pop over to The Paper Players and see what the other talented designers have for you today and I very much hope you'll join us in creating something for this week's challenge.
Back tomorrow with another project; until then, happy stampin'!
Stampin' Up! Supplies Used: