Good evening everyone! Well, today has been a special day here in the UK - we celebrated the royal wedding of HRH Prince Harry and Meghan Markle. Whilst I'm not a devoted Royal watcher, I do think the Monarchy has an important role to play and one thing's for sure: I love a wedding, royal or otherwise! I enjoyed watching the wedding from my office as I was crafting this morning and ooh'ed and ahh'ed at the flowers, the dresses and those adorable and so well-behaved bridesmaids and page boys. Such a glorious day for it too and the bride was truly stunning.
Since weddings are the order of the day, I thought it would make a great topic for today's blog post too so I'm sharing with you the invites I designed recently for a bride who was keen to create her own stationery for the big day.
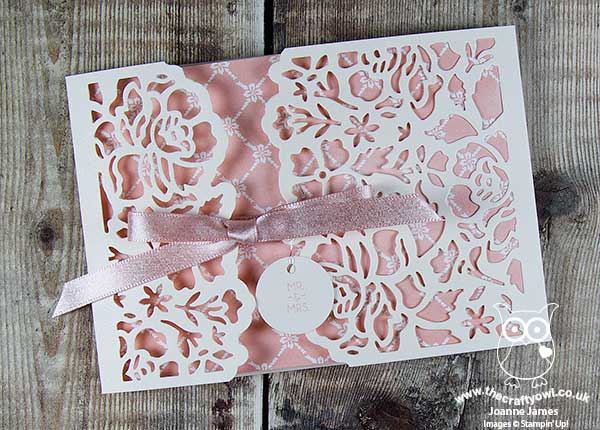
Making your own wedding stationery is a great way to create something individual and personal to you - take a look at the design we agreed upon:

The key things to remember when designing your own wedding stationery are as follows:
Make It Your Own - When you make your own wedding stationery, you are able to create something unique and personal to you in a way that off-the-shelf invitations will never be able to deliver. You can choose colours that co-ordinate with your scheme for the day and flowers or emblems that tie in with your chosen theme. For this wedding, the bride was keen to incorporate pale pink, but otherwise had no fixed views on design. This is one of the things I love about being a Stampin' Up! demonstrator - I love to design cards and projects, so working to a bride-to-be's brief is always an exciting prospect. It's great for the bride too - often they are keen to make their own stationery but have never done this (or sometimes any papercrafting) before, so they are keen to work with someone who can take their ideas and make them into a workable, reproductable, design.
Keep It Simple - The key to good wedding stationery design is to keep it simple. Sometimes you may only have to make 20 invitations, but sometimes it is 120! For any kind of mass production, it's important to have a design that can be easily reproduced many times, each time as good as the last, so keeping it simple is key. For this invitation, we used the Detailed Floral Thinlits to create a gatefold-style card, with a Powder Pink Fresh Florals Designer Series Paper insert that was adhered on one side. When opened, the invitation wording was then on the inside.
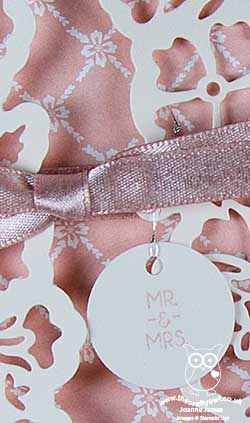
Finishing Touches - Whilst the design is simple and easy to reproduce, the finishing touches are all-important to add that of luxury: the outer gatefold was cut from Shimmery White cardstock, with the addition of Powder Pink Shimmer Ribbon to create the tied closure that co-ordinates with the DSP lining. We also added a small round punched tag, with the words 'Mr & Mrs' from the 'Beautiful Bouquet' set stamped on it in pink, using a length of silver thread.
These invitations were really not too tricky at all to make, armed with the right tools and a few pairs of hands. The most important thing to consider when making your own wedding stationery is to plan ahead - don't underestimate the time it takes to mass produce invitations and other stationery items and be sure to allow enough time to actually put it all together. This is the perfect activity to involve friends and bridesmaids in - after all, many hands make light work!
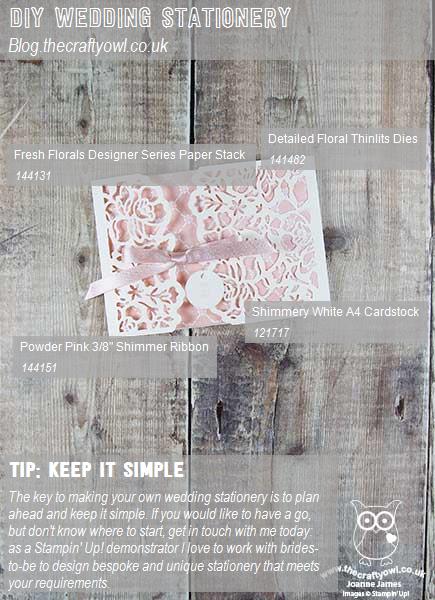
Here is the visual summary of the key products used on today's project for you to pin for easy reference:

You can see all of my 'How To' summaries on my 'How To - Tips and Techniques' Pinterest board in case you've missed any.
If you are reading this and thinking you would like some help in designing your own wedding invitations, please don't hesitate to get in touch - I'd love to discuss your requirements and help you create the unique, bespoke stationery of your dreams.
Enjoy your day and I'll be back tomorrow with another project. Until then, happy stampin'!
Stampin' Up! Supplies Used: