
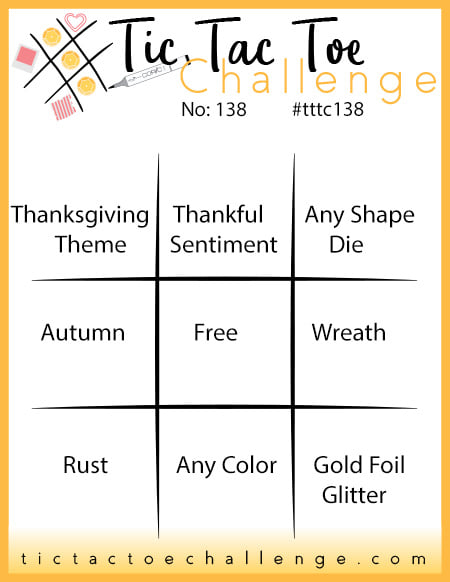
It's Thursday and time for a new challenge over at TicTacToe! It's the turn of Team X to host this week and the lovely Felicita is our featured designer this week. This is the fun board that we are playing along with:
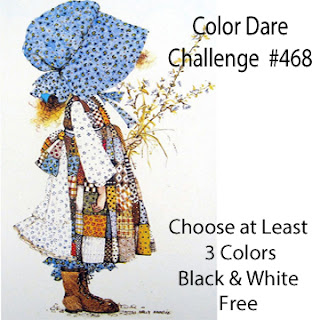
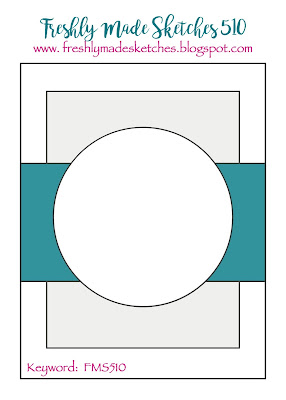
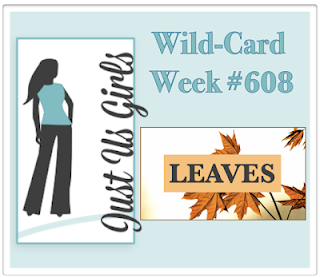
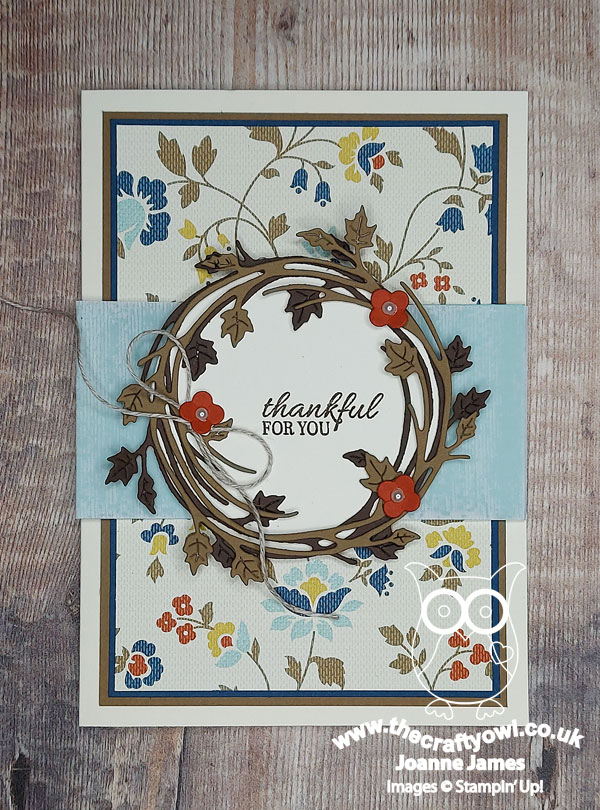
I also used Jen M's great sketch over at Freshly Made Sketches this week for my layout, the colours over at Color Dare and my final entry over at Just Us Girls this week where Bobby's wild card is 'leaves'. I went across the middle of this week's Tic Tac Toe board with Autumn/Free/Wreath for my card today, but it also works for the middle column of thankful sentiment/free/any colour too. when I saw the Color Dare inspo photo of Holly Hobby this week I was taken right back to my childhood - and more recently, to my retired designer series paper pile! I had some old Comfort Cafe paper that I thought would be perfect for the challenge as it featured bluesm yellows and browns and would also provide a suitable background for my wooden, leafy wreath - take a look:
Here's the low-down on today's card:
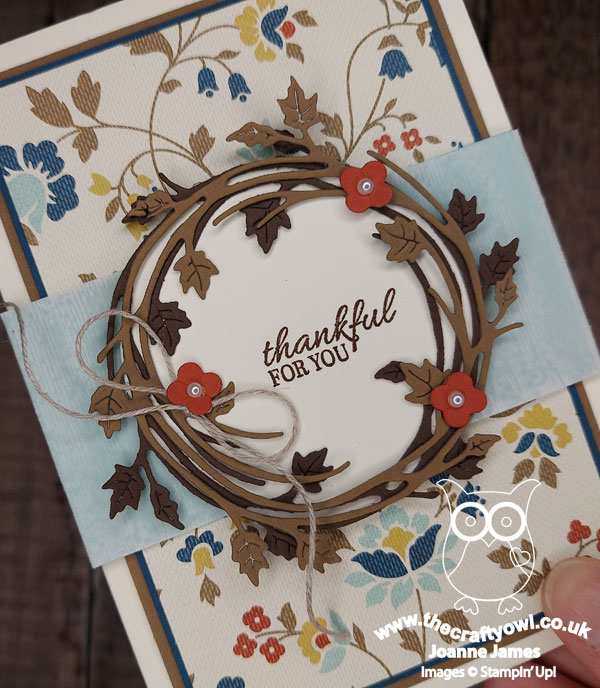
Seasonal Swirls - I went for a simple layered wreath of twigs and leaves today, as I didn't want to do too much to detract from the pretty background paper. I added a trio of Cajun Craze flowers, cut using my Floral Squares dies, that echo the detail on the paper, and centred each with a pearl, along with a linen thread bow and backed it with a very vanilla circle stamped with a simple sentiment from the 'Sparkle of the Season' set.
Added Texture - I love how the patterned paper has a faux-texture for added detail and interest. Having decided to add a Pool Party band to the front of my card, it looked a little too stark, so in a further nod to the paper, I added a layer of vellum over the top that I had embossed with my (retired) Subtles embossing folder. This was just enough to take the vibrancy out of the colour whilst also adding another level of detail; you can see the detail of it more closely below:
I really like this card - the paper is great for autumn and it's good to be using up more of my paper stash. If you're not a paper hoarder like me, you could easily recreate this card using the current Harvest Meadow papers, for example. A shoutout to Jen too for the perfect sketch to showcase a wreath - I think I might have to use it again this week!!
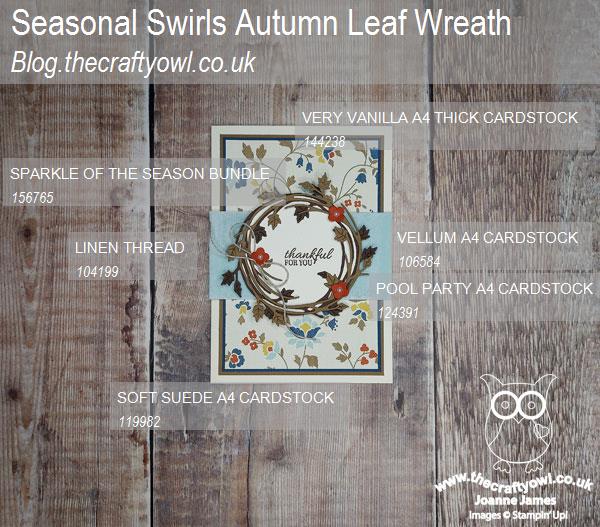
Here is the visual summary of the key products used on today's project for you to pin for easy reference:
You can see all of my Product and 'How To' summaries on my 'How To - Tips and Techniques' Pinterest board in case you've missed any.
A tictactoe board offers so many creative possibilities - how does this week's board inspire you? Why not have a go? We would love to see you in the gallery and who knows - you might be selected for Designer's Choice and be eligible to be a guest designer on a future challenge.
Enjoy the rest of your evening; I'll be back tomorrow with another project. Until then, happy stampin'!
Stampin' Up! Supplies Used: