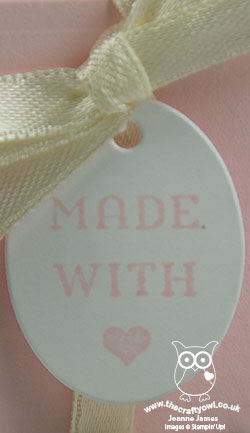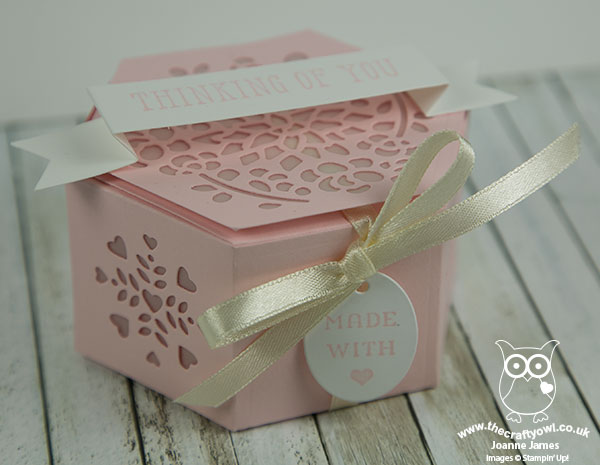
As promised on Friday (Saturday was consumed with homework, swimming and the first cricket match of the season - goodness, doesn't that game go on FOREVER?!! - so I didn't get to post this the as planned), today I'm sharing with you another of the makes from one of last month's technique classes, featuring the Window Box Thinlits dies. In addition to using them to make the birthday card I shared on Friday and an Easter basket, we also made a box with the thinlits and one of the decorative pieces. Here is our finished box:

Here's the low-down on today's project:
Window Box Thinlits - The Window Box Thinlits make the most adorable hexagonal box that is incredibly versatile. It can be used as packaging for a small gift or would be the perfect size for a wedding favour; it also makes a beautiful table decoration if you place a battery-operated tealight inside and looks lovely if a number of them are clustered together in this way. You can build it plain, decorate with designer series paper or use the selection of cutout dies to give extra pattern to the side and top panels. The box above has the side panels cut out and backed with vellum, along with a layered vellum backed top, so that the ribbon tie sits below the vellum panel and allows the sentiment banner to sit neatly across the top of the box.
So Much More Than A Box - The Window Box Thinlits are so much more than a standard box though. This versatile thinlit die set can also be used to make other items, such as sail boats and baskets, and can be used to create alternative boxes in different shapes and sizes too. The benefit of featuring this set in a class is that you can demonstrate and show the class participants how to do the slightly more unusual things in a hands-on way and be there to answer their questions and queries as you go. It's also a good opportunity to ensure everyone understands what each thinlit piece is for, any hints and tricks and sometimes how to avoid common pitfalls when using the item in question.
Love What We Do, Share What We Love - Stampin' Up!'s Statement of the Heart is "To love what we do and share what we love, as we help others enjoy creativity and worthwhile accomplishments ... in this we make a difference". There are many ways as a demonstrator that this can be achieved and I'm someone who loves to share my projects in a variety of ways. I love the 'art' of blogging (I find it relaxing and in many ways a kind of free therapy!) and sharing my projects with you, but in the online world not everyone who reads my blog or sees my projects on Pinterest or other social media channels leaves feedback or a comment to say what they think. That's one of the things I love about face-to-face classes - the feedback is immediate and it is instantly gratifying to share my love of Stampin' Up! with those that attend my classes and see them leave at the end of a session having learned lots, made some beautiful things and be brimming with ideas of how they can use their Stampin' Up! purchases to bring them continued and lasting crafting pleasure. There's nothing quite like it!
I would love to see you at one of my classes and share my knowledge and experience of how to get the best from your Stampin' Up! products 'up close and personal'. You can see the current list here but do check back regularly for updates as new classes are added from time to time and will be updating shortly with a new set of classes featuring new items from the new 2017-18 Annual Stampin' Up! Catalogue.
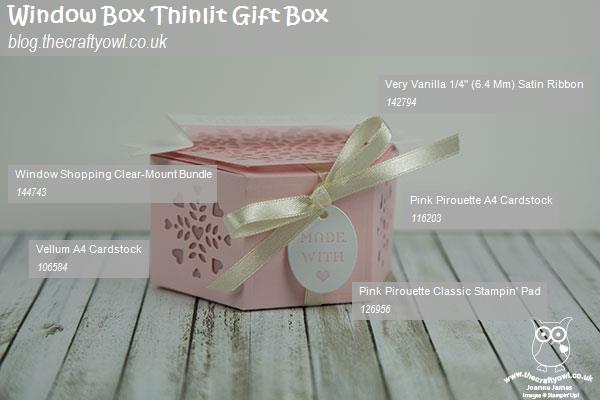
Here is the visual summary of the key products used on today's project for you to pin for easy reference:

You can see all of my 'How To' summaries on my 'How To - Tips and Techniques' Pinterest board in case you've missed any.
I'll be back tomorrow with another project. Until then, happy stampin'!
Stampin' Up! Supplies Used: