Let The Good Times Roll Extended Rollercoaster Card

by Joanne James30. April 2018 07:00
Happy Monday everyone! I have the first of this month's technique classes today so my day will be a busy one but I'm early with today's post - yay! I'm sharing a card for this week's challenge over at Freshly Made Sketches where Amy has the following sketch:

I needed a couple of birthday cards for young boys, so decided to break out my 'Let The Good Times Roll stamp set and create a fun rollercoaster scene - take a look:
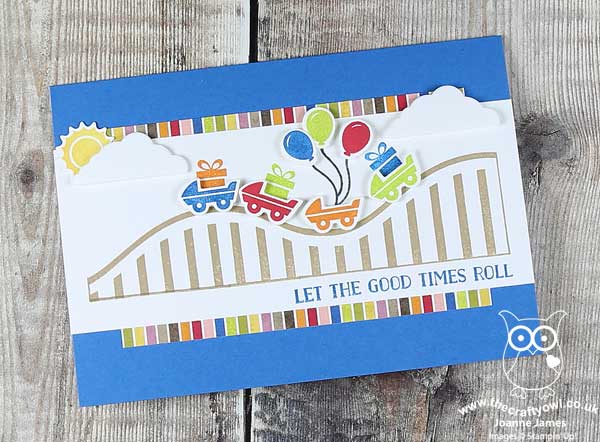
 

 Here's the low-down on today's card:

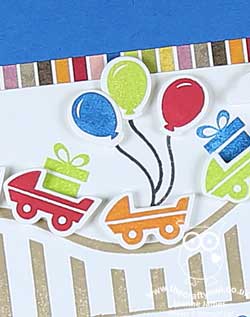
A Thrilling Ride - The wide central panel of Amy's sketch allows for lots of options and what could be better for a child's birthday card than a brightly coloured rollercoaster with presents and balloons? The space allowed me to create a fun little scene and whilst I haven't used the pop-up elements that make these thinlits unique, I did pop the rollercoaster and a couple of clouds up on dimensionals for a little extra lift. 

The Longest Rollercoaster EVER! - Having had the idea for my card, I wanted the rollercoaster to extend across the entire width of my cardfront, whereas the actual stamp covers only about two-thirds of the card. I overcame this by masking off the left edge and base, and then having stamped the rollercoaster stamp once in its entirety on the right-hand side, I inked it again and matched up the top of the largest curve with the left-hand edge to continue it across the page. I then drew in the closing edge and baseline with my Crumb Cake Stampin' Write marker. This sounds more complicated than it was to execute, especially as the stamp is photopolymer so easy to line up.

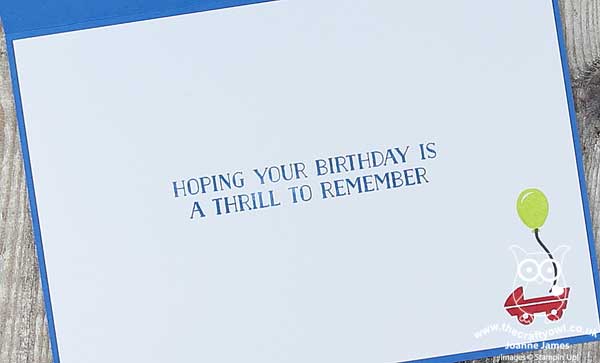
Birthday Memories Stripes - I used the rainbow stripes of the retiring Birthday Memories designer series paper for the background panel and as the inspiration for the bright colour scheme for the rest of my card, picking out 4 key colours for my rollercoaster. I also added a sentiment and another rollercoaster car complete with gift to the inside of my card too, just to finish off:
 

Here is the visual summary of the key products used on today's project for you to pin for easy reference:
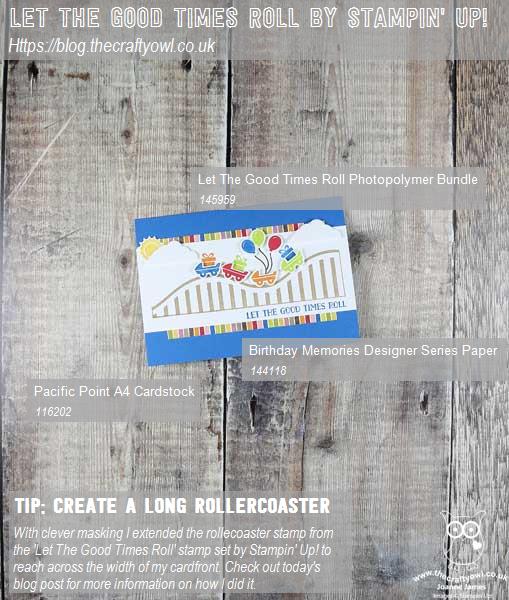
 

You can see all of my 'How To' summaries on my 'How To - Tips and Techniques' Pinterest board in case you've missed any. 

Enjoy your day and I'll be back tomorrow with another project and news of a fabulous new suite that is on early release from the new annual catalogue - exciting stuff! Until then, happy stampin'!


Stampin' Up! Supplies Used:

Table built using Product Table Builder by The Crafty Owl - Independent Stampin' Up! Demonstrator.

New Online Exclusives

There are new products available exclusively in the online store from 5 November - check them out here.

Latest Kits!

Stampin Cut and Emboss

The Layered Landscapes Kit and Nature's Paintings Kit are the latest kits in the online store - get yours here!

Shop Online

Access my online shop 24 x 7, 365 days of the year:

Current November hostess code:

9NKXDTTR

Shop Online

Mini Catalogue

BROWSE THE CATALOGUE

'Tis The Season - the new Stampin' Up! Mini Catalogue is here! For more details and to download your copy click here

Scrapbooking

Stampin' Up! has introduced a new range of 12x12" scrapbooking product and kit - the full range is now available to purchase online. To download a copy of the new digital Scrapbooking Catalogue click here.

2024-25 Annual Catalogue

BROWSE THE CATALOGUE

Click on the image to download your copy of the 2024-25 annual catalogue. For a full list of current SU! supplies, go to my online store. If you would like any help or advice, please drop me a line at joanne@thecraftyowl.co.uk or give me a call on 07773 421446 - I'd be happy to help.

Join My Team

It's always a great time to join Stampin’ Up! New team members can get £130 worth of products for only £99 + free business supplies + free shipping + all the fun being a part of Stampin’ Up! Stampin' Up! has something for everyone: join my growing team and benefit from my support to enjoy Stampin' Up! however you choose.

If you're interested, call me for a chat to understand how I can help you realise your goals. Alternatively, if you have already decided to sign up and you just can't wait, please click here for the link to the online form where you can sign up and order your starter kit right away! 

About Me

Hi I'm Joanne and live in Northampton and when I'm not looking after my husband and two beautiful children, am an avid crafter with a passion for all things Stampin' Up!

I must confess that I have never been a big rubber stamper - until I discovered Stampin' Up! that is. I love the fact that I can get such great results with co-ordinating stamps, inks, papers and punches - the possibilities are endless! Join me on my stamping journey as I share the things I love and be inspired to create amazing things yourself!

Follow Me

Monthly Newsletter

Box Builder

Click the button above to use Box Buster to create your custom box design using the Envelope Punch Board!

Kits Collection Now Available!

Stampin Cut and Emboss

The new Kits Collection from Stampin' Up! is now available!

Click here to see the current kits available and order yours online today.

I Design For


Stampin' Up Stuff

This is my personal blog and is not endorsed by Stampin’ Up! I hope you find it a plentiful source of ideas and personal inspiration but please don't copy my designs for contest submission or use for classes, publication or sale without express permission.