by Joanne James5. June 2014 21:30Today I'm doing one of those things that is somewhat dangerous if you're a cardmaking blogger and your intended recipients follow your blog - I'm blogging a card before I've sent it! So Barbara (affectionately known as 'Aunty Barbie' to Rebecca!) if you're reading this before Sunday - look away now!!!
Sandie's theme challenge over at The Paper Players this week is to create a card around the theme of love, weddings or anniversaries, and as I made a golden wedding anniversary card this week for a very special couple, I couldn't resist linking it up to share it. Here is my card:
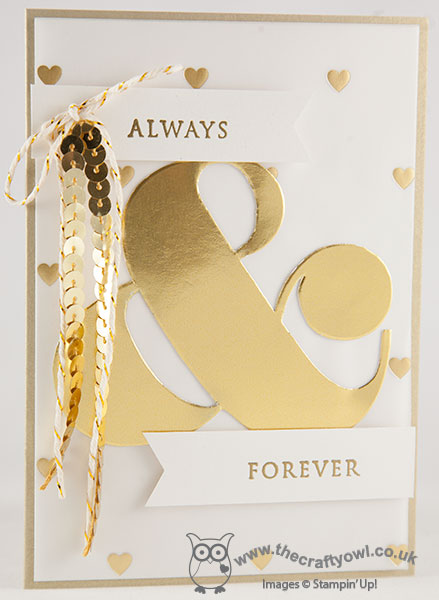
This card is a riot of gold products - 6 to be precise (or 7 if you count the gold Encore stamping inside, but that's mean because you can't see that!) Can you tell what they all are? I used Brushed Gold for my card base, then adhered a piece of Shimmer White cardstock to it, and a piece of gold Fancy Foil Designer Vellum to the top of that. I dry embossed the ampersand out of gold foil sheet and then fussy cut before adhering to my vellum top layer. I then made two flags out of Shimmer white card stock and heat embossed them with 'Always' and 'Forever' in gold embossing powder; these were both partial stamps from the 'This Day Forward' stamp set. I then popped the flags onto dimensionals and mounted them on opposing sides just touching the top and bottom of the ampersand. Lastly, I added a gold baker's twine bow and threaded this with a strand of gold sequins.
I think this card is just lovely - a fitting way to celebrate 50 years of marriage, which is some achievement in my book. Here's to Barbara and Bob and many more happy years together.
Back tomorrow with another card; until then, happy stampin'!
Stampin' Up! Supplies Used:
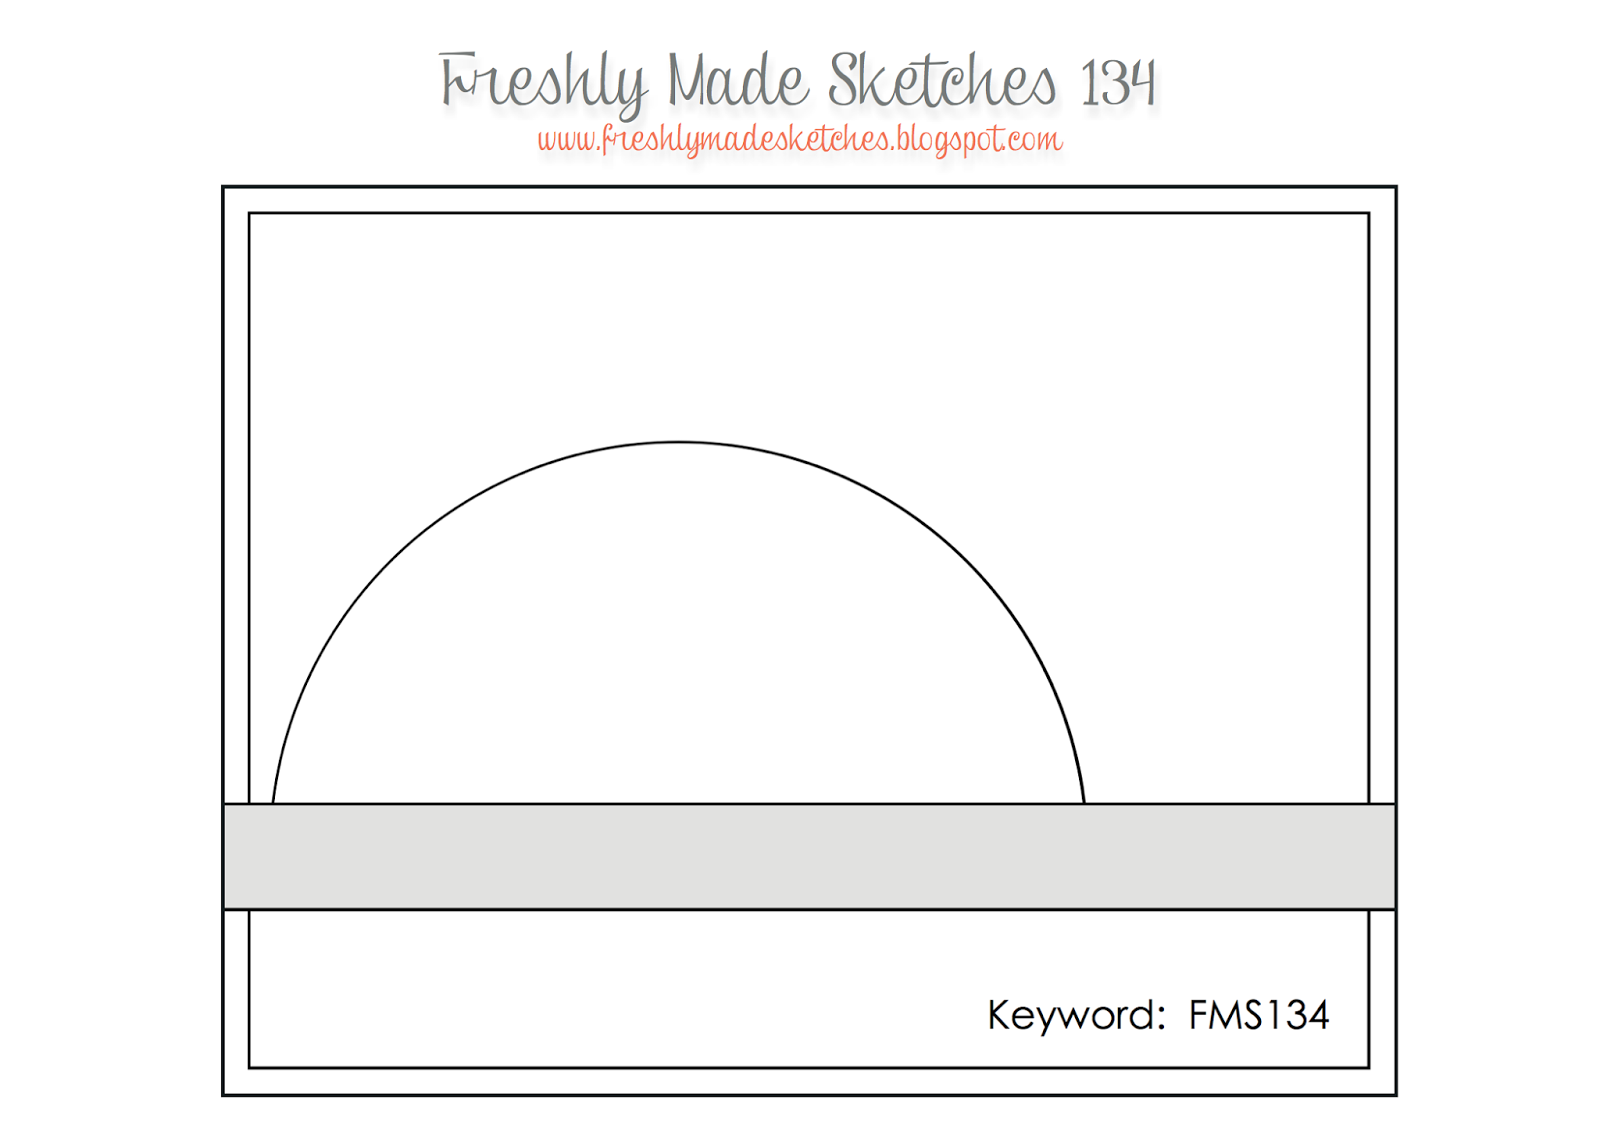
by Joanne James3. May 2014 21:56What a lovely day - the weather here in the UK today has been glorious! We went to a restaurant for family breakfast, I baked and I even managed to get a little gardening done today; all in all a great start to the Bank Holiday weekend. Today's card uses the sketch layout over at Freshly Made Sketches and the colour combination of clashing pinks and oranges over at Colour Q this week:
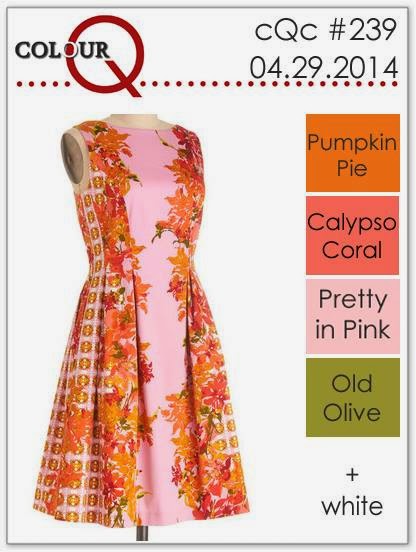
I based my card on the dress in the colour inspiration photo - here is my card:
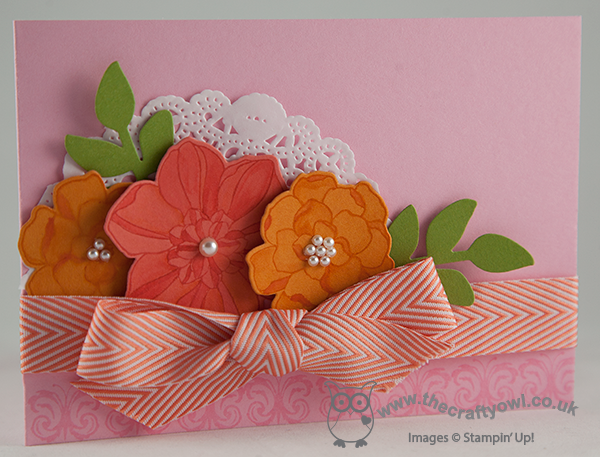
I used the retired Pretty in Pink for the card base and stamped a border across the bottom in the same colour using the butterfly from the 'This Day Forward' stamp set to add some background pattern. I used a doily semi-circle for shape and used a trio of flowers stamped from the Secret Garden stamp set and cut out with the co-ordinating framelits. I wanted to keep the flowers bold and bright, so I stamped them on the same colour cardstock and then used my aquapainter to wash more ink across the petals. I tucked in some Old Olive leaves behind and finished the flowers with some pearl centres and a Calypso Coral statement bow.
This card is much more feminine and girly than my usual style, but I like the way it turned out.
Back tomorrow with another card; until then, happy stampin'!
Stampin' Up! Supplies Used:
by Joanne James11. February 2014 09:58Good morning lovely blog readers! This morning's card is one I made as an acceptance card for a wedding invitation received recently. I actually had the stamp out on my desk for an alternative card which I will share with you tomorrow, when I decided it might work with this week's colour challenge combination at Pals Paper Arts:
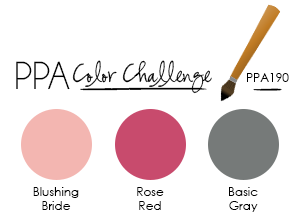
When I originally saw this colour combination I did immediately think 'Valentine' (well, it's that time of year, right?!) Truth is, I've made lots of Valentine's cards already this year and I just don't have that many Valentine's to send them to! Instead, this is what I came up with:
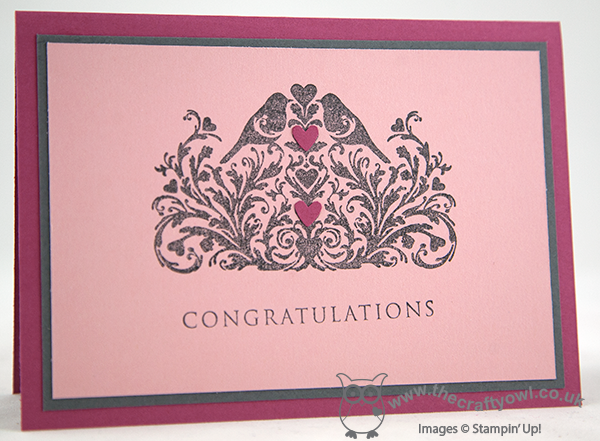
I decided to keep the design quite simple and stamped the image and sentiment in Basic Grey directly onto the Blushing Bride cardstock. I wasn't sure about this beforehand, but it looks so much nicer than on white, which left the image too stark. I quite like the slightly mottled effect of the stamping, which reminds me of stone, however this was more by accident than design - my Basic Grey inkpad is one of my few remaining old style pads and having used it to stamp a solid image, you can really see the difference when compared to the finish of the new foam pads. Needless to say, I have since ordered a new Basic Grey foam pad! I also stamped the image onto a scrap of Rose Red and cut out the two hearts with my paper snips and just paper pieced them in place - none of my myriad of heart punches, stamps or framelits were quite the right shape to take care of this for me. Worth it though, just to give a little 'pop' of colour and bring the colour scheme together.
I hope you like today's card; come back tomorrow to see an alternative card using this same stamp and don't forget to check out the folks over at Pals Paper Arts for more great ideas using this colour combination. Until then, happy stampin'!
Stampin' Up! Supplies Used: