by Joanne James5. July 2017 20:40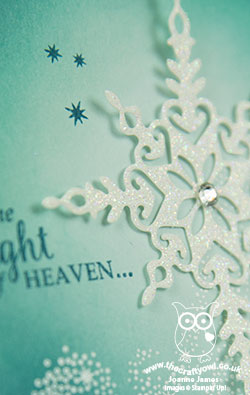
I'm having a busy week as the youngest of the James Juniors is on the last week of the school year this week so blogging is having to take something of a back seat whilst I get other work things in order and prepare for the long summer break! I did find time yesterday to make a card for a couple of challenges that I wanted to share with you today. Yes, another scorcher here in the UK today and I'm sharing a Christmas card! My original inspiration was this rather perplexing sketch over at CAS(E) This Sketch:


It's been swirling around in my creative subconscious for days and I was keen to play along as I love their sketches but when combined with this week's challenge over at Stamp Ink Paper I finally found my answer - take a look:
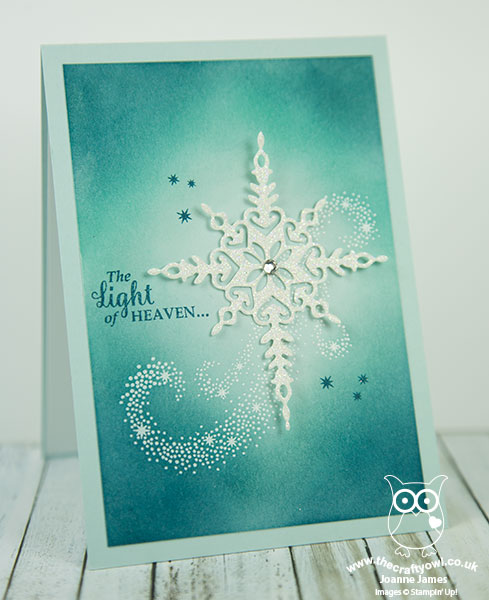
My 'Star of Light' stamp set to the rescue! This stamp set has to me one of my most-used Christmas sets last year and worth it for that fabulous swirl of trailing sparkle alone in my opinion. Some background sponging and a white glimmer star, cut using my Starlight Thinlits Dies, completes the picture. I even remembered to take a photograph of the inside to show you, so that you can see how the greeting follows on:
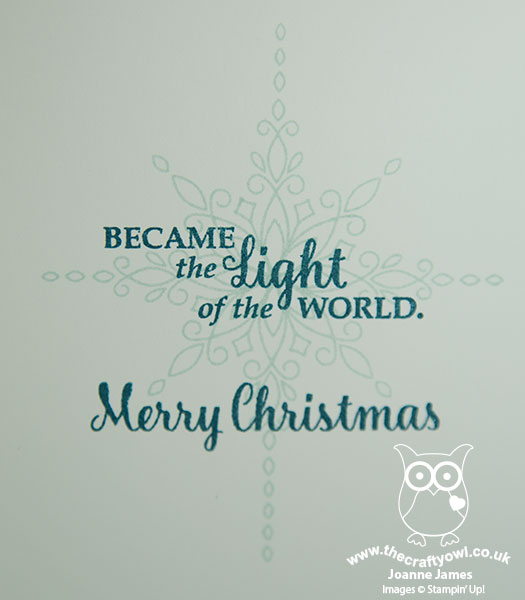
A card that took longer to execute than to explain, but I guess that's the beauty of the creative process! If you don't have this set, I can definitely recommend it; buy both the stamp set and co-ordinating thinlits this month and you will not only be able to get a head start on your Christmas cards, you'll get a £5 voucher to spend next month too!
Here is the visual summary of the key products used on today's project for you to pin for easy reference:
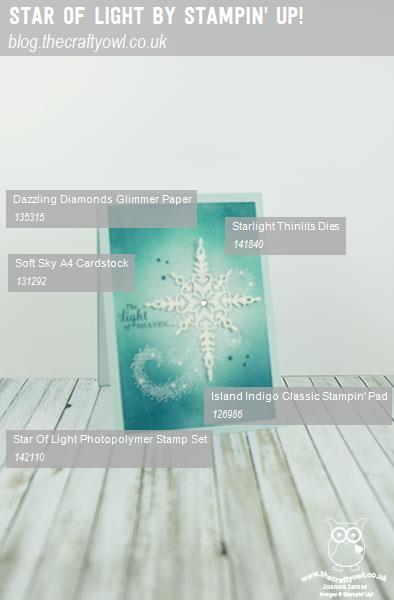
You can see all of my 'How To' summaries on my 'How To - Tips and Techniques' Pinterest board in case you've missed any.
I've a busy couple of days ahead but promise I'll be back soon with another project. Until then, happy stampin'!
Stampin' Up! Supplies Used:
by Joanne James21. September 2016 20:30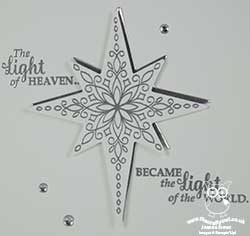
I've had a full-on craft day today - I love it when I get so much done and it's rare these days to have such a productive block of time. Time to share today's card with you which uses this week's sketch over at CAS(E) This Sketch:

I love a good sketch and this one intrigued me this week! I was looking at stamp sets with split sentiments and came across my Star of Light set which has a number of these and took it from there. Here's my card:
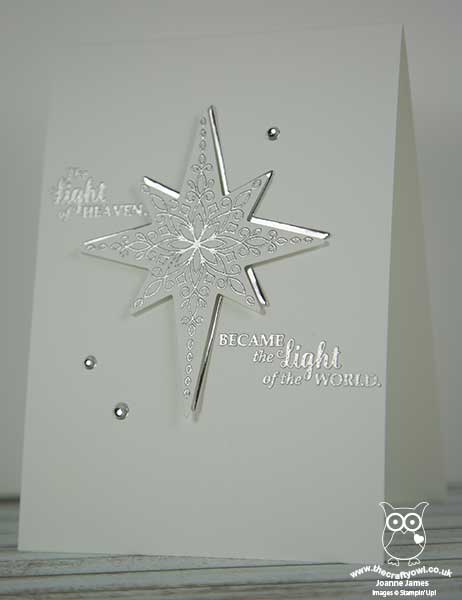
Here's the low-down on today's card:
The Light of The World - The Star of Light set has a number of paired sentiments, in addition to some single ones. I chose the one about the Light of Heaven becoming the Light of the World and positioned each part either side of my central star diecut.
Sparkle and Shine - I wanted to keep my card predominantly white and decided to heat emboss my central star in silver on white cardstock. I added a plain silver foil stat diecut behind, slightly offset, to create a 'shadow' and give more definition to the uppermost star.
Final Touches - This card is all-white and ultra CAS, however I couldn't resist adding a trio of silver metallic dots to my extra thick white cardstock base to balance my final design.
Here is the visual summary of the key products used on today's project for you to pin for easy reference:
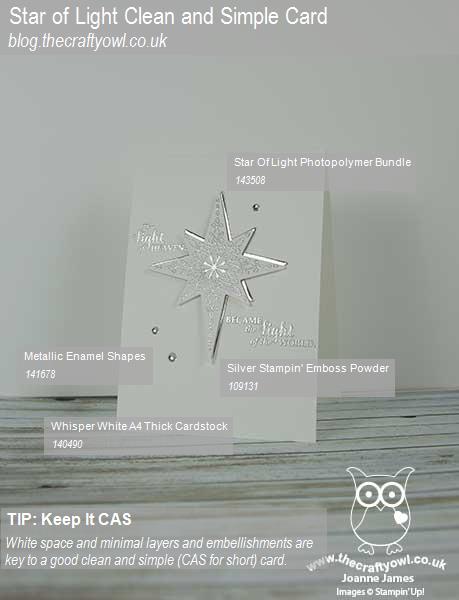
You can see all of my 'How To' summaries on my 'How To - Tips and Techniques' Pinterest board in case you've missed any.
Back tomorrow with this week's new challenge over at Create With Connie and Mary; until then, happy stampin'!
Stampin' Up! Supplies Used:
by Joanne James23. August 2016 15:33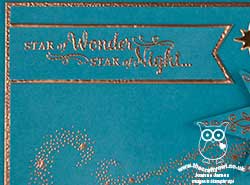
Happy Tuesday everyone! It's Christmas in the house today and I have another festive 'sneak peek' for you from the forthcoming Autumn-Winter catalogue using this week's sketch over at Just Add Ink:

Before I share my card, I'd just like to give the lovely ladies over at Just Add Ink a quick shout out for choosing my light-up firefly card as their top pick a couple of weeks ago (you can see that card here if you missed it) - thank you ladies! This week they have a sketch - and you all know how much I love a good sketch! I took this one fairly literally - take a look:
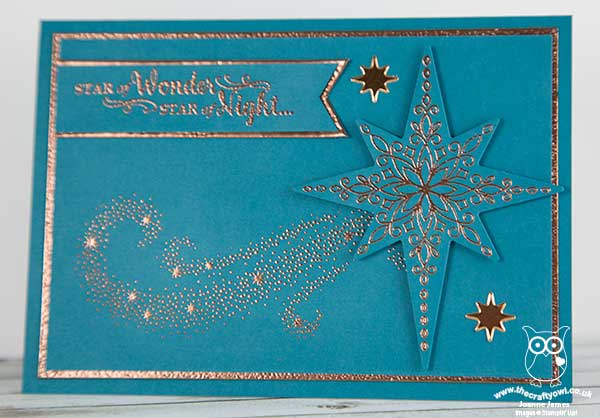
Here's the low-down on today's card:
Star of Light - The stamps used on today's card all come from the Star of Light set in the forthcoming autumn-winter catalogue. This is a set full of stars and some beautiful sentiments and sayings and the detail lends itself beautifully to a heat embossed finish. Just check out the intricate pattern on that large die cut star! I chose a simple colour combination of copper and Island Indigo for today's card - the two colours compliment each other beautifully.
Copper Foil - There's another new product on this card: the gorgeous new copper foil that I used to die cut a couple of stars from to compliment my larger stamped one. I used the co-ordinating Starlight Thinlit Dies and my Big Shot to cut out all of the stars on today's card; they are part of a 'bundle and save' offer with the Star of Light stamp set - bonus!
Textured Border - I could have used more of the copper foil for my mat layer, but instead decided I wanted more texture. I simply sponged the edge of my cardstock with Versamark and then heat embossed using copper embossing powder to give a textured finish, and did the same to the piece that backs my sentiment banner.
Isn't it lovely? All copper and sparkly!
Here is the visual summary of the key products used on today's project for you to pin for easy reference:
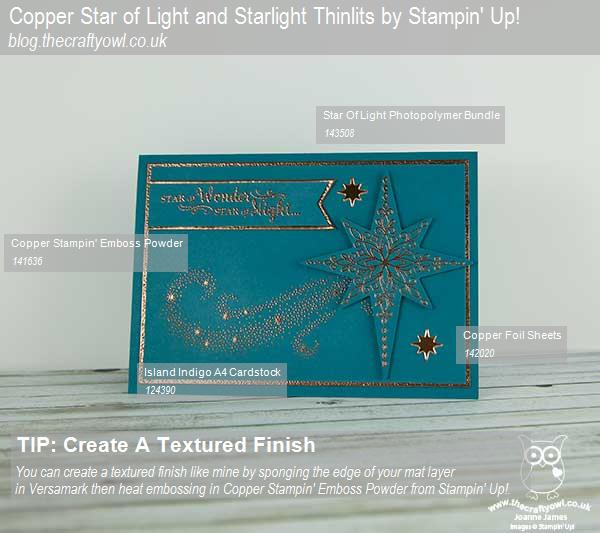
You can see all of my 'How To' summaries on my 'How To - Tips and Techniques' Pinterest board in case you've missed any.
I have a class scheduled featuring this set on 10th October; if you live in or around Northampton and would like to join me, please get in touch to book your place.
That's all from me today; back tomorrow with another Christmas card; until then, happy stampin'!
Stampin' Up! Supplies Used: