Today I have a fun card made with this week's TGIF Challenge in mind:

The theme is 'travel' and I didn't have to go far as I mused 'trains, planes and automobiles ...' to myself when considering my options for today's card; I knew right away it was time to break out the new products and try something fun - a spinner card! Take a look:

How much fun is that?! If you'd like to see a little video clip of my fun paper plane in action, click here to see the video I uploaded to my Facebook page. Forgive the wobble, I had the card in one hand and camera in the other!
Here's the low-down on today's card:
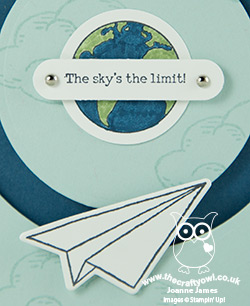
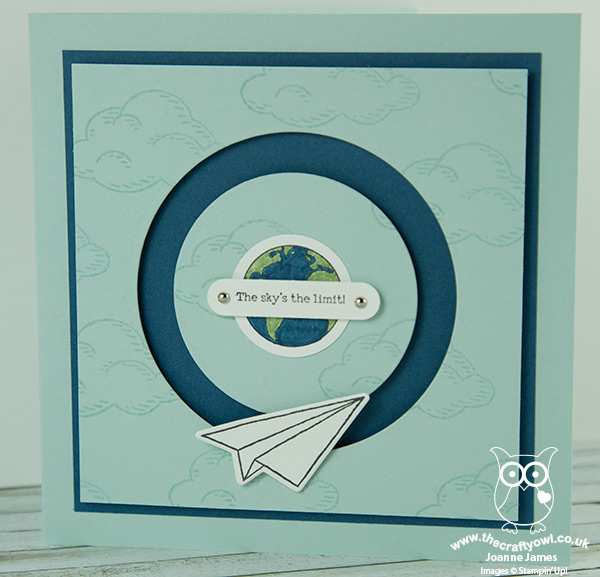
Time To Take Flight - The new Sliding Star Framelits Dies are just fantastic for making quick and easy spinner cards. They include two tracks (I've used the circular one here; the set includes a curved one too) that with the aid of a couple of washers or coins and some of the new thick adhesive foam strips, allow construction of a spinner card in no time at all. The framelits also include dies to cut out each of the shapes in the Shooting Star stamp set that make the spinners themselves (except for the globe, which co-ordinates with the 1 1/4" circle punch) so my paper aeroplane was ready to go in no time.
A Sprinkle of Clouds - To add subtle interest to my background, I added a little tone-on-tone stamping in Soft Sky using the cloud stamp from last year's RMHC stamp set 'Sprinkles of Life' that is still in the current catalogue. I stamped the panel before cutting the track so that my clouds align.
Celebrate Exam Success - In addition to the aeroplane and globe (coloured with my Stampin' Write markers), the 'Shooting Star' stamp set also comes with a handful of punny sentiments that co-ordinate with the shapes for a suitably-themed card. I decided to go with 'The sky's the limit!' as I thought this would be a perfect card to send to someone celebrating exam success and I know lots of people sitting GCSE exams this year so will be needing a few of these. I punched it with my now-retired word window punch, but the new Classic Label Punch would be a great alternative. I finished the ends with a couple of silver mini brads (also retired!).
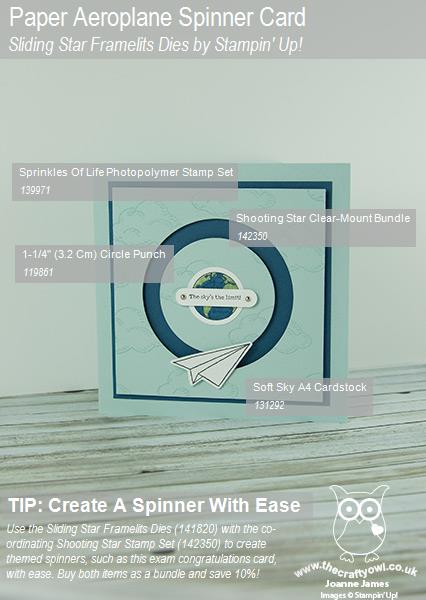
Here is the visual summary of the key products used on today's project for you to pin for easy reference:

You can see all of my 'How To' summaries on my 'How To - Tips and Techniques' Pinterest board in case you've missed any.
Lastly, here's a video from those lovely people at the Stampin' Up! Home Office to show you just how easy it is to create spinners using this versatile set:
The sun is shining and for once it looks like it might stay that way, for today at least! My youngest James Junior is spending a 'moving up' day at his new school followed by an appointment for fitting of a whole new uniform ready for September. I have lots of work to do today but am also looking forward to unpacking the rather large boxes that my UPS man delivered as I was typing this, containing my customer orders from my new catalogue open house - so an exciting day all round!
Enjoy your day and I'll be back tomorrow with another project; until then, happy stampin'!
Stampin' Up! Supplies Used: