by Joanne James22. October 2026 10:00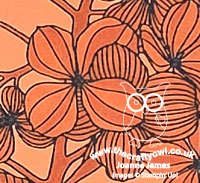
Today I'm sharing a card that was inspired by the navy blue and orange colour combination over at Color Dare:

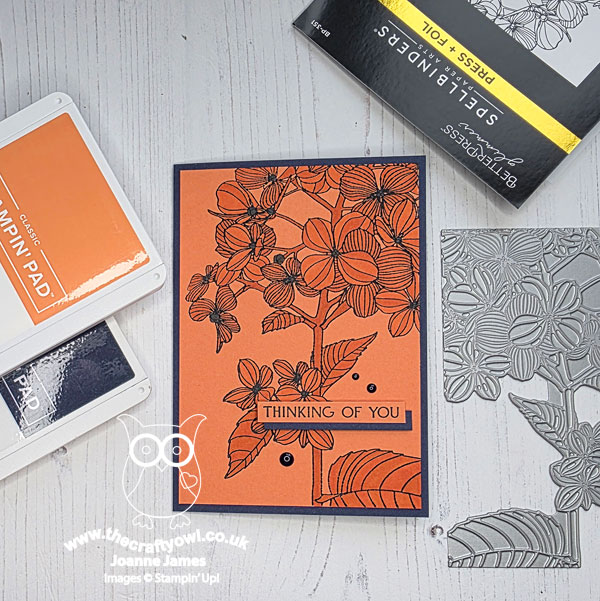
After yesterday's card I decided to see if I could use this colour combo to create something that was not Halloween inspired, so I went with florals and instead had another outing with my Spellbinders Press & Foil 'Thanks In Bloom' Die, this time using as a letterpress die along using ink, rather than foiling. Take a look at my finished card:
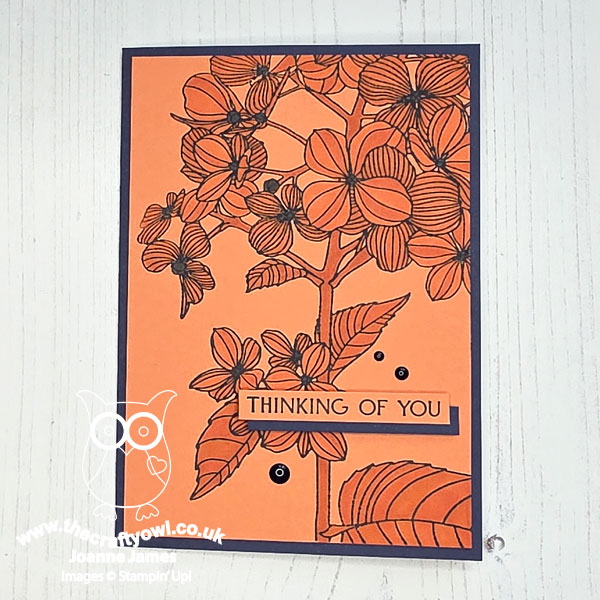
Here's the low-down on today's card:
I inked the plate with Night of Navy ink and pressed it directly onto a panel of Timid Tiger cardstock, then used a combination of Stampin' Blends in Timid Tiger and Pumpkin Pie to add a tone-on-tone inked effect to the stamped detail, colouring the flower centres and buds with a Night of Navy Blends marker:
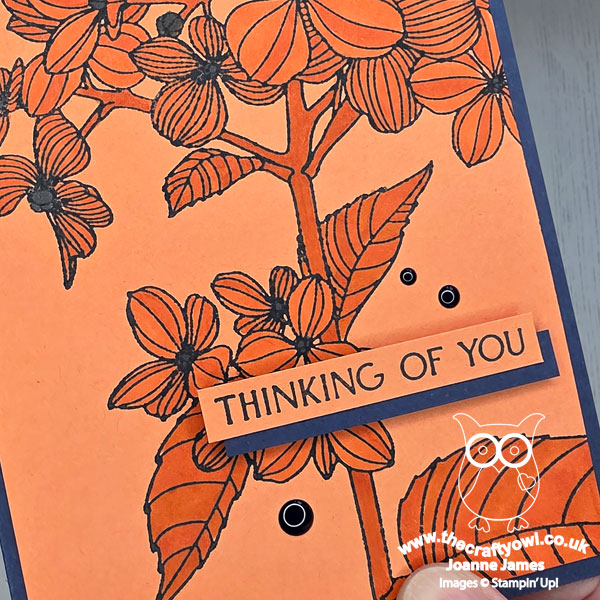
I added a 'thinking of you' sentiment that is also included in the set, with a piece of Navy beneath it to add some added definition and added the whole thing to a navy base. A trio of navy enamel dots complete my card. I considered colouring the leaves and stems in navy for added contrast agsinst the blooms, but decided against it having tried it on a scrap piece; the blue didn't look as sharp given that it was on orange cardstock, as opposed to white. This card does feature a lot of orange, which is not a colour I often feature in anything other than a rainbow or a Halloween card, but with the navy I quite like it!
Enjoy your day and I'll be back tomorrow with another project. Until then, happy stampin'!
Stampin' Up! Supplies Used:
by Joanne James19. October 2026 15:00
Happy Monday everyone! Today I'm sharing a card that I made using Jen T's great sketch over at Freshly Made Sketches:

I actually made this card a couple of days ago, but it's taken me until now to get around to sharing with you. Firstly, take a look at my card:

Here's the low-down on today's card:
This is a great layout from Jen that is wide open to interpretation. I kept things really simple though because I wanted to use it to showcase a new Press & Foil Glimmer plate that I got from Spellbinders called 'Thanks in Bloom'. Yes, I have joined the hot foil fan club! And for anyone reading this who is also slow to the party like me, be warned - it's addictive! I foiled my plate in gold onto a Melon Mambo card base (my favourite pink) - it's so exciting when you peel back the foil sheet and see the foiled image beneath. I also decided to foil my sentiment in gold onto pink so that it would blend in; I trimmed it and popped it up on dimensionals to complete my card:

I do have a bonus second card to share with you today; I used my reverse hot foil plate to add the negative image on the foil sheet to another piece of cardstock (this time I used Berry Burst) to make a second card from the same print and added the sentiment in the same place:

This one is even more tricky to photograph due to all of that shiny gold - you can see some of the detail (along with the reflection of my lamp!) in the close up below:

I'm not sure I will do this every time, as in the words of my dear husband it is a 'little bit too gold' I think, but it was fun to try it out for the first time.
Right, I'm racing off to the FMS gallery and then I need to get a little more organised with my remaining blog posts for the week!
Enjoy the rest of your day and I'll be back tomorrow with another project. Until then, happy stampin'!
Stampin' Up! Supplies Used:

by Joanne James30. September 2026 09:00
Today I'm sharing my second card for 'anything goes' Stencil Week over at Just Us Girls that is picking up the 'stencils only' option for my kid-themed card over at Just Add Ink:


My card today features pumpkins - which might seem an odd choice for a kid-themed card, but bear with me - all will make sense! So here's my card:

Here's the low-down on today's card:
I stencilled a panel of colourful pumpkins using the Spellbinders Colourful Pumpkins layering stencils; I took my colour inspiration from the Painted Patch designer paper, as I liked the mix of pinks, oranges and yellows with blues, which were ideal for the masculine recipient of my card. I didn't have an appropriate sentiment stamp, so created my own custom sentiment using the Simple Alphabet stamp set. I must confess I have a ton of alphabet stamp sets, with letters in various case, shapes and sizes but couldn't resist adding another to my collection - the letter size in this set is in between my existing sets, so offers more options. It was perfect to create a 'hey pumpkin!' greeting for the centre of my card:

This is a term of endearment I have used with the James Junior since he was small and still call him 'pumpkin' occasionally, so I know this card will be sure to raise a smile when he receives it as happy mail now that he is back at uni - he is still a big kid at heart! I deliberately staggered the letters so that the weren't straight (just thought I'd best put that out there, in case anyone thought I was having trouble with keeping a straight line!) as I wanted to add to the playful feel. A few Secret Sea enamel dots complete my card.
I love those pumpkin stencils - such a fun way to create a colourful background and would work in lots of colourways and it's always fun to create a custom sentiment - the Simple Alphabet set is great for cards but will be especially useful for scrapbooking too.
Here is the visual summary of the key products used on today's project for you to pin for easy reference:

You can see all of my 'How To' summaries on my 'How To - Tips and Techniques' Pinterest board in case you've missed any.
Enjoy your day and I'll be back tomorrow with another project. Until then, happy stampin'!
Stampin' Up! Supplies Used:

by Joanne James13. September 2026 08:00
Today it's Sunday and time for this week's new challenge over at The Paper Players! It's the turn of the fabulous LeAnne to host this week and she has a warm, seasonal colour challenge for us to work with:


Lots of my teamies chose to go with leafy fall creations this week and I'll be honest, I considered it ... but I had some new goodies that I had yet to play with that were not leafy in the slightest that I thought would be perfect for these colours, so I grabbed the sketch over at Atlantic Hearts Sketch Challenge and set to work! Take a look at what I came up with:

Here's the low-down on today's card:
Yes, today it's all about the pasta! I totally blame my fellow teamie Jaydee for today's card; she has made some fabulous cards with a whole bunch of pasta-themed sets from both Spellbinders and Concord & 9th in recent months and I finally decided that I just had to have them too - so into my shopping basket they went! Today I used everything from Spellbinders: the little animated pasta shapes in the Pasta Friends Dies are so cute but the star of the show is most definitely the Al Dente embossing folder that I used for my background - the dimension is amazing! I blended all three challenge colours onto my panel before embossing it - just look at all those pasta shapes:

The 'Stay Saucy' stamp set is full of hilarious punny, pasta-based sentiments - perfect for the 'J is for Just Kidding' challenge over at The Alphabet Challenge Blog where I'm also linking up - and to align with the sketch, I added a (retired) thanks die (Amazing Thanks Dies) from Stampin' Up! to my sentiment for added impact. I'm not sure I've got the face on my pasta bow quite right (I think in hindsight the dots were cheeks and mouth instead of eyes and mouth) but this card just makes me smile - and those colours are perfect for a touch of saucy, cheesy pasta goodness!
Before you reach for your ink and papers, check out what our amazing team has created to inspire you this week:
The Paper Players Design Team
Here's a quick recap of our challenge rules:
1. Create a new paper project
2. Upload your creation to your blog with a link back to us and provide a direct link to the post featuring your challenge submission.
3. Please link your card to no more than four challenges, TOTAL.
4. Have FUN!
Enjoy your day; I am having a quiet weekend, trying to get over my jetlag, as I spent my birthday week in New York doing all things touristy and having a fab time. So much has changed since I was last there some 26 years ago so it was great to experience it all. This time I took James Junior with me as my travelling companion and we had a ball! Unfortunately the hubby was in China on business, so not able to join us. Today will be the first time we've all been together in over a week so it will be fun to swap stories on what we've all been up to! I'll be back in the next couple of days with another project. Until then, happy stampin'!

185def7d-baa6-4a10-ad2f-869d17afa3d0|0|.0|96d5b379-7e1d-4dac-a6ba-1e50db561b04
Tags: Shop Stampin' Up! Online, Stamping Shop Stampin' Up online, Shop online, Stampin' Up, Stampin' Up Card ideas, Stampin' Up Supplies, Stampin' Up Card, The Paper Players, Al Dente Embossing Folder, Pasta Friends Dies, Stay Saucy, Spellbinders
Cards | Stamping