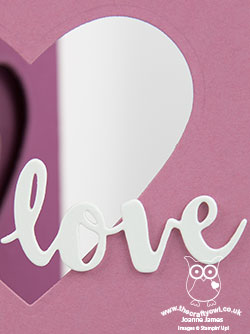
This is my second card for today (you can see my first one here if you missed it). Today's card uses Cecile's sketch over at Freshly Made Sketches:

Before I share my card, I would like to take a moment to give a quick shout to Amy on the FMS team for choosing my card in last week's challenge as her pick for the 'Princess of Clean' (you can see that card here) - thanks Amy, so great to be recognised! This week's sketch was perfect for an idea I had in mind following a crafty conversation with one of my customers recently. Here's my card completely flat:
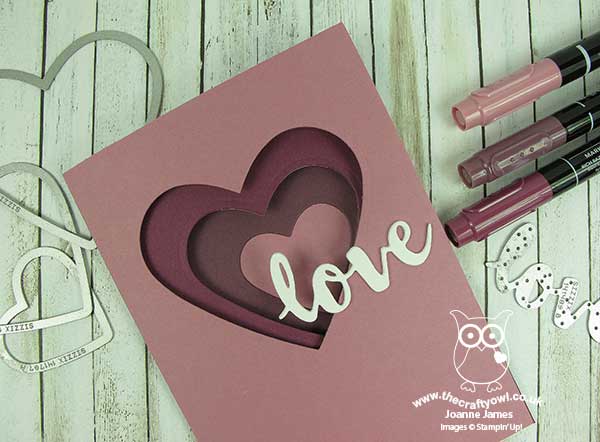
This is not how I normally photograph my cards, but is necessary for you to properly see the similarity to the sketch because this is what it looks like when stood up - because it's a trifold card!
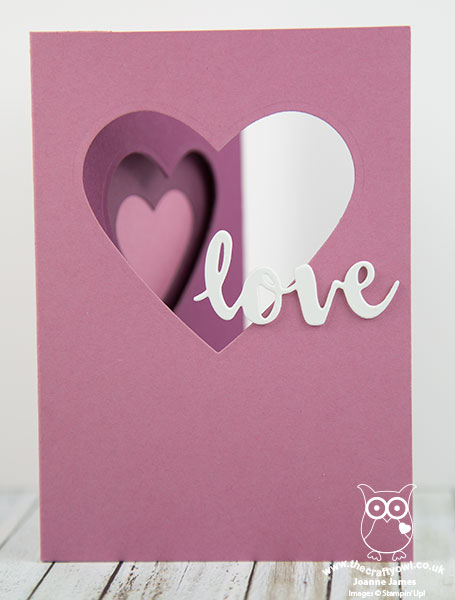
Here's the low-down on today's card:
Ways With Nesting Dies - I had a recent conversation with a lovely customer of mine (hello Gill!) who shared with me a trifold card featuring a diamond aperture. I had been thinking about ways to use my range of Stampin' Up!'s shaped layering dies to create a similar effect when Cecile's sketch this week provided me with the perfect opportunity. Whatever your shape of choice, you can either layer them centrally or as I've done here to remian faithful to the sketch by offsetting them slightly, which I personally really like. This card is really simple to create once you've worked out the measurements: for the base, you need a piece of cardstock measuring 14.9cm (5 3/4") by 29.7cm (11 3/4") and scored on the long side at 10.5cm (4") and 21cm (8"), with 3 additional panels (one white) measuring 14.9cm (5 3/4") x 10.2cm (3 7/8"). Here are some other shots to show you what the card looks like when opened:
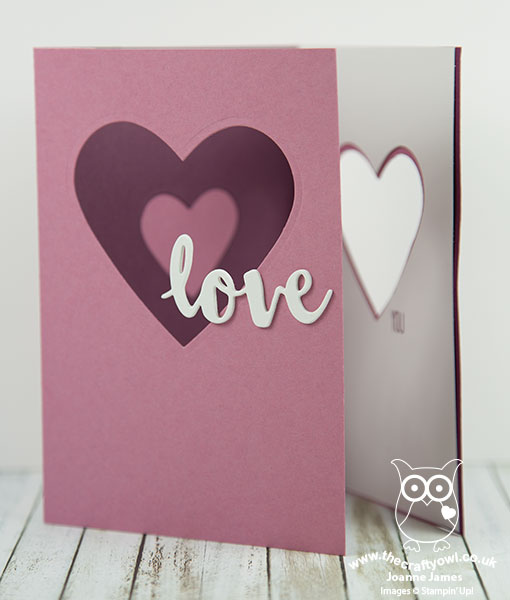
And this one completely opened:
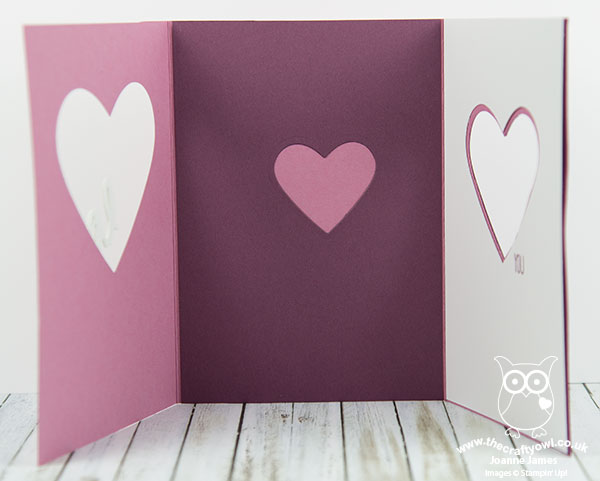
Apertures are created in the outer flaps and the piece that lines the middle section, and the white lining piece, so that each layer of colour can be seen.
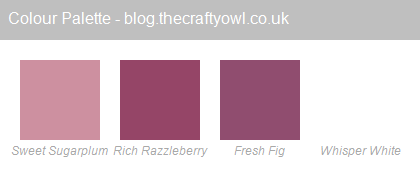
A Purple Trio - I decided to go with purples as opposed to pinks for today's card - I think I've overdosed on Flirty Flamingo of late! - and kept my card pattern-free in order that the diecuts would have maximum impact. Here's my ombre colour palette should you wish to use it on your future projects:
Love And Sunshine Wishes - I finished my card with another diecut, the love from the Sunshine Wishes thinlits set, in white. I cut it from extra thick Whisper White three times, having first added some multipurpose adhesive sheets to the back of the top two pieces of cardstock, for mess-free adhesion - love these! I wanted it to be a little more sturdy as it was only attached to the cardbase on one side. There almost wasn't any stamping - I did add a 'you' on my white panel from Sunshine Sayings, but if you don't have this set or something similar I think it would work fine without.
I actually really like this card and can see me making a few more using different shapes for other occasions, so thank you Cecile and Gill for the inspiration!
Here is the visual summary of the key products used on today's project for you to pin for easy reference:
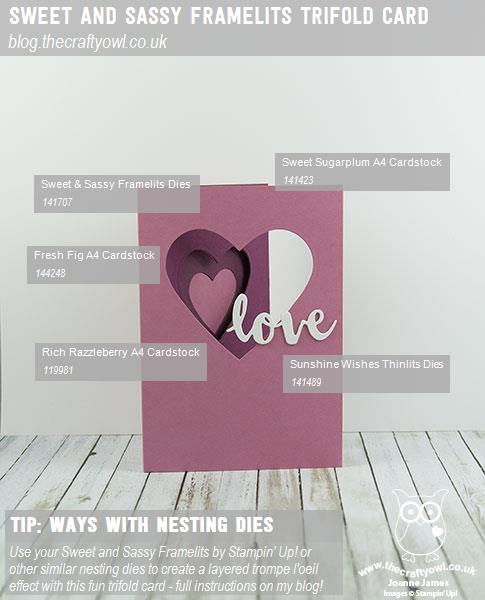
You can see all of my 'How To' summaries on my 'How To - Tips and Techniques' Pinterest board in case you've missed any.
Enjoy your day. It's hot, hot, hot here in the UK so I am enjoying the nice weather from the confines of my office as I prepare for the first of this month's technique classes tomorrow. I'll be back tomorrow with another project. Until then, happy stampin'!
Stampin' Up! Supplies Used: