by Joanne James6. July 2016 07:00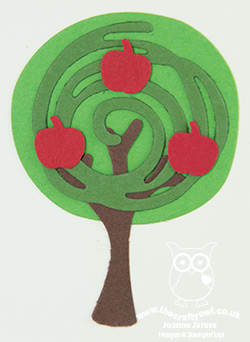
Happy hump day one and all! Today as promised I have this year's teacher thank you cards to share with you. Both of the James Juniors are moving schools at the end of this term so it feels like there are even more people to thank thank usual. Coupled with the fact that terms ends this week and we have all had packed social calendars, a seriously CAS card capable of mass production was the order of the day! Those of you that follow my blog will know that I generally like to send school thank you cards that are school/teacher themed, so they will often feature school imagery or apples - I don't know if it's just me, but I still think that the 'apple for a teacher' thing holds true!
Here is my final design:
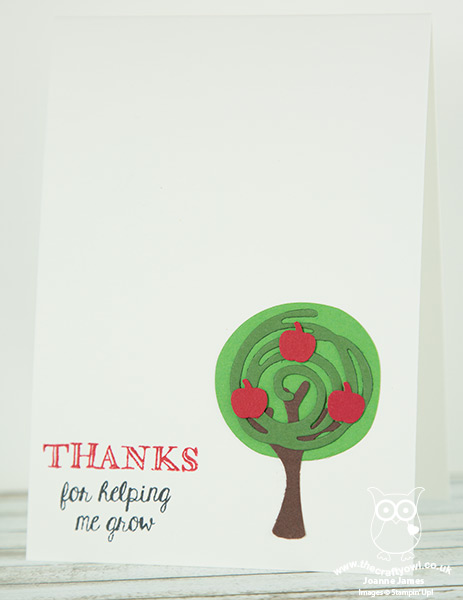
Here's the low-down on today's card:
Clean and Simple - This card is literally all about the white space! I used Whisper White Extra Thick cardstock for my base and used one simple image - the apple tree - alongside my sentiment to serve as a focal point. I added Cucumber Crush thick baker's twine to one of the cards, but didn't add it to the remainder as it was too much for my ultra clean and simple look.
Swirly Scribbles Meets Tree Builder - I could have created my tree using the Tree Builder Punch in its entirety, but I love the stylised look you get when you switch out the leaves for a Swirly Scribble diecut. I actually used two pieces from the this framelit set: the round Cucumber Crush circle is the inner piece from the large swirly scribble, and the darker Garden Green is the smaller swirly scribble die cut. So don't throw away those middles of the larger scribbles diecut - they have their uses too!
Helping Me Grow - My two-tone sentiment comes from the 'Helping Me Grow' stamp set, which as much as I love the flowers in this set, I must confess I bought it for this sentiment primarily; is there anything more fitting to put on a teacher appreciation card?
Here is the visual summary of the key products used on today's project for you to pin for easy reference:
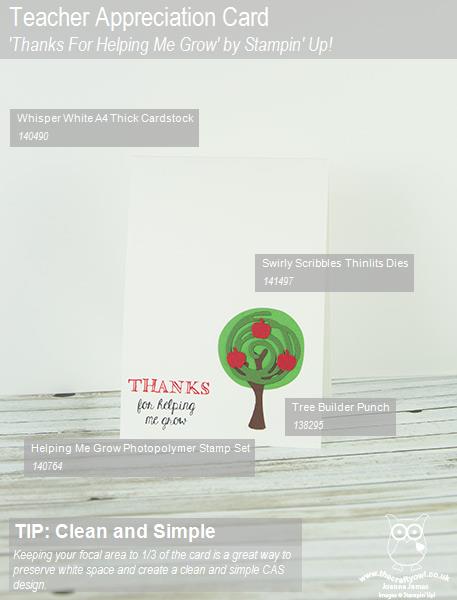
You can see all of my 'How To' summaries on my 'How To - Tips and Techniques' Pinterest board in case you've missed any.
I'll be back tomorrow with another project for this week's new challenge over at Create With Connie and Mary; until then, happy stampin'!
Stampin' Up! Supplies Used:
by Joanne James31. March 2016 08:05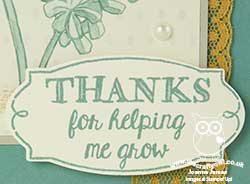
Today it's time for a new challenge over at Create With Connie and Mary and this week we have a colour combination for you:
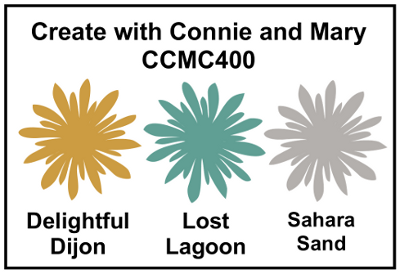
Ok - so I'll be honest upfront: I'm not a fan of Delightful Dijon! Actually, I'm sure I've declared this to my regular readers before and I can honestly say I've only used it once on a card where I really loved the output (funnily enough a previous CCMC colour challenge - you can see that card here). I have therefore mixed feelings about today's card - and it's really the presence of the mustard that's the reason! So, here is today's creation:
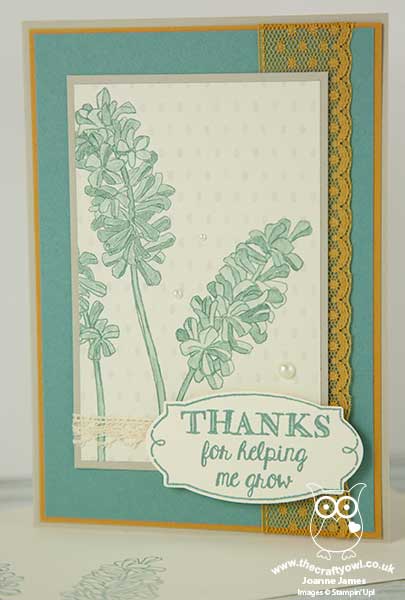
The details for today's card are as follows:
Helping Me Grow - This is a stamp set you haven't seen me use before and there is good reason for that - I don't own it! I actually bought it as a Christmas gift for my mother-in-law, borrowed it back for an idea I had that I then didn't get to try out a few weeks ago but knew it would be just perfect for today's card. The large, over-size blooms in this set are perfect for a centre-piece of their very own; I stamped them in Lost Lagoon and used my Aquapainter to colour them in with the same colour for a soft, washed look. So thank you Kathy!
Timeless Elegance - If you look really closely, you will see that there is a subtle pattern to the paper I used for my main stamped image. The Timeless Elegance designer series paper has Sahara Sand as one of its feature colours; it adds interest to my floral panel without overwhelming the stamped image and fits with the challenge colours.
The Perfect Label - The sentiment on my card is also from the 'Helping Me Grow' stamp set. There are some great sentiment combinations that can be made with this set; there are also a number of nice corner or border treatments, including the one I used on this card. What's more, the sentiment border is the perfect fit for the framelit in the Rose Garden Thinlits Dies set - bonus!
So that's my card - not-so-Delightful Dijon and all!
Here is the visual summary of the key products used on today's project for you to pin for easy reference:
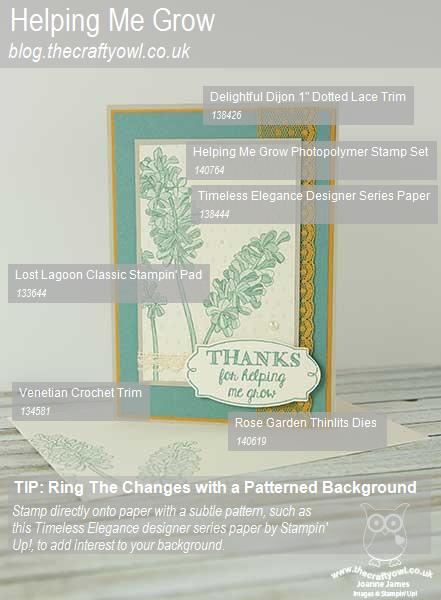
You can see all of my 'How To' summaries on my 'How To - Tips and Techniques' Pinterest board in case you've missed any.
Do visit the other Design Team members to see what they did with this week's colours; there's lots of inspiration over on their blogs too!
Enjoy your day and I'll be back tomorrow with another project; until then, happy stampin'!
Stampin' Up! Supplies Used:
- Helping Me Grow Photopolymer Stamp Set
- Rose Garden Thinlits Dies
- Timeless Elegance Designer Series Paper
- Delightful Dijon A4 Cardstock
- Delightful Dijon 1" Dotted Lace Trim
- Lost Lagoon Classic Stampin' Pad
- Lost Lagoon A4 Cardstock
- Very Vanilla A4 Cardstock
- Sahara Sand A4 Cardstock
- Pearl Basic Jewels
- Venetian Crochet Trim