by Joanne James3. March 2014 22:26Good evening readers! Another busy day today with my first class of the month. The ladies in today's class made some great cards using their Happenings Simply Created Card Kits - pop by my Facebook page tomorrow if you would like to see what they created as I will be uploading some photos of their work.
Meanwhile, I promised you a special second blog post today that showed you how to make a box that can be used to hold four of the notelets created from part of the Happenings Simply Created Card Kit - so here it is! I've shot a few videos previously using the Envelope Punch Board, however this is the first box video. The reason I'm excited to share this particular video with you though is that I used a new tool of mine - Box Buster from The Crafty Owl - to work out the dimensions for my box and it was SO easy!!
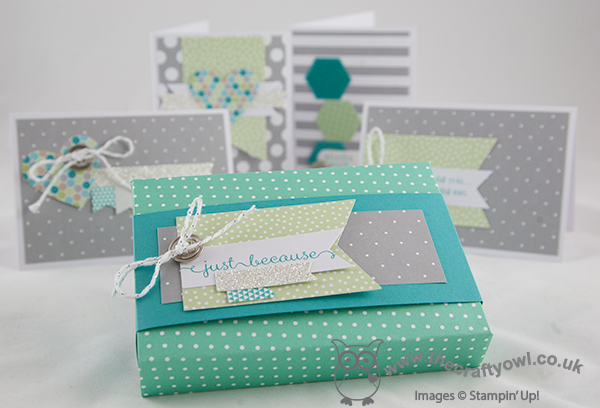
For any of you that have made boxes using your Envelope Punch Board previously, you will know that the trickiest thing is working out where to make your first and second punches in order to create a box of the correct dimensions. It's easy for a square-based box, as the dimensions simply need to be divisible by 3, but what about when you want to create rectangular boxes of different heights, widths and depths? Following many templates and a considerable amount of test paper, I have developed a tool that means you can input your three chosen dimensions, in either millimetres or inches, and the Box Buster will calculate the size of the paper that you require and where you need to make both your first and second punches.
Watch the video to see just how easy it is to use (you will need to make a volume adjustment for sound during the middle section of the video; the section that shows the Box Buster in action uses different recording software to my usual video recordings and the sound volume settings are not only different but I've been unable to edit post-production - I do now know for next time though!):
You can find Box Buster from The Crafty Owl on my website here or via the permanent link on the right hand side of my blog page. Box Buster is a free tool and will be permanently available for anyone to use - why not visit the page now and add it to your 'favourites' so that you can access it quickly and easily the next time you need to make a box using your Stampin' Up! Envelope Punch Board? Whilst you're there, why not also check out the Product Table Builder from The Crafty Owl - a great tool if you are a Stampin' Up! demonstrator with an online store. And if you haven't already got an Envelope Punch Board, what are you waiting for? Click on the link at the bottom of today's post and purchase one from my online store today!
I'll be making more video tutorials this week showing you how easy it is to make boxes in a variety of different shapes and sizes, in both metric and imperial measurements, using Box Buster from The Crafty Owl and The Stampin' Up! Envelope Punch Board; do come back and check them out or subscribe to my YouTube channel.
Back tomorrow with another project; until then, happy stampin'!
Stampin' Up! Supplies Used:
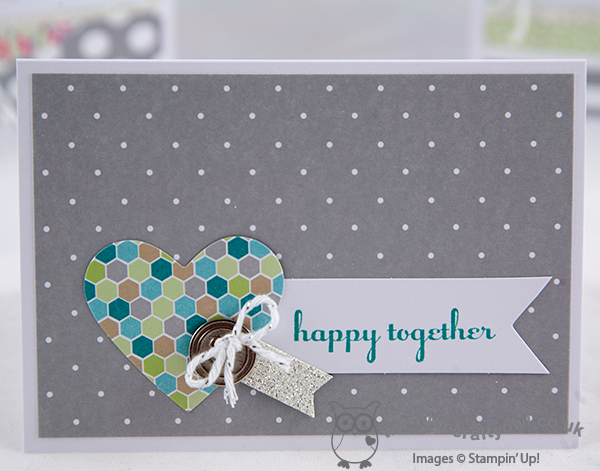
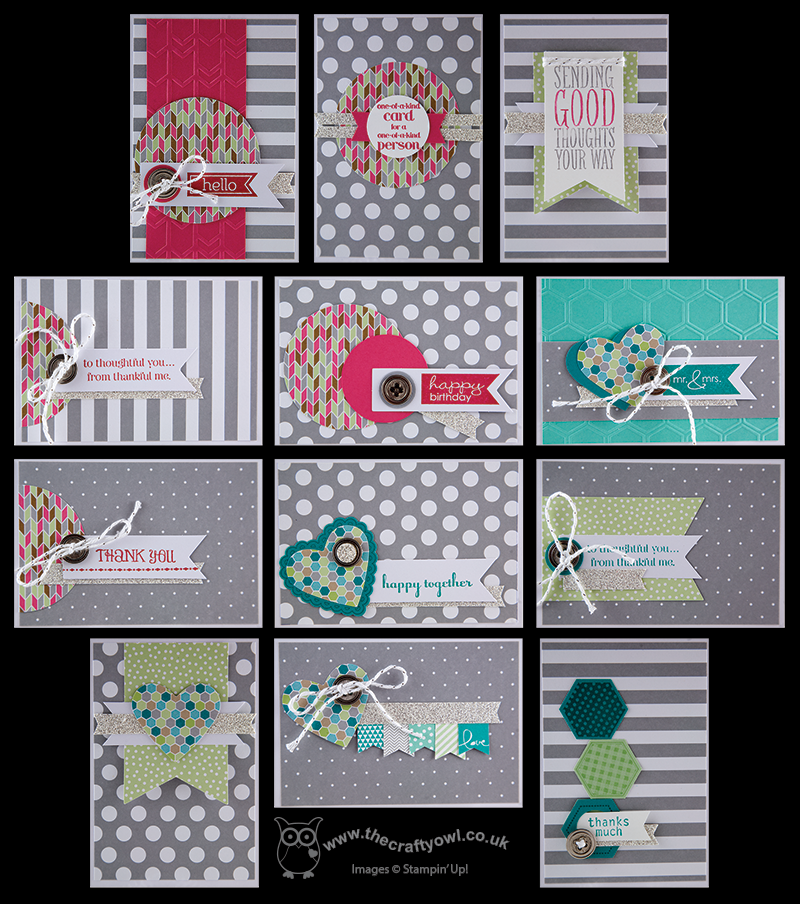
by Joanne James2. March 2014 20:59Today I'm sharing some of the cards I made using the Happenings Simply Created Card Kit that features in the Spring-Summer catalogue. The kit contains everything you need to make 15 cards, including envelopes and costs just £13.50 - that equates to 90p per card, which is great value for a hand-finished card. It doesn't include inks or stamps - you can use the 'Says it All' set suggested in the catalogue, or you can use whatever sentiment sets you already own. I used a selection of stamps on my cards, and added in a few additional items on a few of them too. So here's my first card, which is made up following the basic design that is included with the kit:
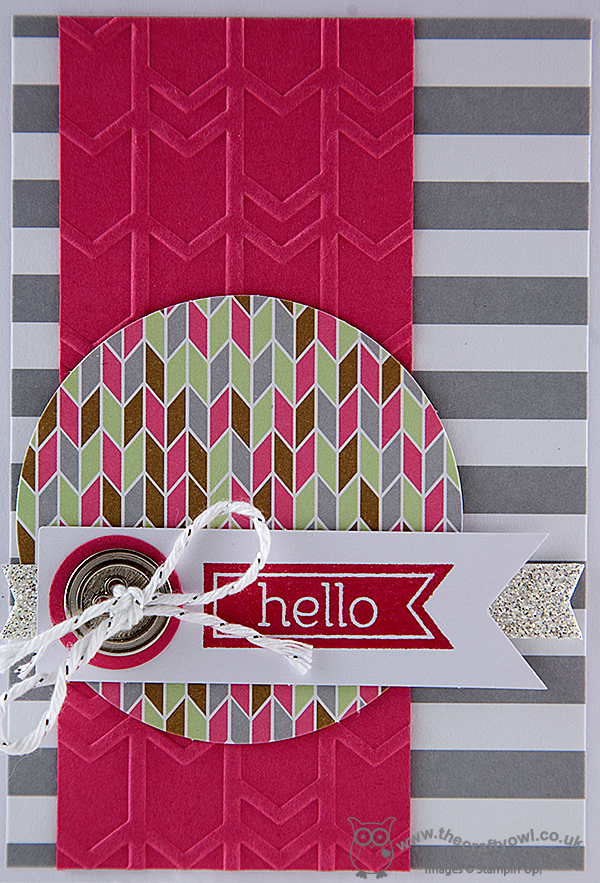
I then added in some co-ordinating accessories just to change things up a little on some of my cards - I created some embossed sections using the new Arrows embossing folder and the Hexagon embossing folder:
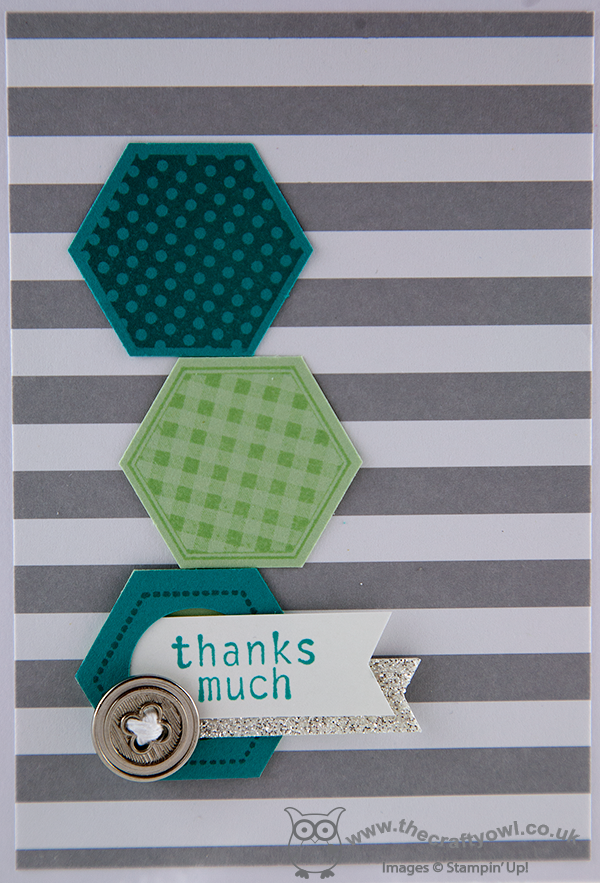
I also used some punches to create shapes that mirrored the patterns of the die-cut accents to add some interest:
These kits would be great for a beginner or someone who hasn't stamped before, as a gift for someone or even just when time is short and you want to create a whole bunch of cards in one go, but that can be varied such that each is unique. If you would like to buy the Happenings Simply Created Kit or any of the other items I've used on my cards, just click on the links in the table below to go straight to my online store or give me a call if you're local to me and I can place the order for you. We are using these kits in my classes this week and I can't wait to see what my ladies will come up with. I managed to decorate all of cards and still have some embellishments left over to decorate a gift box to hold some of the cards I made - come back tomorrow to see a video tutorial showing how I made it using a new tool that I'm sure you will find useful!
Until then, happy stampin'!
Stampin' Up! Supplies Used:
55c42721-365a-4b1a-9ef6-8b270ecab48e|0|.0|96d5b379-7e1d-4dac-a6ba-1e50db561b04
Tags: Arrows TIEF, circle punch, Classes, Hexagon Embossing Folder, Hexagon Punch, Shop online, Stampin' Up, Stampin' Up Card, Stampin' Up Card ideas, Stampin' Up Supplies, Happenings Simply Created Card Kit, Honeycomb Embossing Folder
Cards | Classes | Stamping