by Joanne James24. April 2019 21:00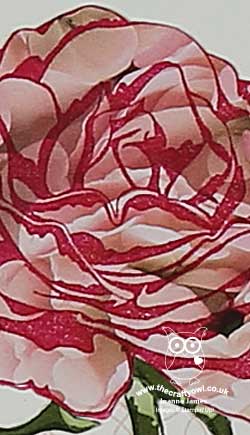
I'm not sure how Monday turned into Wednesday, but sometimes that's just how it goes! So a quick share today with my second paper-pieced card that I originally made for our challenge over at The Paper Players this week: clean an simple paper piecing. I am totally 'on the fence' about this card - it didn't look as good as it did in my mind, so I ended up making another one for the challenge, but thought I'd share with you as I'd love to hear what you think. So here is my card:
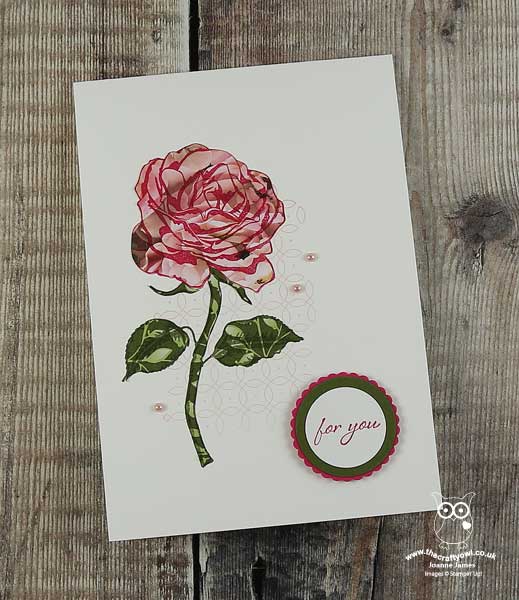
This card used the retiring Graceful Garden stamp set and features a rose that I more often have coloured rather than paper-pieced, but I wondered what it would look like in some rose-patterned paper. I used one of the beautiful pink rose designs from the Petal Promenade pack for the flower and some Floral Romance paper for the stem. A little background stamped detail, a few artisan pearls and a sentiment finish my card. So what do you think - does it work? I really would welcome your thoughts on this one!
Here is the visual summary of the key products used on today's project for you to pin for easy reference:
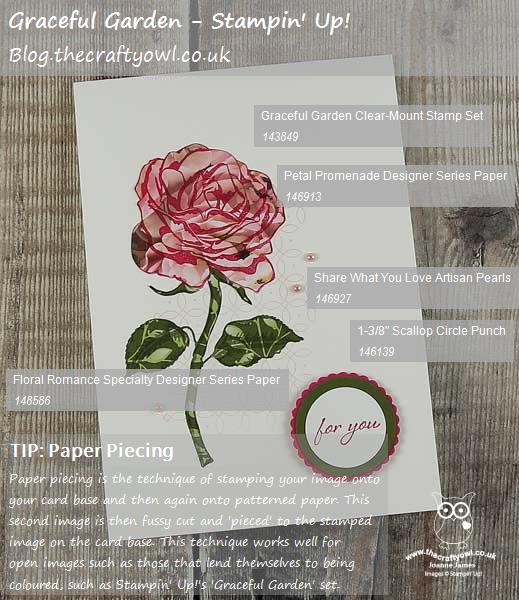
You can see all of my 'How To' summaries on my 'How To - Tips and Techniques' Pinterest board in case you've missed any.
Enjoy your evening and I'll hopefully be back tomorrow with another project. Until then, happy stampin'!
Stampin' Up! Supplies Used:
1ecdd571-cf24-43ef-9560-40c5ce790b5b|0|.0|96d5b379-7e1d-4dac-a6ba-1e50db561b04
Tags: Clean and Simple, Graceful Garden, Petal Promenade, Floral Romance, Stampin' Up, Stampin' Up Card, Stampin' Up Card ideas, Shop online, Shop Stampin' Up online, Shop Stampin' Up! Online, Retiring Lists, retiring stamps
Cards | Shop Online | Shop Stampin' Up! Online | Stamping
by Joanne James22. February 2019 20:15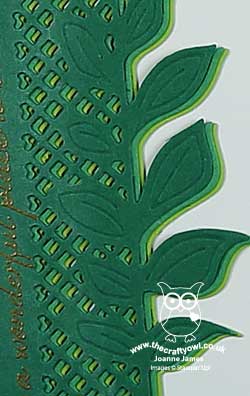
It's Friday and almost time for the weekend! My week has been a fun one with the children home for a change and a slightly less frantic pace than usual, which is nice. I haven't had much time to get in my craft room but did manage to create a couple of quick cards yesterday whilst simultaneously coaching Rebecca through her Music Theory in readiness for her Grade 4 exam in a couple of week's time. Today I'm sharing one of those cards with a technique I've been wanting to have a go at that is perfect for the current challenge over at StampsInkPaper who, like us over at The Paper Players for our clean and simple challenge, also chose to have 'monochromatic' as their theme this week:

Having watched this video by the uber-talented Jennifer McGuire a few weeks ago, I was keen to have a go at a card using the same technique and the border die from the Wonderful Floral Framelit Dies set. This is what I came up with:
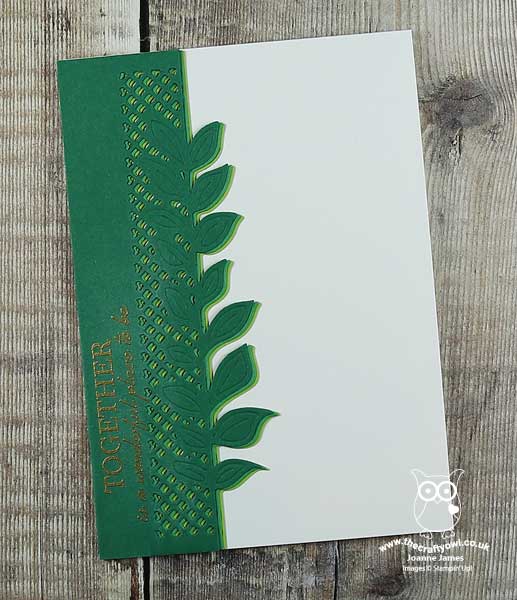
I simply layered three of the Wonderful Floral border diecut pieces, one each in Granny Apple Green, Call Me Clover and Shaded Spruce front the back to the front, along the left hand vertical edge of my card, overlapping each one a fraction to the left of its predecessor. This die is often used with the leaf pattern along the outer edge, but here I laid the pieces with the leaf shape to the centre of my card so that the layered leaves would really stand out against my white card base. You can really see the effect of the overlaying of the diecuts in this photo here:

It also allowed me to position my gold heat-embossed sentiment along the straight edge. This actually looks shinier in real life, although looking at the photograph I think that heat embossing in white might have been a better idea. Next time, perhaps!
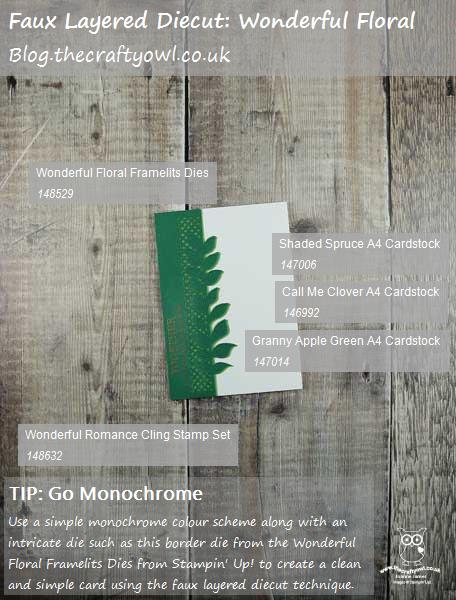
And that's all there is to it! Here is the visual summary of the key products used on today's project for you to pin for easy reference:
You can see all of my 'How To' summaries on my 'How To - Tips and Techniques' Pinterest board in case you've missed any.
I really like this effect and am definitely going to revisit my collection of dies to see what other cards I can create using this technique. Enjoy your day and I'll be back tomorrow with another project. Until then, happy stampin'!
Stampin' Up! Supplies Used: