
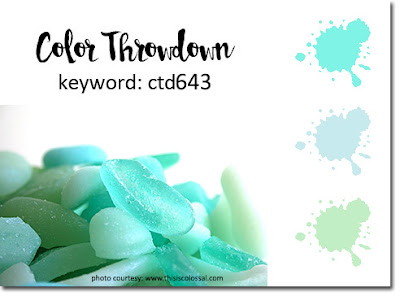
Happy Monday everyone! Today was class day so my day has been a busy one. I'm just popping in to share a couple of my class cards that I made using this week's Color Throwdown colours:
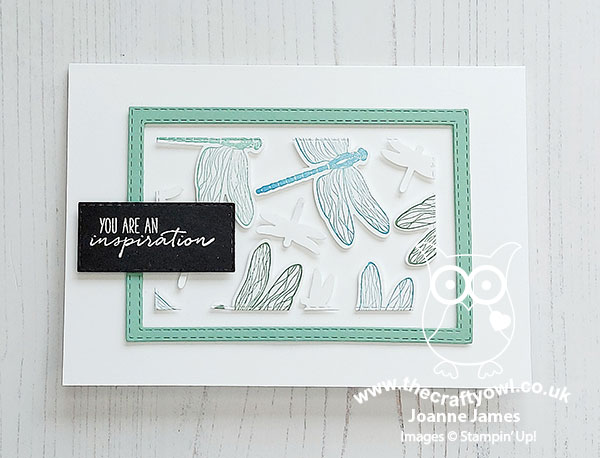
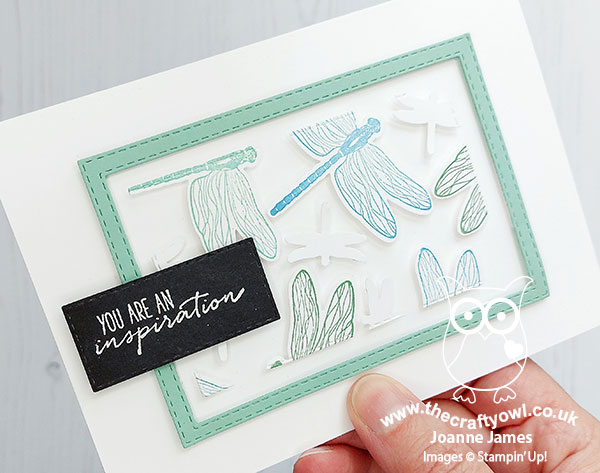
We were using the Dragonfly Garden stamp set and co-ordinating Dragonflies punch and one of the things I wanted to do today was to teach my class ladies how to create a card using the 'floating frame' technique. So this actually means I have two cards for you! Here's the first one:
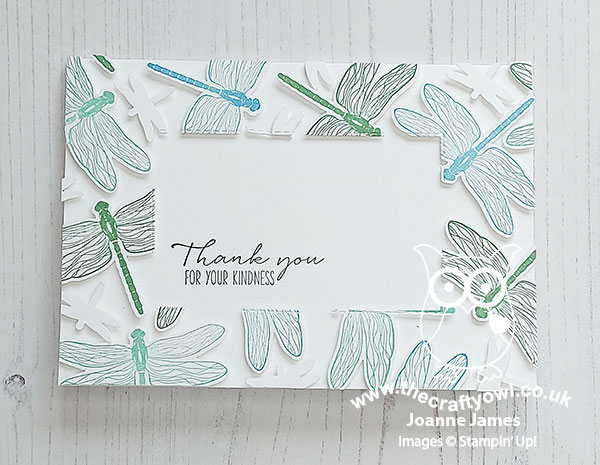
And here's the second one, featuring the outer frame element:
Here's the low-down on today's card:
Floating Frames - The floating frame technique is really easy to create with a few basic tools: some 'Press and Seal' food wrap or similar, a framelit - I used my Rectangle Stitched Framelits Dies - and lots of dimensionals! You simply stamp and punch/diecut your images, lay them out, cover with Press and Seal, trim to frame size and cut out your central piece, before adhering dimensionals to the back of the diecut pieces and adhering to your chosen card base. Finally you remove the Press and Seal and your floating shapes remain in place.
Dragonfly Garden - I used a combination of large punched dragonflies in the three challenge colours and interspersed them with smaller white ones to fill in the gaps. The dragonflies are a great shape and size for a floating frame as they are easily identifiable even when only partially visible:
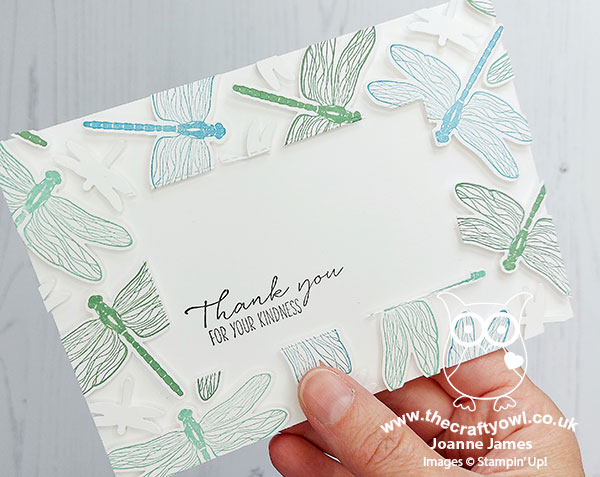
Frame It - For the central portion, I added a rectangular border and heat-embossed sentiment:
Lastly, here's a photo of both cards together - which one do you prefer?
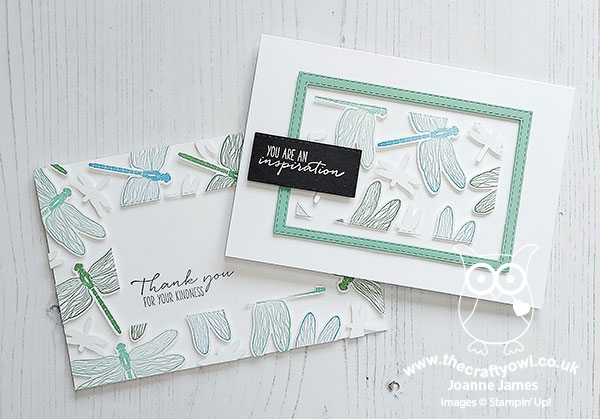
I think I like the one with the central detail and coloured frame best, but I like the other one too - it's a tough call!
Here is the visual summary of the key products used on today's project for you to pin for easy reference:
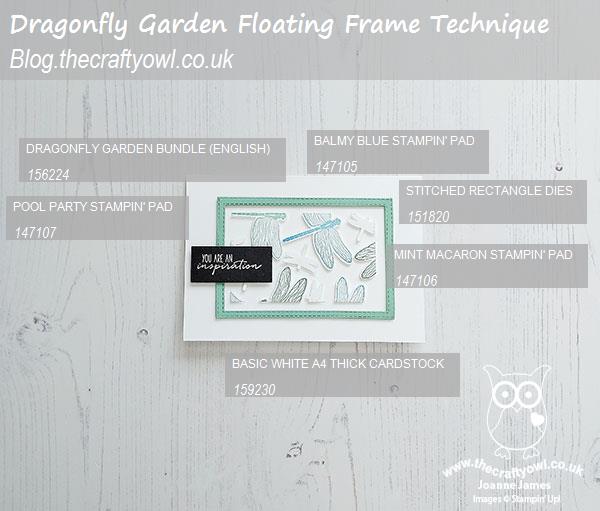
You can see all of my 'How To' summaries on my 'How To - Tips and Techniques' Pinterest board in case you've missed any.
Enjoy your evening and I'll be back tomorrow with another project. Until then, happy stampin'!
Stampin' Up! Supplies Used: