Sending A Handmade Hug With Crafting With You

by Joanne James24. April 2024 09:00

Happy hump day everyone! I am playing blog catch-up today as I've been making more than I've had time to blog, so today will be a two-post Wednesday! First up I'm sharing a card for this week's challenge over at Inspired By where I couldn't resist those cake pop colours and am still riding high on my win from last week (you can see that card here if you missed it). I also used the sketch layout. No cake on this card though - instead I combined with the fun quote over at Time Out Challenges:


I went crafty - take a look:


Here's the low-down on today's card:

I diecut a dozen cotton reels using the Crafting With You Dies in the colours of those cake pops, and finished with a sentiment from the coordinating stamp set stamped into an embroidery hoop; I layered up the hoop for a little extra dimension and added both the hoop and insert to a punched 2" circle for a little extra stability:


Super clean and simple! I'm sending this card to my Mum, who is an avid quilter - I suspect it might lead to a request for a few more so that she can share with the ladies who attend her weekly sewing class. Good job there are double dies for the cotton reels, allowing me to cut 4 at a time! 'The Crafting With You' stamp set and dies are on carryover into the new catalogue, but not as a bundle, so you've only a week left if you'd like to take advantage of the 10% bundle savings.

A reminder that the clearance rack in the online store updated yesterday - lots of bargains still to be had! You can check it out in my online store here.

Here is the visual summary of the key products used on today's project for you to pin for easy reference:


You can see all of my 'How To' summaries on my 'How To - Tips and Techniques' Pinterest board in case you've missed any. 

Enjoy your day and I'll be back shortly with my second post. Until then, happy stampin'!


Stampin' Up! Supplies Used:

Table built using Product Table Builder by The Crafty Owl - Independent Stampin' Up! Demonstrator.

Crafting With You Times Two AYSI307

by Joanne James8. September 2023 12:00

Today I'm sharing my design team card for our new challenge over at As you See It where it's time for a fun speed challenge chosen by Heather C:
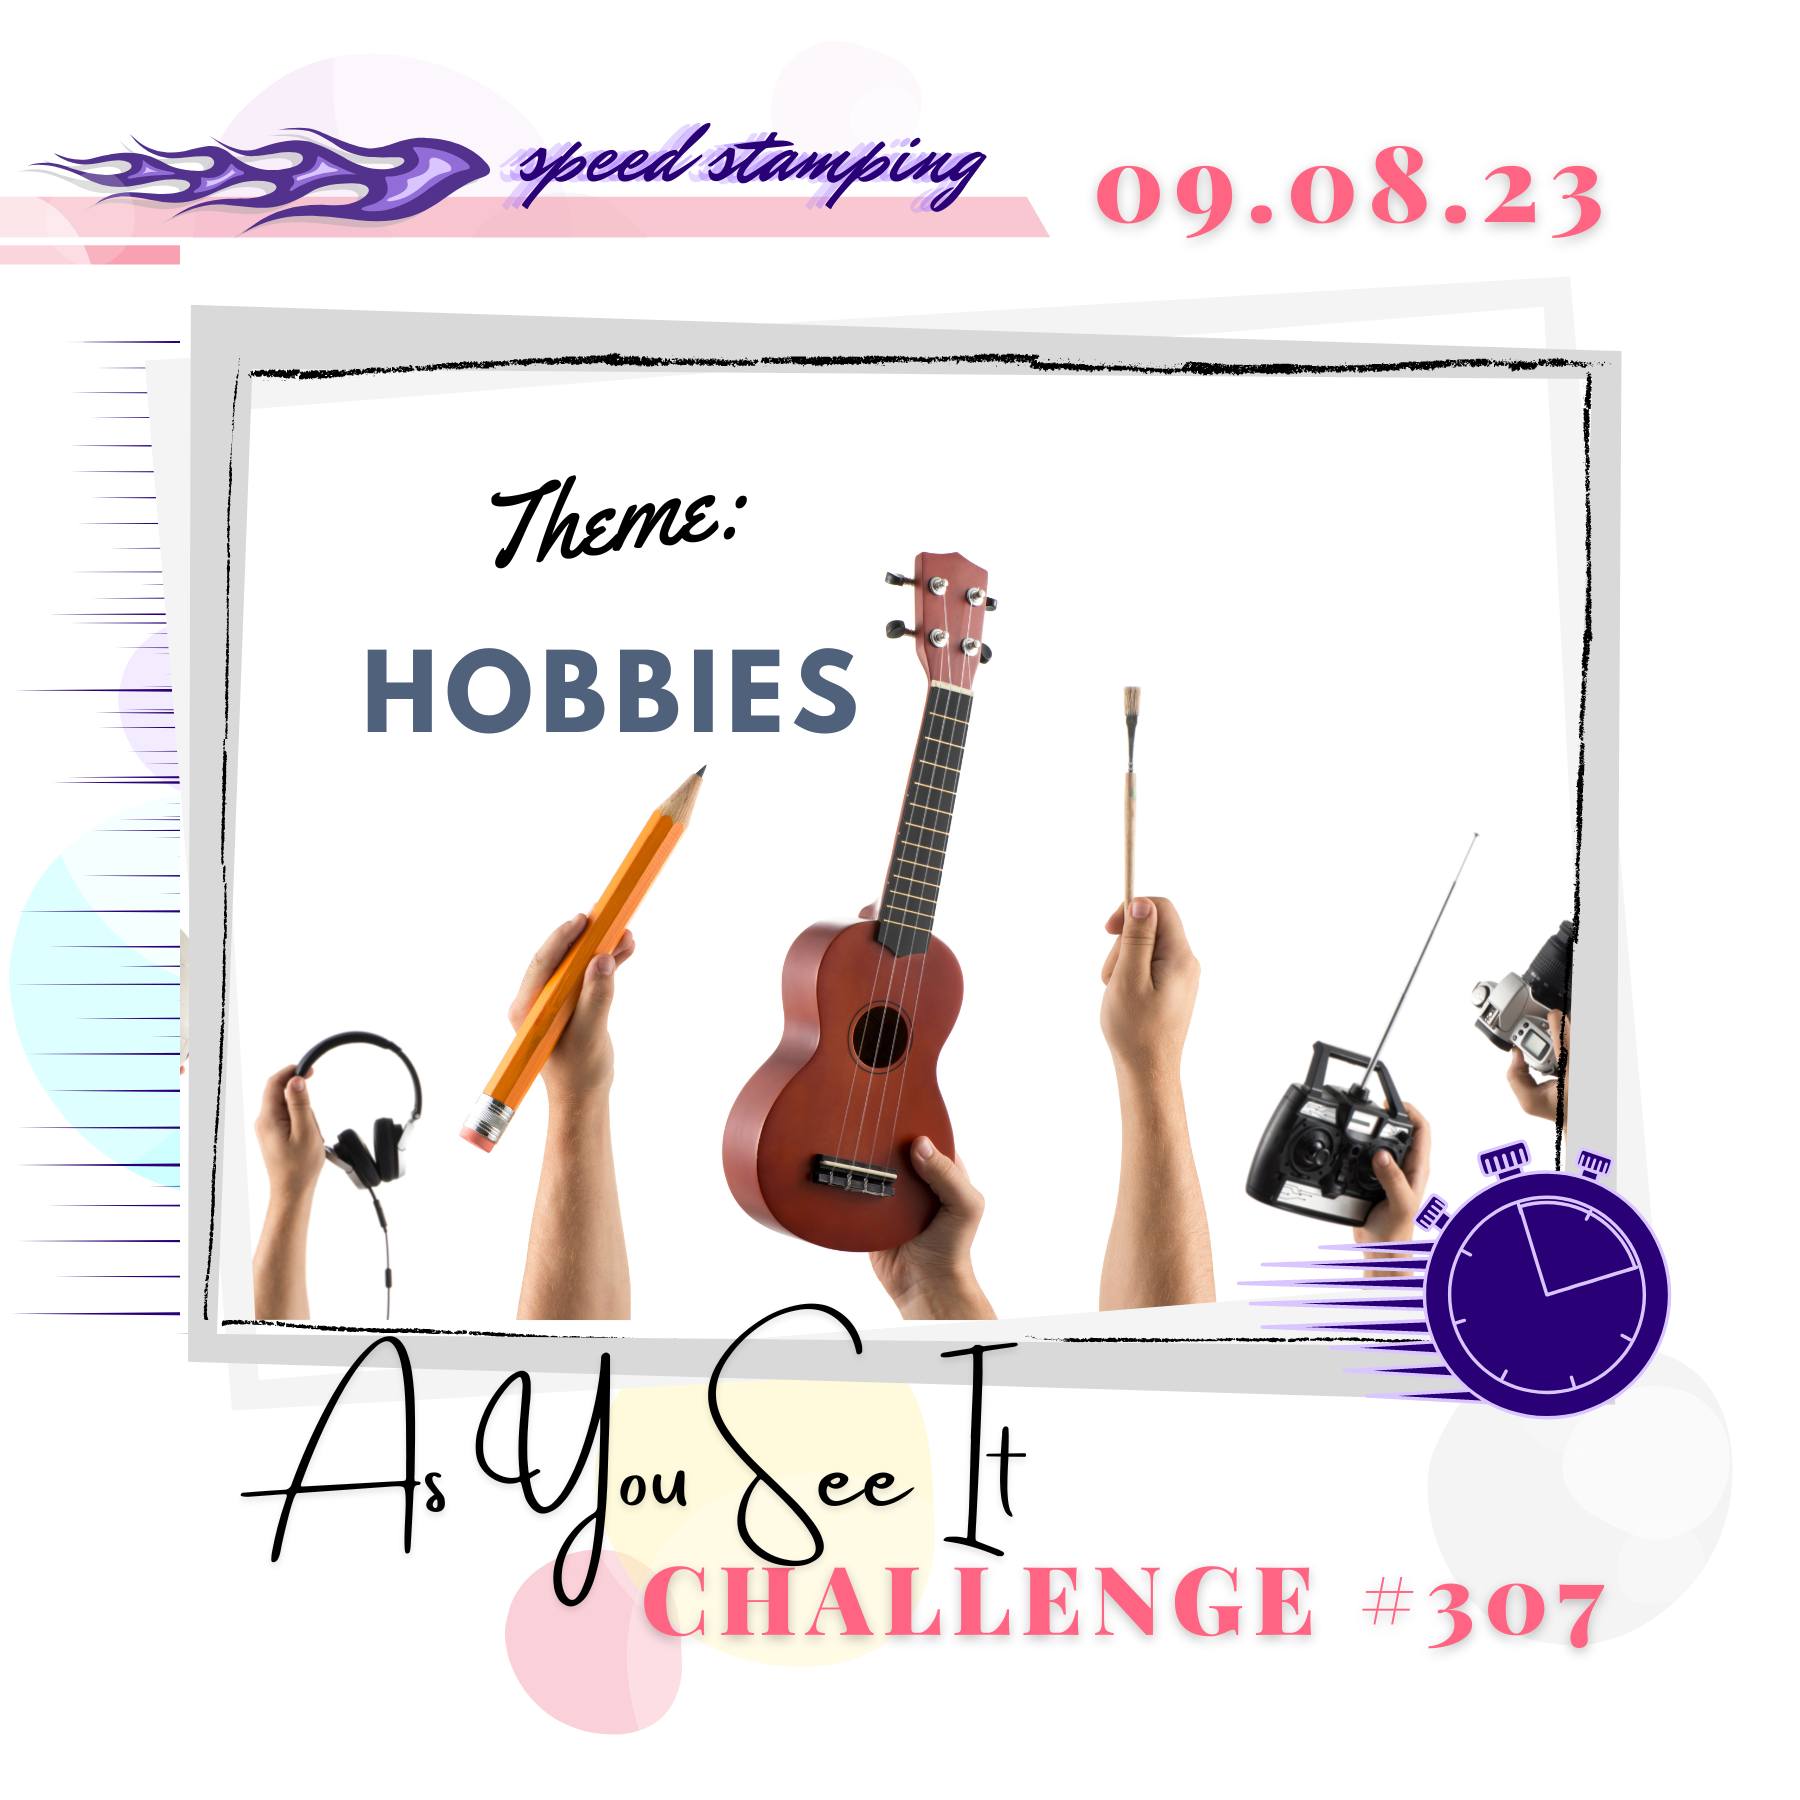
 

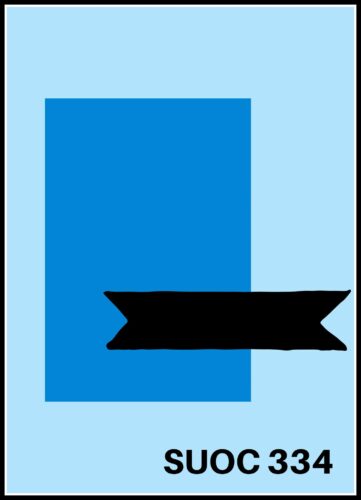
Hobbies - what a fun theme this week and so many options, even when working against the clock! My hobbies include running, playing piano, cross stitch and stamp collecting (the postal kind although my rubber stamp collection is extensive too!) to name but a few, but I'm sure that my choice of crafting for my card today won't surprise you at all!  - Since we are against the clock with no more than 10 minutes at our disposal, quick cards are the order of the day! I ended up making two cards during my crafting session and each came in well within the time limit, so I thought I'd share both since each uses a different approach to saving time! Both cards feature the 'Crafting With You' bundle and the first card I created uses the sketch layout over at SUO Challenges - take a look:
 

 Here's the low-down on today's card:

Preparation Is Key - The key to a quick card is preparation. You can gather your materials before you start the clock, so knowing exactly what I was going to create I gathered my Bubble Bath card base, offcuts of white and Crumb Cake cardstock, mounted the stamps I was going to use onto blocks and placed them in front of the open ink pads in the correct colours, selected the dies I needed, the necessary tools and gathered together any other supplies such as ribbon and sequins that I had in Bubble Bath in case I wanted to add some final embellishments. Then I pressed start on my stopwatch!

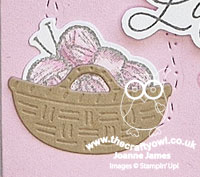
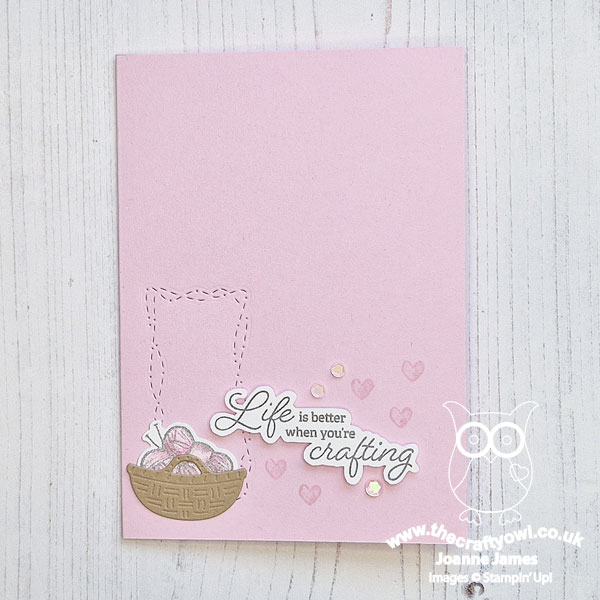
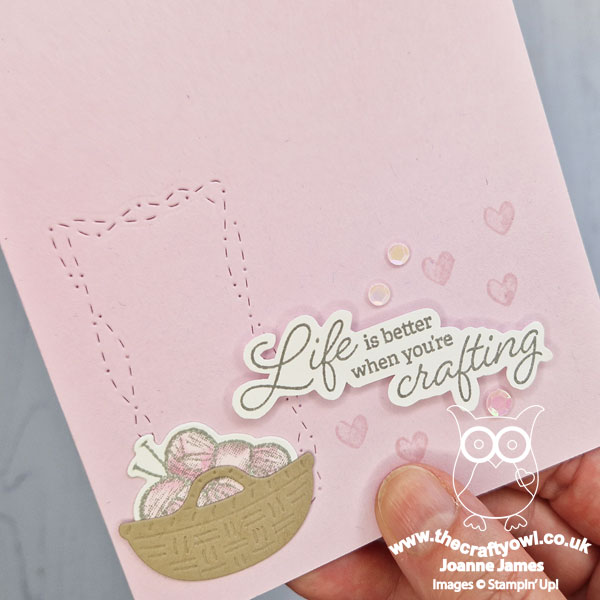
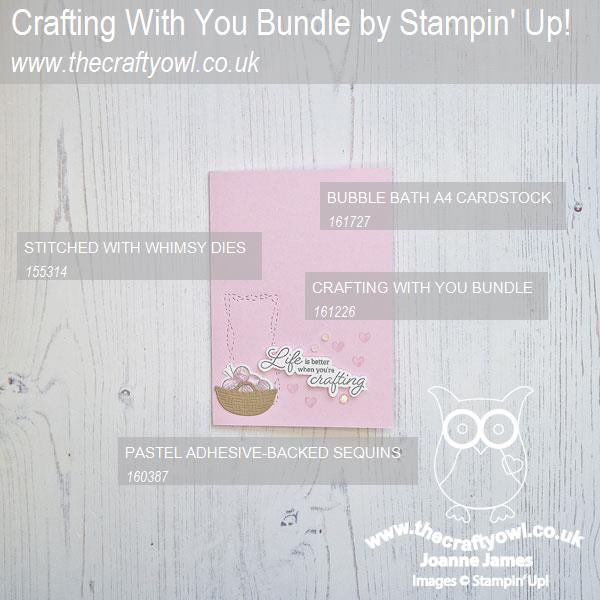
Monochrome Makes Easy - This first card sticks to a simple monochrome pink colour scheme, with just a little grey for the sentiment and outline. This is another good way to save time when you need to make a quick card - keeping colours to a minimum requires much less co-ordination. I stamped and fussy cut the sentiment, stamped the balls of wool and coloured them, then diecut them along with the basket and the stitched frame (I don't know why, but this frame always reminds me of unravelled wool so I thought it would work well with my knitting theme) in one pass through the diecutting machine to save time. I added all of the elements to my card base, then added some tone-on-tone stamped hearts and a trio of self-adhesive sequins to complete my card:
 

Time taken? Just 6 minutes and 29 seconds!
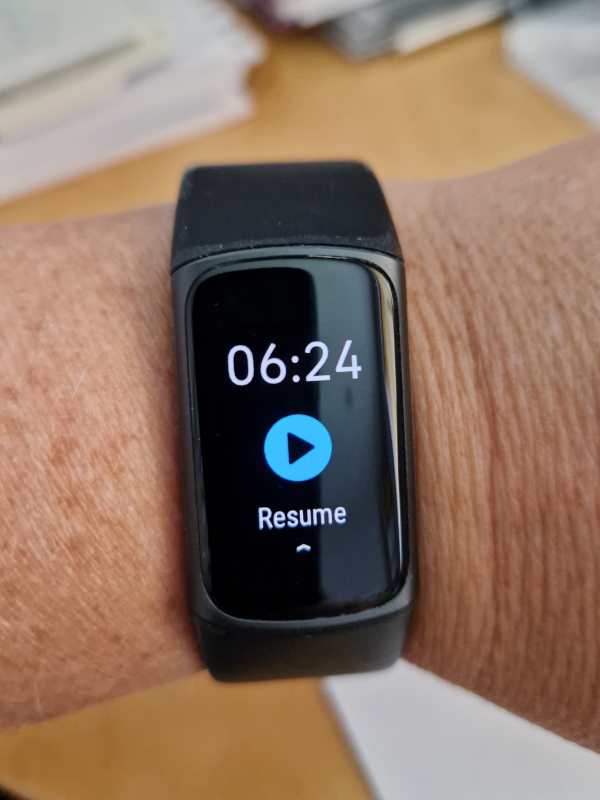
 

I even surprised myself at how quickly this came together, especially as one of the biggest time savers - no diecutting - is something I often struggle with. This card just shows though that so long as you are smart about it and at least minimise it or run as much through in one go as possible, you can make it work. I'm also linking this card up over at Less Is More where the current challenge is 'anything goes' - as long as it's clean and simple!

The Ultimate Speed Hack - Having cleaned my stamps and cleared away the debris from my first card, I thought I'd have a go at a second version, this time using the current sketch layout over at Atlantic Hearts Sketch Challenge, for a second card using my favourite speed hack of all: designer series paper! Designer paper is a great way to maximise pattern and detail with minimal time and effort and I knew I had some of this fabulous, albeit retired, Follow Your Art designer series paper in my stash and I have been itching to pair it with the current 'Crafting With You' bundle, so this was the perfect opportunity. This was the card that I created:
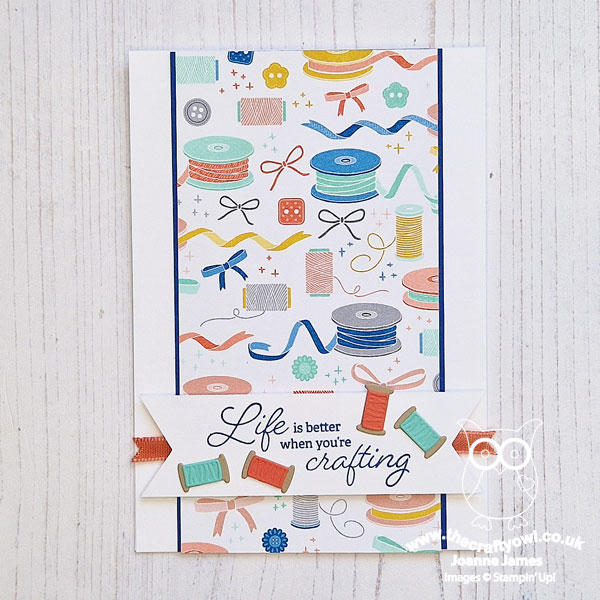
 

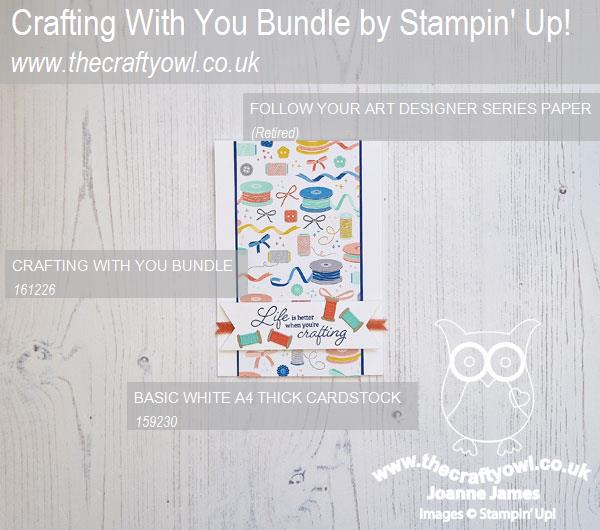
Still simple in design: the vertical panel of DSP does much of the work, with a simple banner sentiment that I decorated with a piece of (retired) Calypso Coral ribbon and 4 cotton reels that I diecut using some co-ordinating scraps of cardstock:
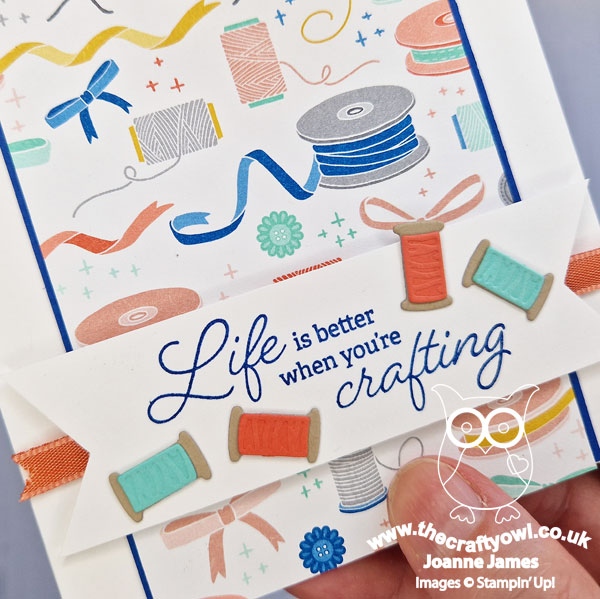
 

This card took slightly longer at 7 minutes and 16 seconds (no photo I'm afraid, I accidentally reset my stopwatch before I could grab a photo so you'll just have to take my word for it!) - whilst those cotton reels were all cut in a single pass, as there are 4 dies in the set, they are small and fiddly to glue. I also had OCD on those banner ends for the cardstock and ribbon, so allowed myself time to get them even. I think this card is my favourite of the two - hence me using it as my ASYI card. I hope you found my tips and tricks useful for creating cards in a hurry - why not make a card celebrating one of your hobbies and join us for our current challenge?

Here is the visual summary of the key products used on today's projects for you to pin for easy reference:


You can see all of my 'How To' summaries on my 'How To - Tips and Techniques' Pinterest board in case you've missed any. 

Here's a summary of our challenge rules:

  • Create any card, scrapbooking page, 3D project or packaging project that fits the challenge.
  • Please include the challenge graphic and link back to the challenge in your blog post. Turn off word verification so we can leave you lots of lovely comments. Make sure you link the post not the whole blog to the Linky. Use #AYSIXXX when uploading to a public gallery.
  • If you’re unsure about ‘the rules’, check the details under the Challenge Guidelines tab on the As You See It Challenge homepage.
  • In a speed stamping challenge, please time yourself and say in your post how long your card took to complete. 
We look forward to seeing your creations in the AYSI gallery.

Enjoy your day. We are expecting another day of glorious sunshine here so I will be making the most of it! I'll be back tomorrow with another project. Until then, happy stampin'!


Stampin' Up! Supplies Used:
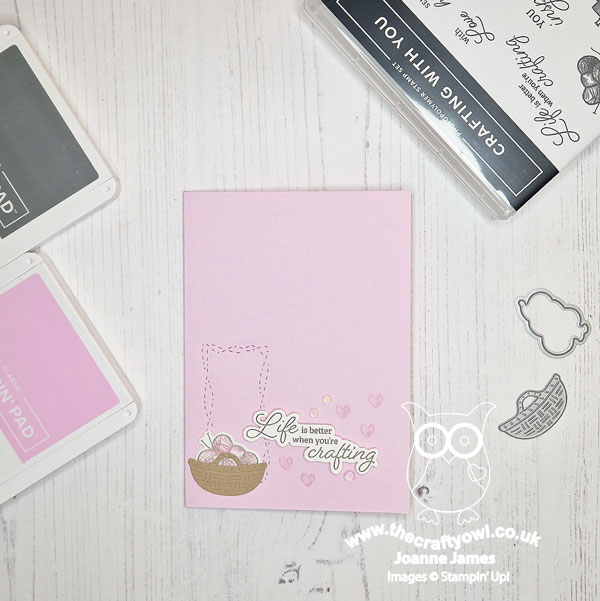
Table built using Product Table Builder by The Crafty Owl - Independent Stampin' Up! Demonstrator.


Simple Stamping And A Zoo Crew Knitting Llama CCS 513

by Joanne James6. June 2023 13:00

It's Tuesday and time for a new challenge over at CAS Colours & Sketches. Shannon is hosting this month and our first challenge is a colour challenge: 


For my card today I went super clean and simple with a fun card perfect for a crafty friend - take a look:


Here's the low-down on today's card:

I decided to indulge in a spot of fussy cutting of my Zoo Crew designer paper and trim out one of the knitting llamas! The Zoo Crew paper is choc-full of animals doing all kinds of fun things - and what could be more comical than a knitting llama, right?! Some of the images are black and white, some partially coloured, and some completely coloured and ready to use. The chair and wool that the llama is knitting with were already coloured, so I just used my Blends to add in a little more light Old Olive to the wool, some Petal Pink to the ears and a little dark Smoky Slate to the skin and outline of my llama:

I added a sentiment from the 'Crafting With You' stamp set which seemed to fit the image perfectly. This is a great #simplestamping card - just stamps, ink and paper and a little designer paper. The Zoo Crew paper is another of those that are available at 15% discount in this month's designer series paper sale. If you fussy cut the images (you can also diecut many of them with the Zany Zoo co-ordinating dies too, but these are by no means essential - they are easy to cut out with scissors) you will be able to make an absolute ton of simple cards. They can be paired with whatever sentiments you have to hand - now is the time to stock up for sure! Links to the online store below - or contact me if you would like to participate in my current discounted paper share.

Here is the visual summary of the key products used on today's project for you to pin for easy reference:


You can see all of my 'How To' summaries on my 'How To - Tips and Techniques' Pinterest board in case you've missed any. 

As a reminder, for our colour challenges, you must use all of the stated challenge colours. You may also use neutral colours; however, the challenge colours should be the most noticeable ones featured on your card. We use Stampin' Up! colour names for reference, but you are welcome to use any other companies' products as long as you match the challenge colours as closely as possible. For this challenge, the colours include two of those that were retired in the recent current refresh, so feel free to substitute with Petal Pink and Old Olive as the nearest current alternatives, as I've done. 

For the second day running, it is decidedly cooler than the weather forecast and looking rather overcast. No matter - I am still wearing a summer dress and willing the sun to come out, although at this rate I may have to add socks and a cardigan later!! Enjoy your day and I'll be back tomorrow with another project. Until then, happy stampin'!


Stampin' Up! Supplies Used:

Table built using Product Table Builder by The Crafty Owl - Independent Stampin' Up! Demonstrator.

Crafting With You Embroidered Flowers In Blue AYSI 299

by Joanne James19. May 2023 12:00


Today I'm sharing my design team card for our new challenge over at As you See It where it's time for a recipe challenge chosen by Deborah who is back from her travels this week:


I sometimes struggle with recipe challenges, but I just received some new goodies so grabbed them along with the sketch over at Try Stamping on Tuesday and set to work - take a look:


 Here's the low-down on today's card:

Shades of Blue - I decided for today's card that I wanted to play with the new blue that is part of the Brights colour family, Azure Afternoon, so that's what I chose for my card base (I added some tone-on-tone stamping using a stamped-off flower to create a subtle pattern detail) and the piece of watercolour-effect designer paper from the Bright & Beautiful paper pack that runs across the centre of my card. This is such a lovely shade of blue: not as turquoise as Tahitian Tide, not as dark as the old Pacific Point. I also used this colour to stamp my flowers, adding in a second blue, the returning Blueberry Bushel, to highlight the flower leaves. I also added a strip of this darker blue behind my horizontal panel and added some ribbon and a bow in some retired Blueberry Bushel ribbon that I rescued from my retired box - yay! I love the way these two blue go together.

Diecuts and Frames - There are two sets of diecuts on today's card: the horizontal border and the scallop-edged square are both adapted from the Scalloped Contours Dies, but the dies that ultimately inspired today's card are those that contain this sweet embroidery hoop and centre - the Crafting With You Dies. I thought the embroidery hoop would be a clever 'frame' and perfect way to highlight the emboidered flowers that are part of the co-ordinating stamp set:


A Handmade Hug - I decided to leave the front of my card sentiment-free because it's always useful to have some more general cards to hand, but I couldn't resist adding one of the sweetest sentiments from the 'Crafting With You' stamp set to the inside of my card:


Isn't that just lovely?! I actually managed to tick off the recipe ingredients with relative ease for once. If you are a fan of blues, you should definitely check out the Design Team cards - they really are fabulous!

Here is the visual summary of the key products used on today's project for you to pin for easy reference:


You can see all of my 'How To' summaries on my 'How To - Tips and Techniques' Pinterest board in case you've missed any. 

Here's a summary of our challenge rules:

  • Create any card, scrapbooking page, 3D project or packaging project that fits the challenge.
  • Please include the challenge graphic and link back to the challenge in your blog post. Turn off word verification so we can leave you lots of lovely comments. Make sure you link the post not the whole blog to the Linky. Use #AYSIXXX when uploading to a public gallery.
  • If you’re unsure about ‘the rules’, check the details under the Challenge Guidelines tab on the As You See It Challenge homepage. 
We look forward to seeing your creations in the AYSI gallery.

I am rushing about today, running errands and feeling unusually tired - I definitely have that Friday feeling! Enjoy your day and I'll hopefully be back tomorrow with another project. Until then, happy stampin'!


Stampin' Up! Supplies Used:
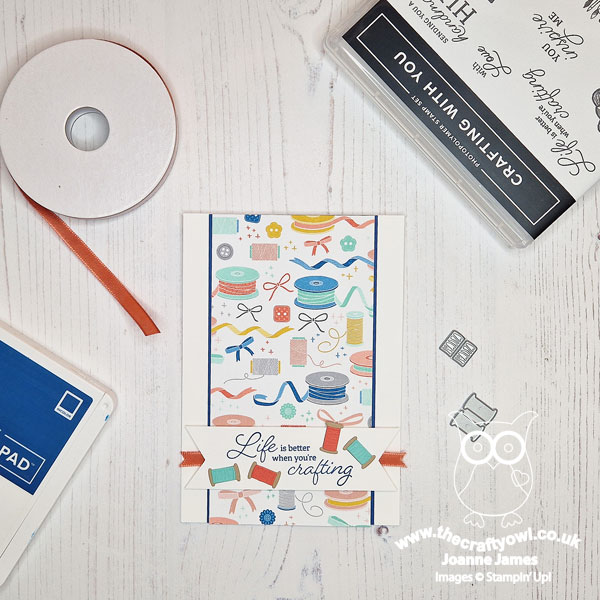
Table built using Product Table Builder by The Crafty Owl - Independent Stampin' Up! Demonstrator.

New Online Exclusives

There are new products available exclusively in the online store from 5 November - check them out here.

Latest Kits!

Stampin Cut and Emboss

The Perpetual Beauty Calendar Kit and Cherry Blossoms Treat Boxes Kit are the latest kits in the online store - get yours here!

Shop Online

Access my online shop 24 x 7, 365 days of the year:

Current December hostess code:

9NKXDTTR

Shop Online

Mini Catalogue

BROWSE THE CATALOGUE

'Tis The Season - the new Stampin' Up! Mini Catalogue is here! For more details and to download your copy click here

Scrapbooking

Stampin' Up! has introduced a new range of 12x12" scrapbooking product and kit - the full range is now available to purchase online. To download a copy of the new digital Scrapbooking Catalogue click here.

2024-25 Annual Catalogue

BROWSE THE CATALOGUE

Click on the image to download your copy of the 2024-25 annual catalogue. For a full list of current SU! supplies, go to my online store. If you would like any help or advice, please drop me a line at joanne@thecraftyowl.co.uk or give me a call on 07773 421446 - I'd be happy to help.

Join My Team

It's always a great time to join Stampin’ Up! New team members can get £130 worth of products for only £99 + free business supplies + free shipping + all the fun being a part of Stampin’ Up! Stampin' Up! has something for everyone: join my growing team and benefit from my support to enjoy Stampin' Up! however you choose.

If you're interested, call me for a chat to understand how I can help you realise your goals. Alternatively, if you have already decided to sign up and you just can't wait, please click here for the link to the online form where you can sign up and order your starter kit right away! 

About Me

Hi I'm Joanne and live in Northampton and when I'm not looking after my husband and two beautiful children, am an avid crafter with a passion for all things Stampin' Up!

I must confess that I have never been a big rubber stamper - until I discovered Stampin' Up! that is. I love the fact that I can get such great results with co-ordinating stamps, inks, papers and punches - the possibilities are endless! Join me on my stamping journey as I share the things I love and be inspired to create amazing things yourself!

Follow Me

Monthly Newsletter

Box Builder

Click the button above to use Box Buster to create your custom box design using the Envelope Punch Board!

Kits Collection Now Available!

Stampin Cut and Emboss

The new Kits Collection from Stampin' Up! is now available!

Click here to see the current kits available and order yours online today.

I Design For


Stampin' Up Stuff

This is my personal blog and is not endorsed by Stampin’ Up! I hope you find it a plentiful source of ideas and personal inspiration but please don't copy my designs for contest submission or use for classes, publication or sale without express permission.

DSP Special Release

Check out 3 popular designer series paper designs in fresh new colourways! Available exclusively in the online store from 3 December - check them out here