by Joanne James29. April 2023 05:00
Today I'm sharing my final card for my Guest Designer spot over at Just Us Girls. I will be so sad to leave - I've had such a great month crafting alongside these lovely ladies, but I'm sure they have someone wonderful lined up to take over next month. For my final card we have a super fun challenge - CASE a design Team Member:

Now I could have created absolutely anything for my final card this week - but I thought it would be fun if I CASEd one of the Just Us Girls Design Team Members! And it just so happened that I saw this card by the lovely Carol McFarland a week or so ago and actually commented on her socials that I wanted to CASE this card, so I thought today that I would! This is my version - take a look:
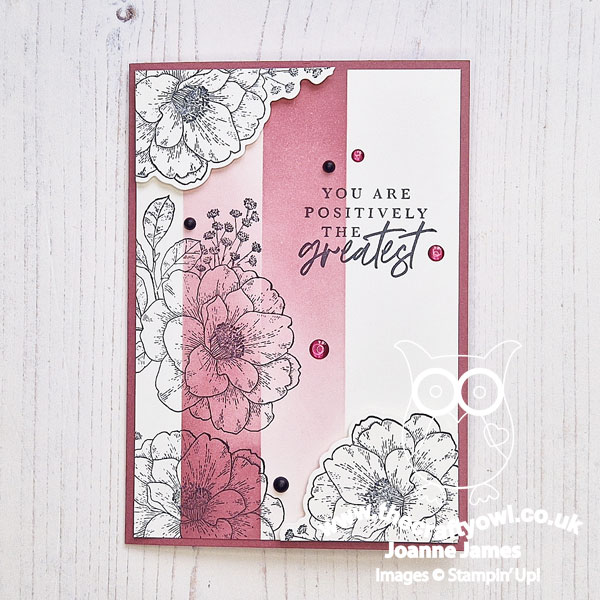
Here's the low-down on today's card:
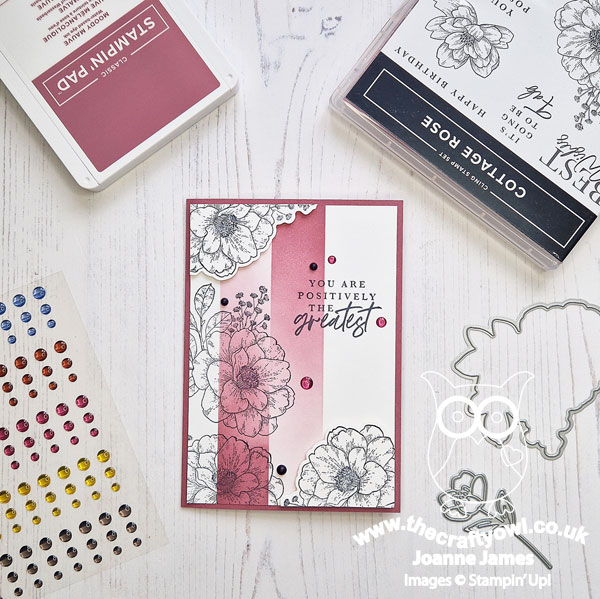
Whilst I love to colour, I know it's not everyone's cup of tea, so I love exploring alternative ways to add colour to line art images. I took an alternative approach to colouring this rose the last time I used it - you can see that card here. This card gave me another final opportunity to use the Cottage Rose stamp before it retires and also to have some fun with the new 2023-25 In Colours too. I stamped the main rose image around the edge of a piece of Whisper White, then masked off two 'stripes' in turn and blended some Moody Mauve ink first from one edge, then the other. I added a sentiment from the same set and two addition uncoloured diecut roses on dimensionals:
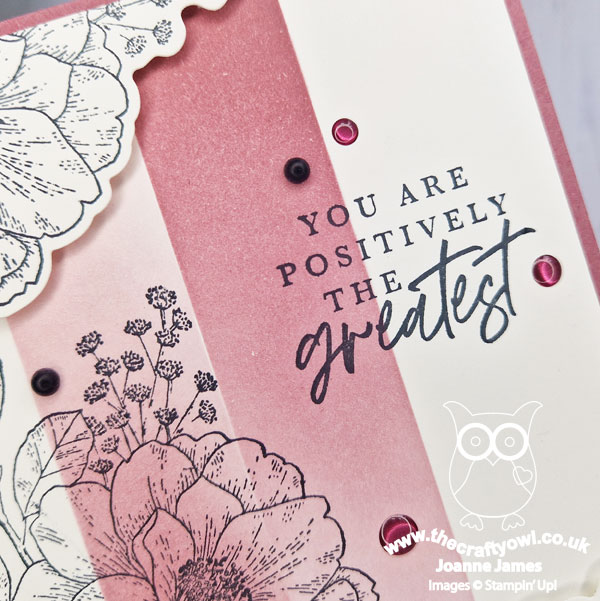
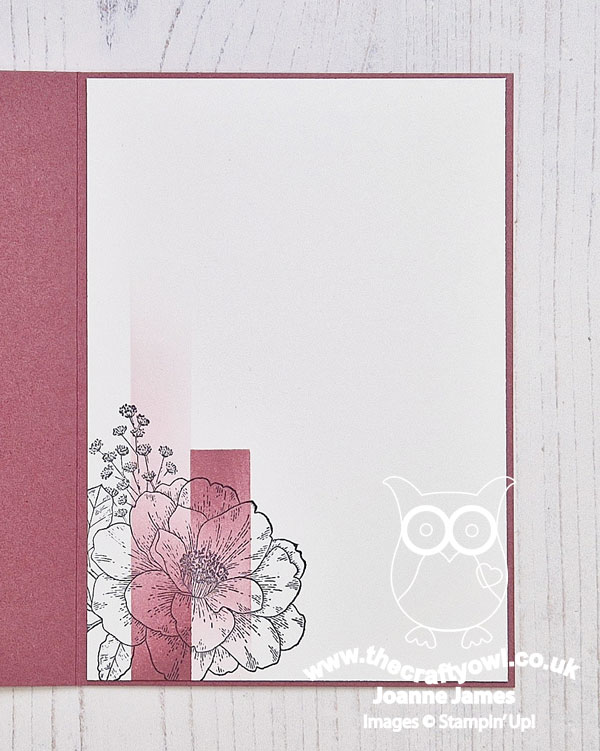
A trio of In Color Dots and black enamel dots complete my card front. I added a little extra detail to the inside of my card too:
I like this card so much, I think I'm going to make 4 more versions in each of the other new in-colours too. CASEing someone else's card can be so much fun - whether you are inspired by the images, colours, layout or technique, there is so much to choose from! I'm looking forward to seeing how everyone is inspired by the JUGS Design Team cards this week and thank you to Carol for inspiring mine! A final thank you too to all the lovely JUGS ladies for their cameraderie this month - you will undoubtedly see me back in the gallery soon!
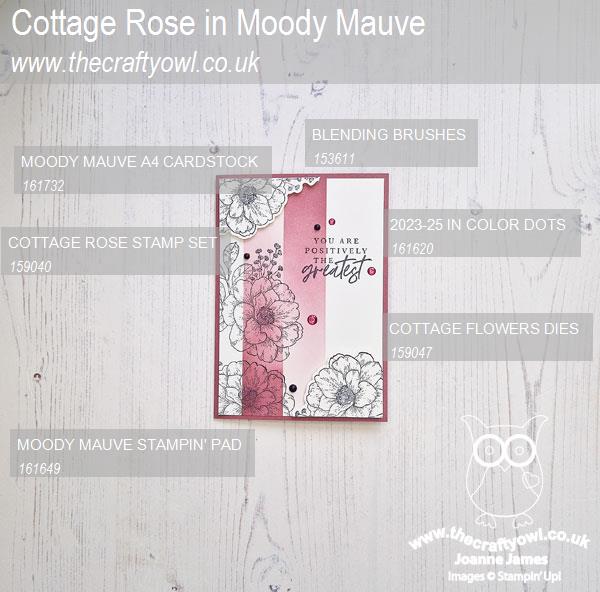
Here is the visual summary of the key products used on today's project for you to pin for easy reference:
You can see all of my 'How To' summaries on my 'How To - Tips and Techniques' Pinterest board in case you've missed any.
Enjoy your day; I'm off to the hockey pitch this afternoon and looking forward to a long Bank Holiday weekend here in the UK, even if that means it will probably rain!! I'll be back tomorrow with another project. Until then, happy stampin'!
Stampin' Up! Supplies Used:
8c3f0508-eb8f-4ab8-bb5b-a942bf22cddb|1|5.0|96d5b379-7e1d-4dac-a6ba-1e50db561b04
Tags: Shop Stampin' Up! Online, Stamping Shop Stampin' Up online, Shop online, Stampin' Up, Stampin' Up Card ideas, Stampin' Up Supplies, Stampin' Up Card, Cottage Rose, Cottage Flowers Dies, In Colors, In Colours, Retiring Lists, retiring stamps, retiring accessories
Cards | Shop Online | Shop Stampin' Up! Online | Stamping
by Joanne James17. April 2023 15:36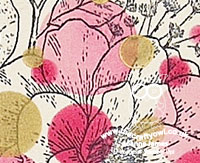
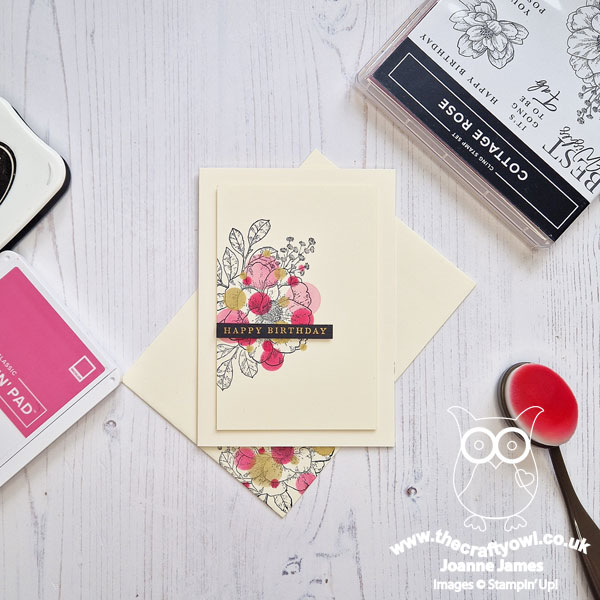
Happy Monday everyone! Today I'm sharing a card that I made for a few current challenges:


I'm using Cecile's layout over at Freshly Made Sketches and the colour combination over at Colour Inkspirational (I chose my retiring in-colour as Polished Pink - love this pink!) and am also linking up over at Inkspirational where the theme is clean and simple. I'm also using a retiring stamp set - for the first time! Take a look:
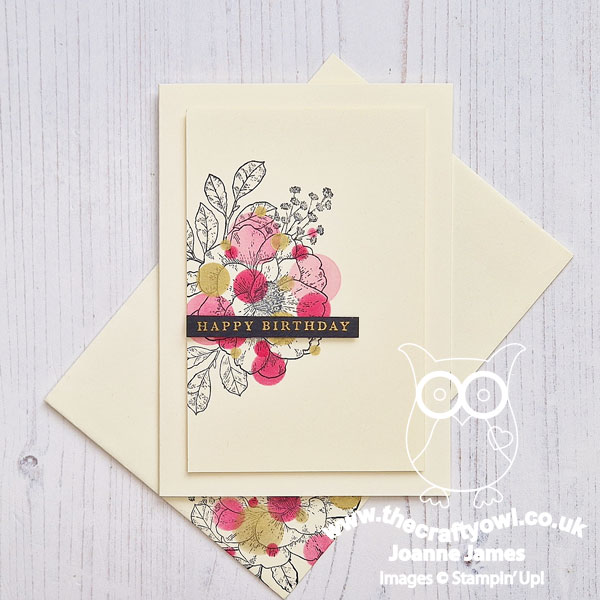
Here's the low-down on today's card:
When I saw Cecile's sketch, I was initially tempted to go with the 'clean and layered' look, however I decided I'd challenge myself to embrace my 'inner Cecile' and create something altogether more clean and simple. I already had the 'Cottage Rose' stamp set out on my desk as I wanted to give it at least one use before it goes away, so I decided I would use that for my focal point, masking and stamping in an extra set of leaves too, in black onto Very Vanilla cardstock.
If you too are a fan of Cecile's work, you will know she is the queen of clean and simple cards and lots to add colour to line stamped designs using a paintbrush and watercolours - her current Design Team cards both at FMS and at CAS Colours & Sketches are good examples of this. I wasn't sure I could pull this off though, so instead I decide to go for a more bokeh effect and using both a blending brush and sponge dauber to achieve different depths of colour, I added Polished Pink and (retired) Encore Gold ink using stencils made with a variety of circle punches and some leftover window sheet to the main flower. A simple gold-on-black heat embossed sentiment completes my card:
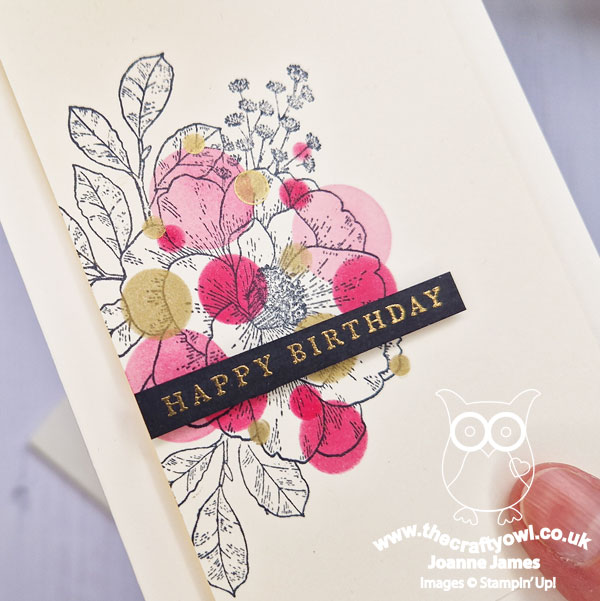
I added the same floral detail both inside the card and on the front and flap of my coordinating envelope to complete the look. I resisted the urge to add some enamel dots and just allowed the flower to take centre stage. What do you think? Have you ever tried this kind of technique before? Do leave me a comment below - I would love to hear your thoughts. I don't mind saying I just love this card!! A mix of traditional floral and modern, abstract colouring - so fun! Thank you Cecile for a fabulous sketch and design inspiration this week!
Here is the visual summary of the key products used on today's project for you to pin for easy reference:
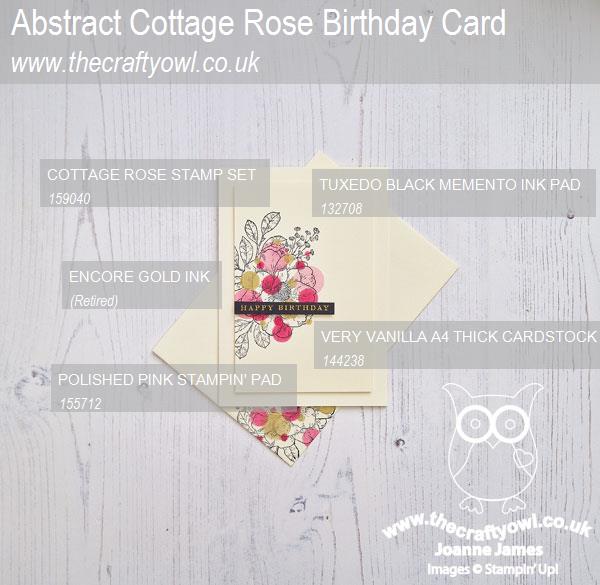
You can see all of my 'How To' summaries on my 'How To - Tips and Techniques' Pinterest board in case you've missed any.
Enjoy your day and I'll be back tomorrow with another project. Until then, happy stampin'!
Stampin' Up! Supplies Used:
